Shrinky art has been a child-hood staple of the art community for at least 20 years – since I was a kid basically. Thermo-plastics are amazing and have many applications commercially and for the humble crafter alike. I could never afford to do it much as a child because it cost a whole lot of money for relatively little, but as an adult, I have discovered a more economical way to source materials. E-bay!
I love this site – it makes all of my crafting dreams a reality, without spending a fortune (most of the time). That being said, shrinks plastic is much more cost effective on e-bay from THIS seller. That being said, it is not the clear plastic shrink art that makes beautiful jewellery pieces, it is going to be used (hopefully) to make some Pokemon earrings, but we will see how this test goes first.
Since it has been a long time since I had used this thermo-plastic, I felt like it would be a good idea to figure out what actual percentage the plastic shrunk by. It says 45% on the label, but you can’t believe everything that you read. I thought a little test was in order.
All that you need to do your own test of your shrinky plastic is:
ruler (or preferably technical callipers- I realise not everyone has these on hand, but very handy for accurate measurements)
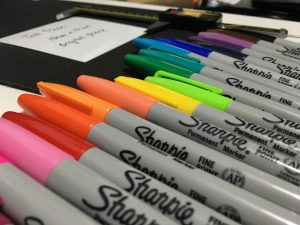
pen or markers ( I would use some of the implements that you plan on using on the shrinky plastic – like sharpies or pencil crayons)
piece of fine grit sand paper – the more fine, the better. (I used a disposable nail file because it was easy to lay my hands on)
piece of plain paper
baking tin (preferably with sides)
sheet of shrinky plastic (mine was A4 size)
pair of scissors
rigid cardboard ti line tin (baking parchment will work, but needs to be held down in a fan oven!)
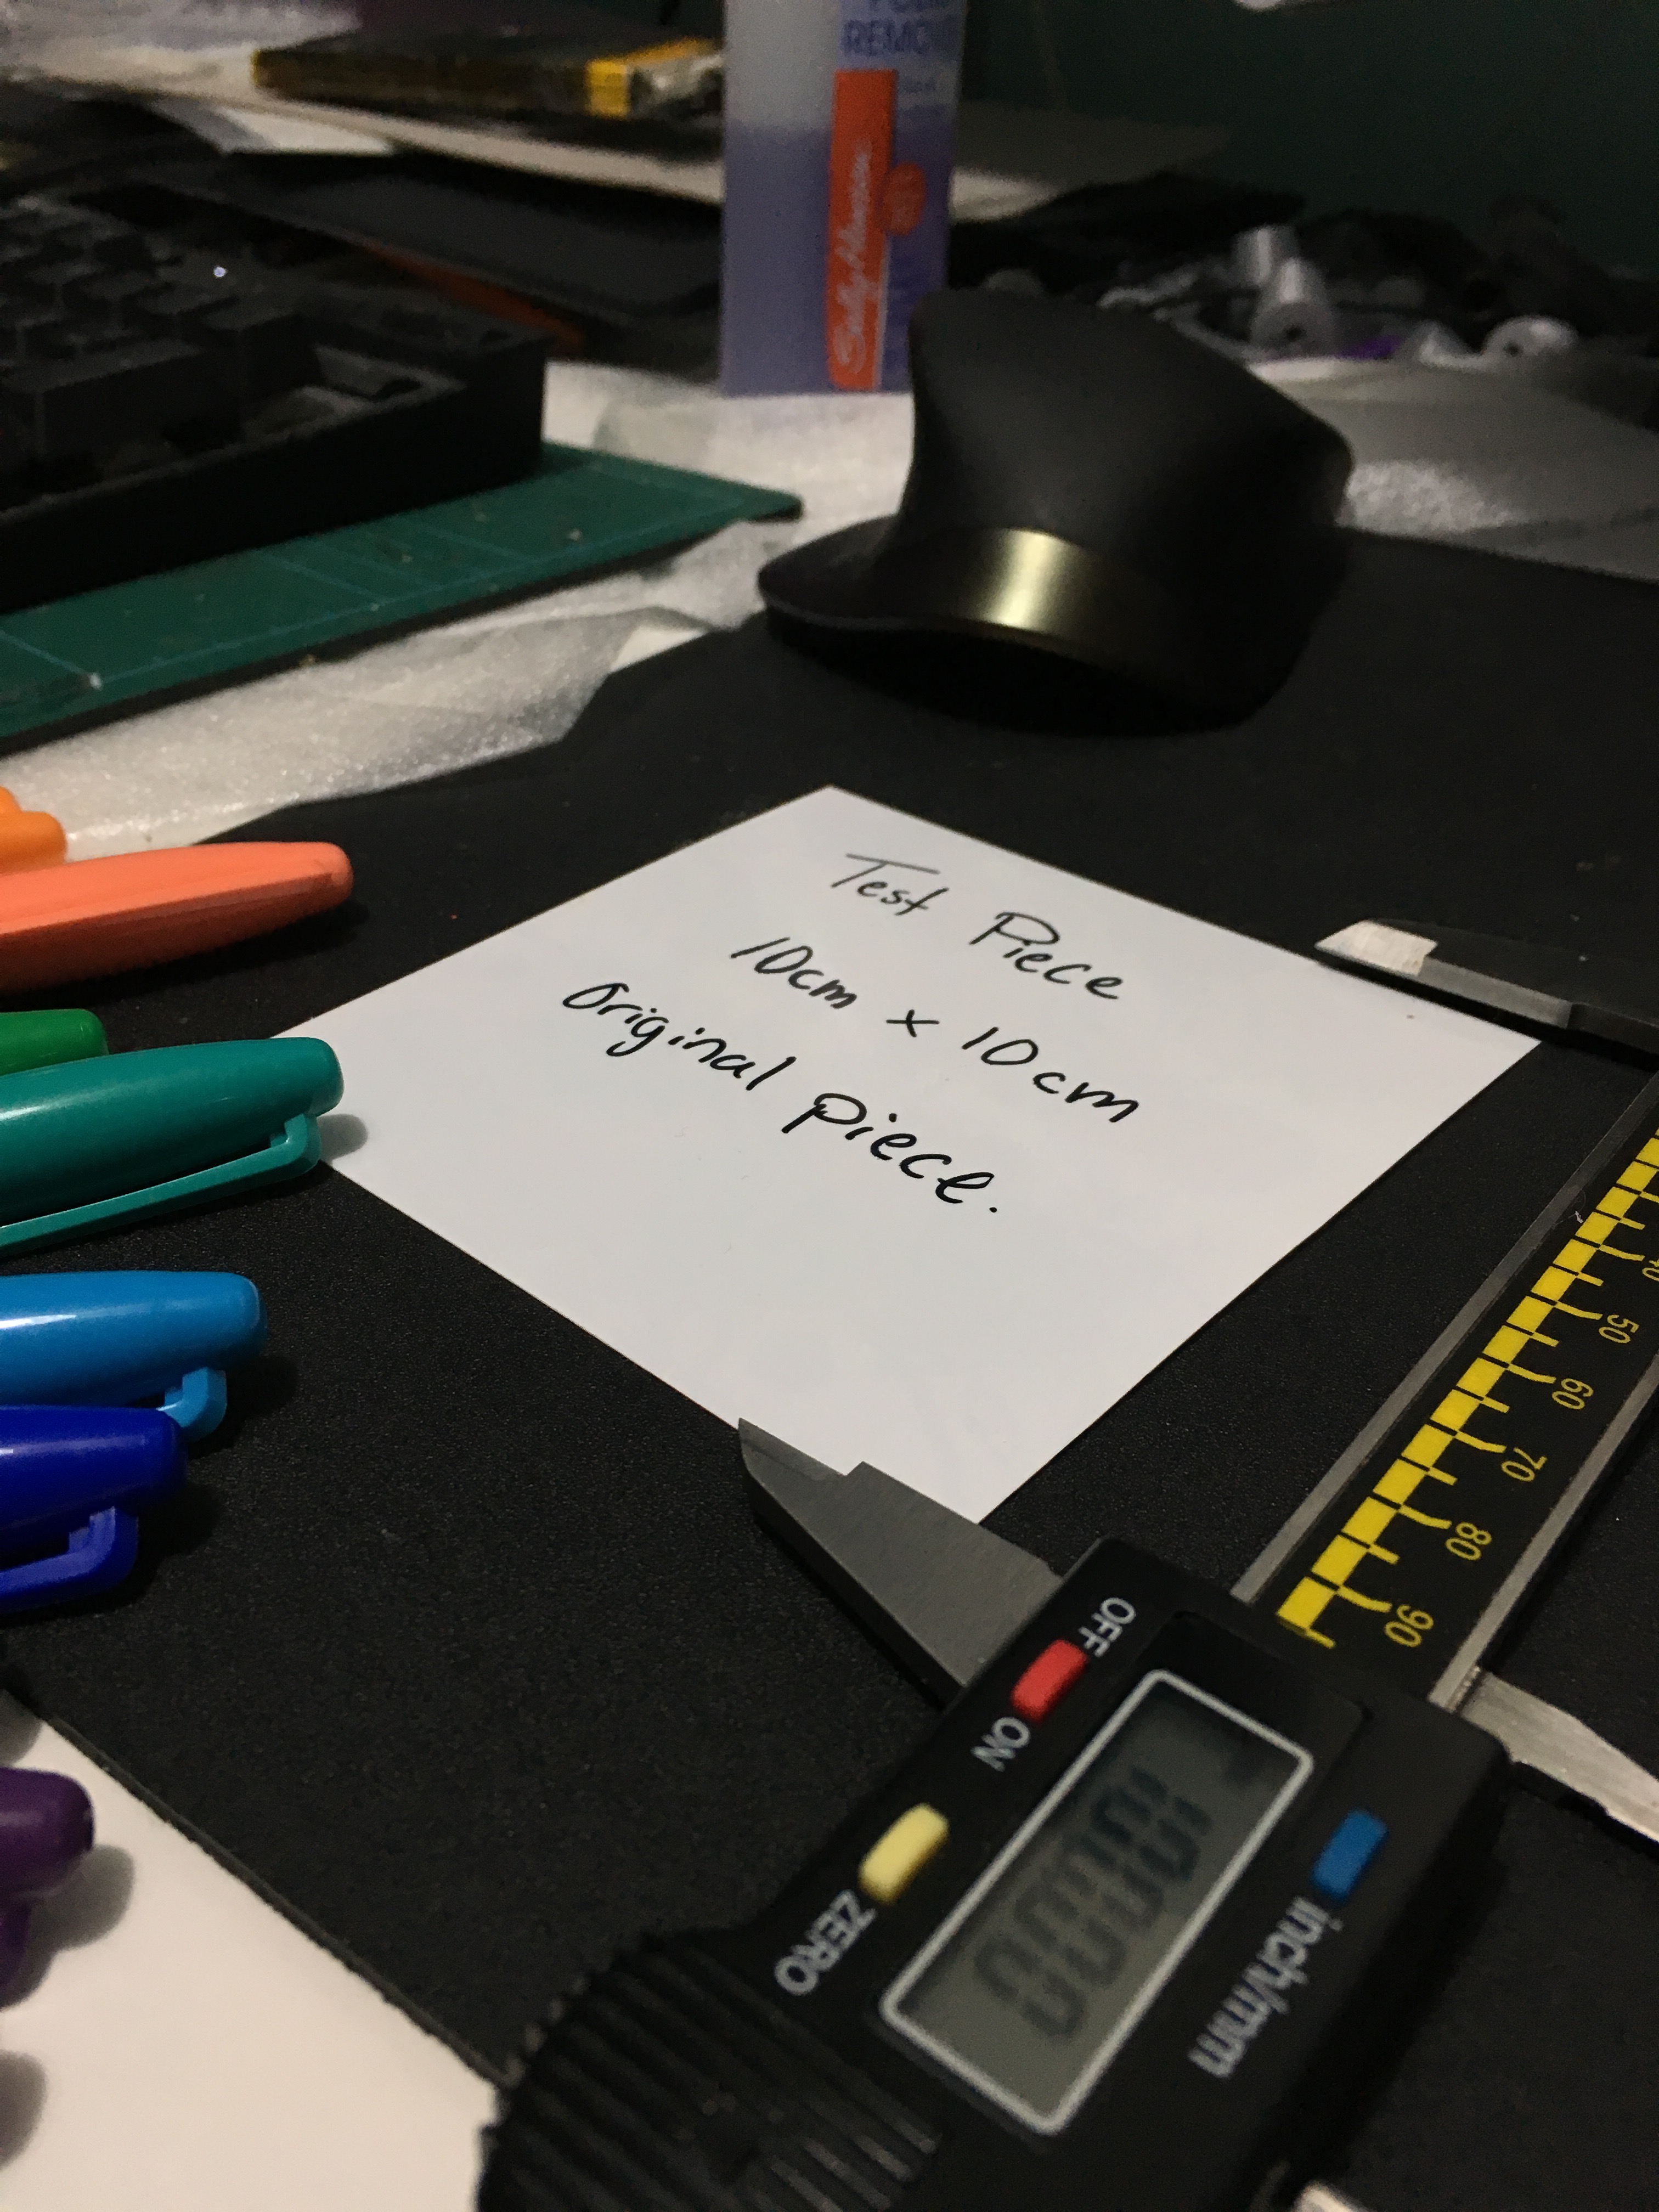
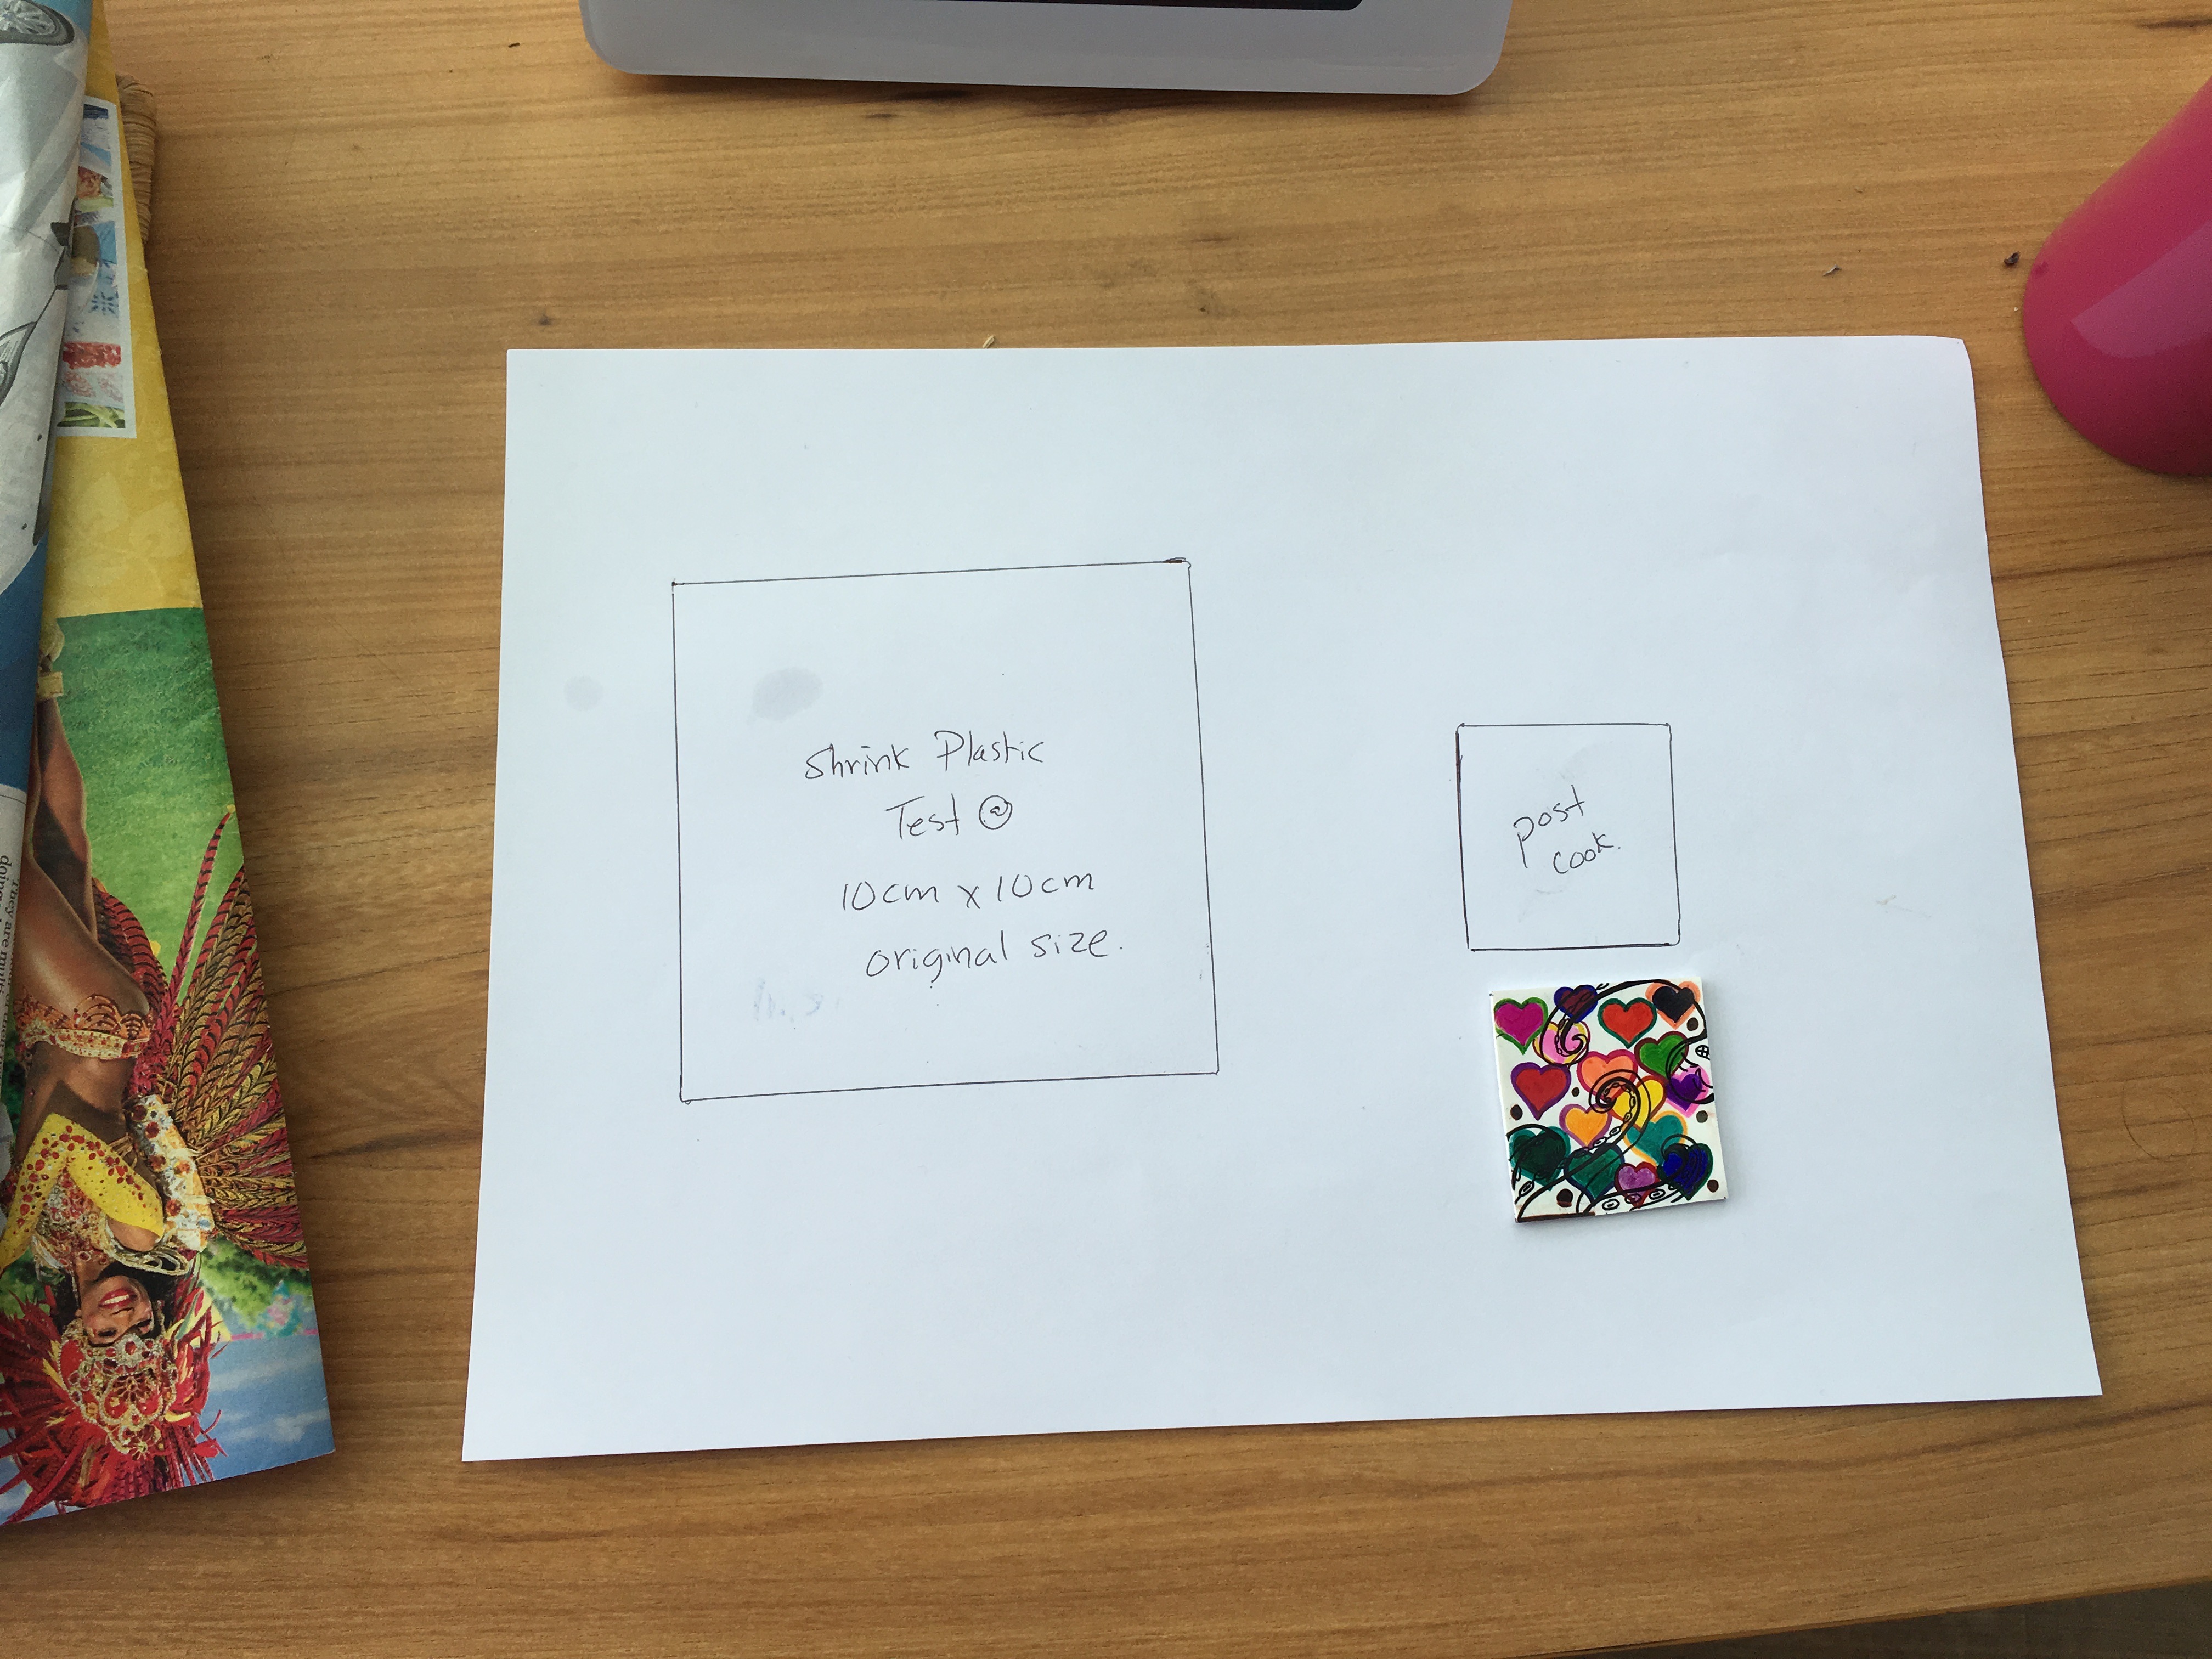
First things first, decide what shape and size you would like to make for your test piece. I was fairly safe with a square that was 10.0cm by 10.0 cm. I measured and cut the piece out, then measured again just to be safe!
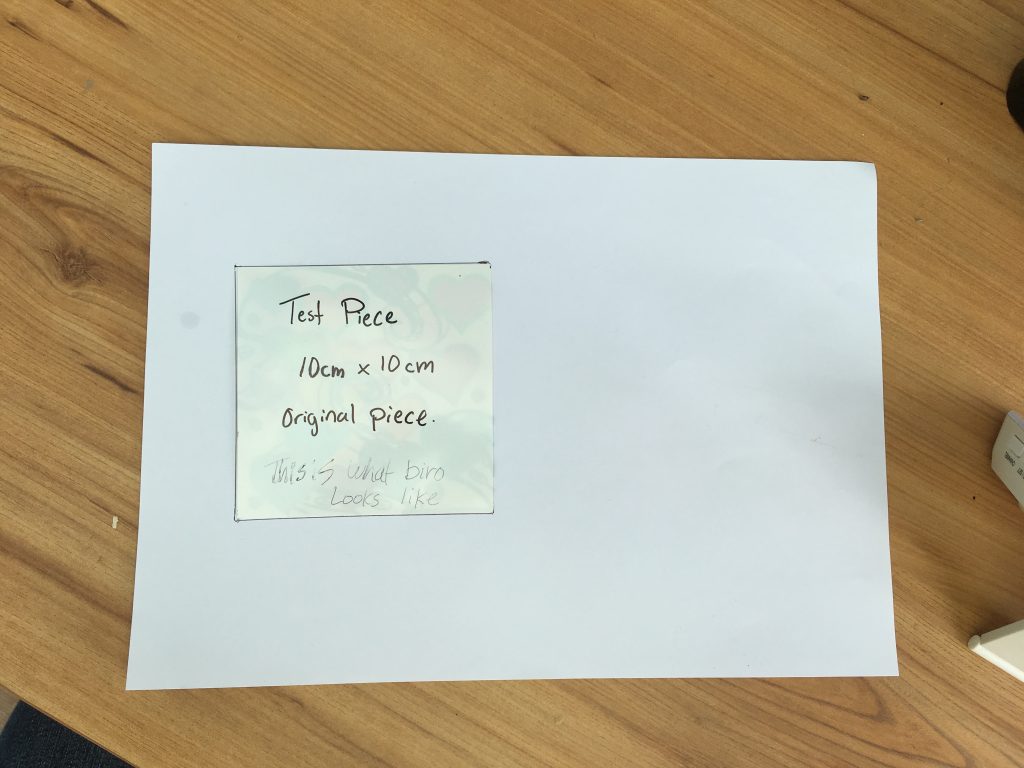
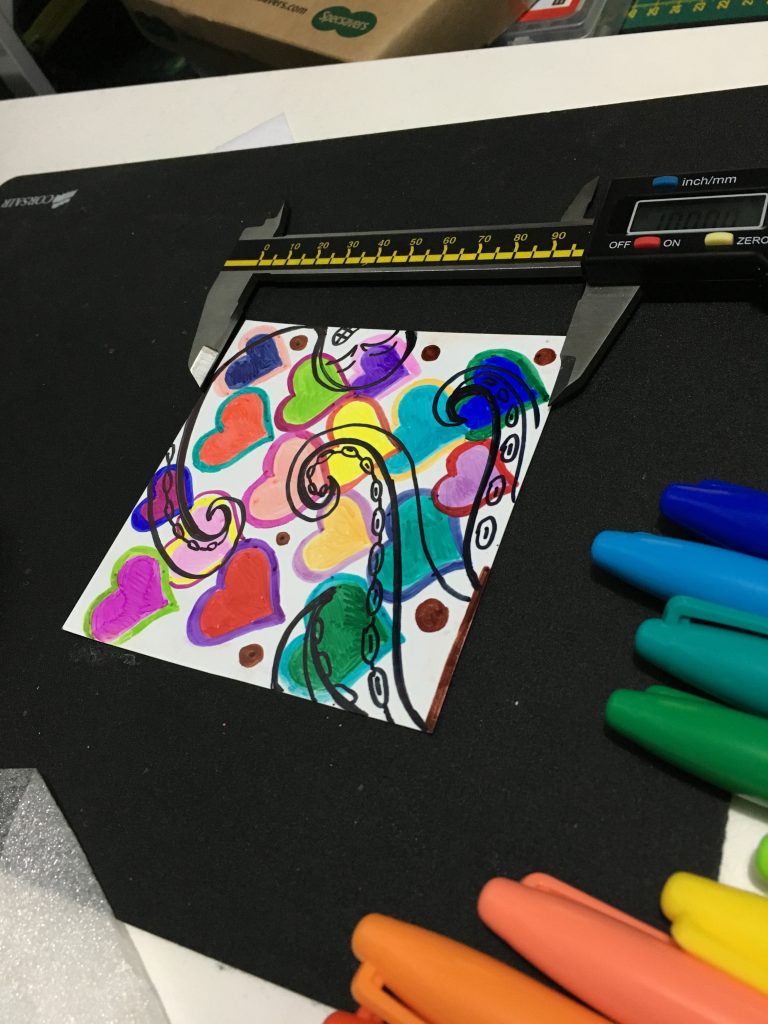
Next, using the piece of plain paper, trace around your shape so that you have a visual reminder of the size and shape of your test piece originally. Next, sand your your test piece so that your mediums of choice will stick to it! I used a couple of different materials on this to see how permanent they would be once cooking: permanent marker and biro pen.
Next step: have fun! I used the reverse side to test all of my sharpie colours and just generally have a doodle.
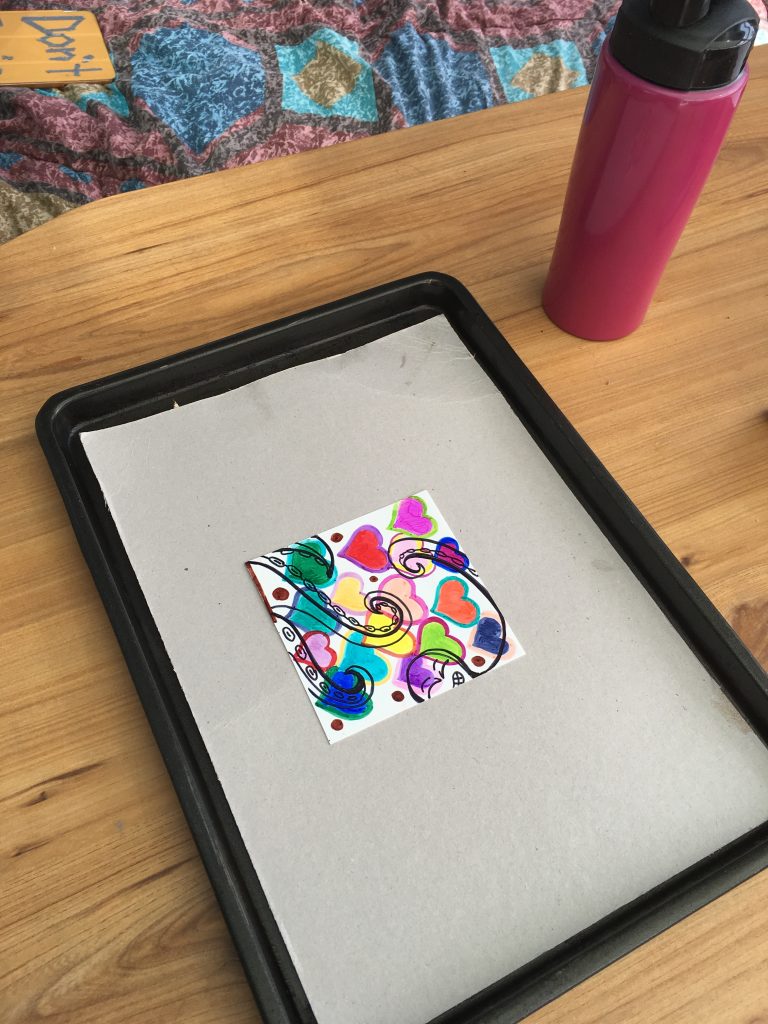
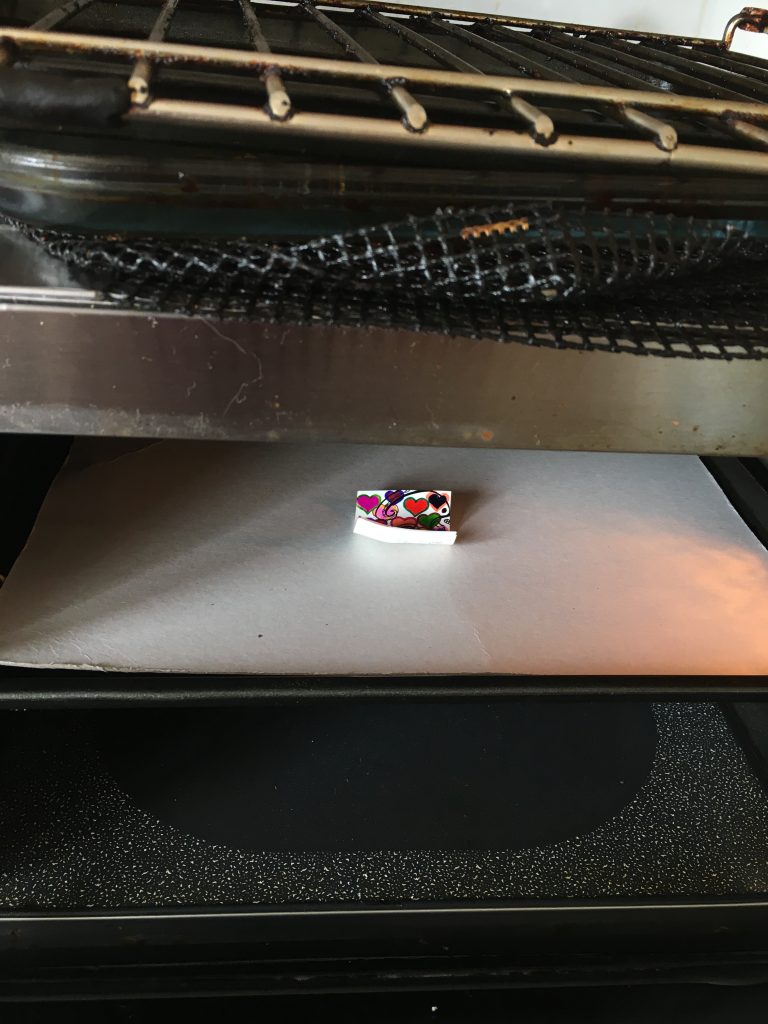
Time to get ready to shrink! I lined my baking tin with my A4 cardboard to keep the piece and the lining from floating around my oven. I learned this the hard way – don’t put the plastic straight onto metal, you run the risk of welding it together and ruining both the pan and the test piece.
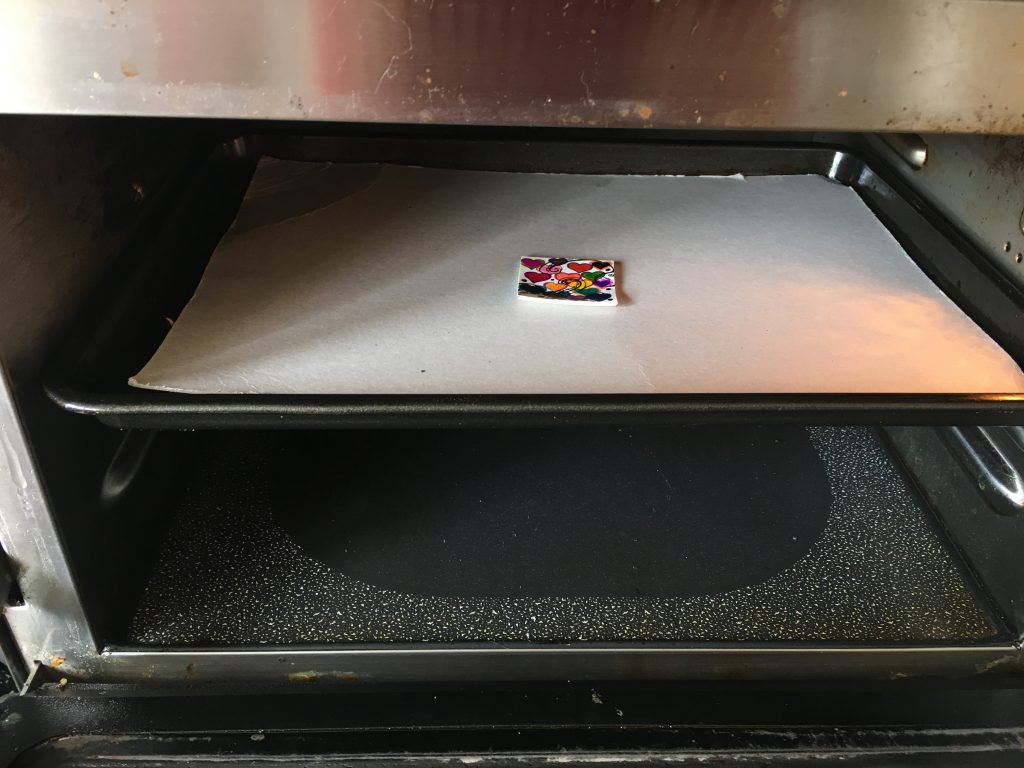
Pre-heat your oven to 180 degrees C before you put your piece in – it cuts down on the waiting time that you will be staring anxiously at your oven door. When your piece starts to shrink, it will roll up and look like its completely ruined. Don’t panic! it will flatten out.
There we go! Once it has laid back flat, it is more or less done. Be careful not to burn this – you must watch to make sure it doesn’t discolour (but this doesn’t happen super fast). It doesn’t take very long to shrink down – 3-5 minutes max and you will be done. If, when you take it out, it is not completely flat, throw it under another tin and hold it down between them when its first out of the oven. It will cool quickly so do it fast. If you don’t manage it on the first attempt, don’t worry. Just put it in again and warm it up again and repeat.Finally, trace around your test piece again and compare the sizes! When I measure mine the second time, it has shrunk to 4.57cm x 4.65cm. As you can see, it was much closer to a 55% shrink, rather than the 45% it said on the package. This means that, on average, you would need to make your original artwork double and bit bigger than what you would like the finished piece to be. You can see that the colours have also become much darker than what they looked like initially, so keep that in mind when you are making your projects!

 Shrinky art has been a child-hood staple of the art community for at least 20 years – since I was a kid basically. Thermo-plastics are amazing and have many applications commercially and for the humble crafter alike. I could never afford to do it much as a child because it cost a whole lot of money for relatively little, but as an adult, I have discovered a more economical way to source materials. E-bay!