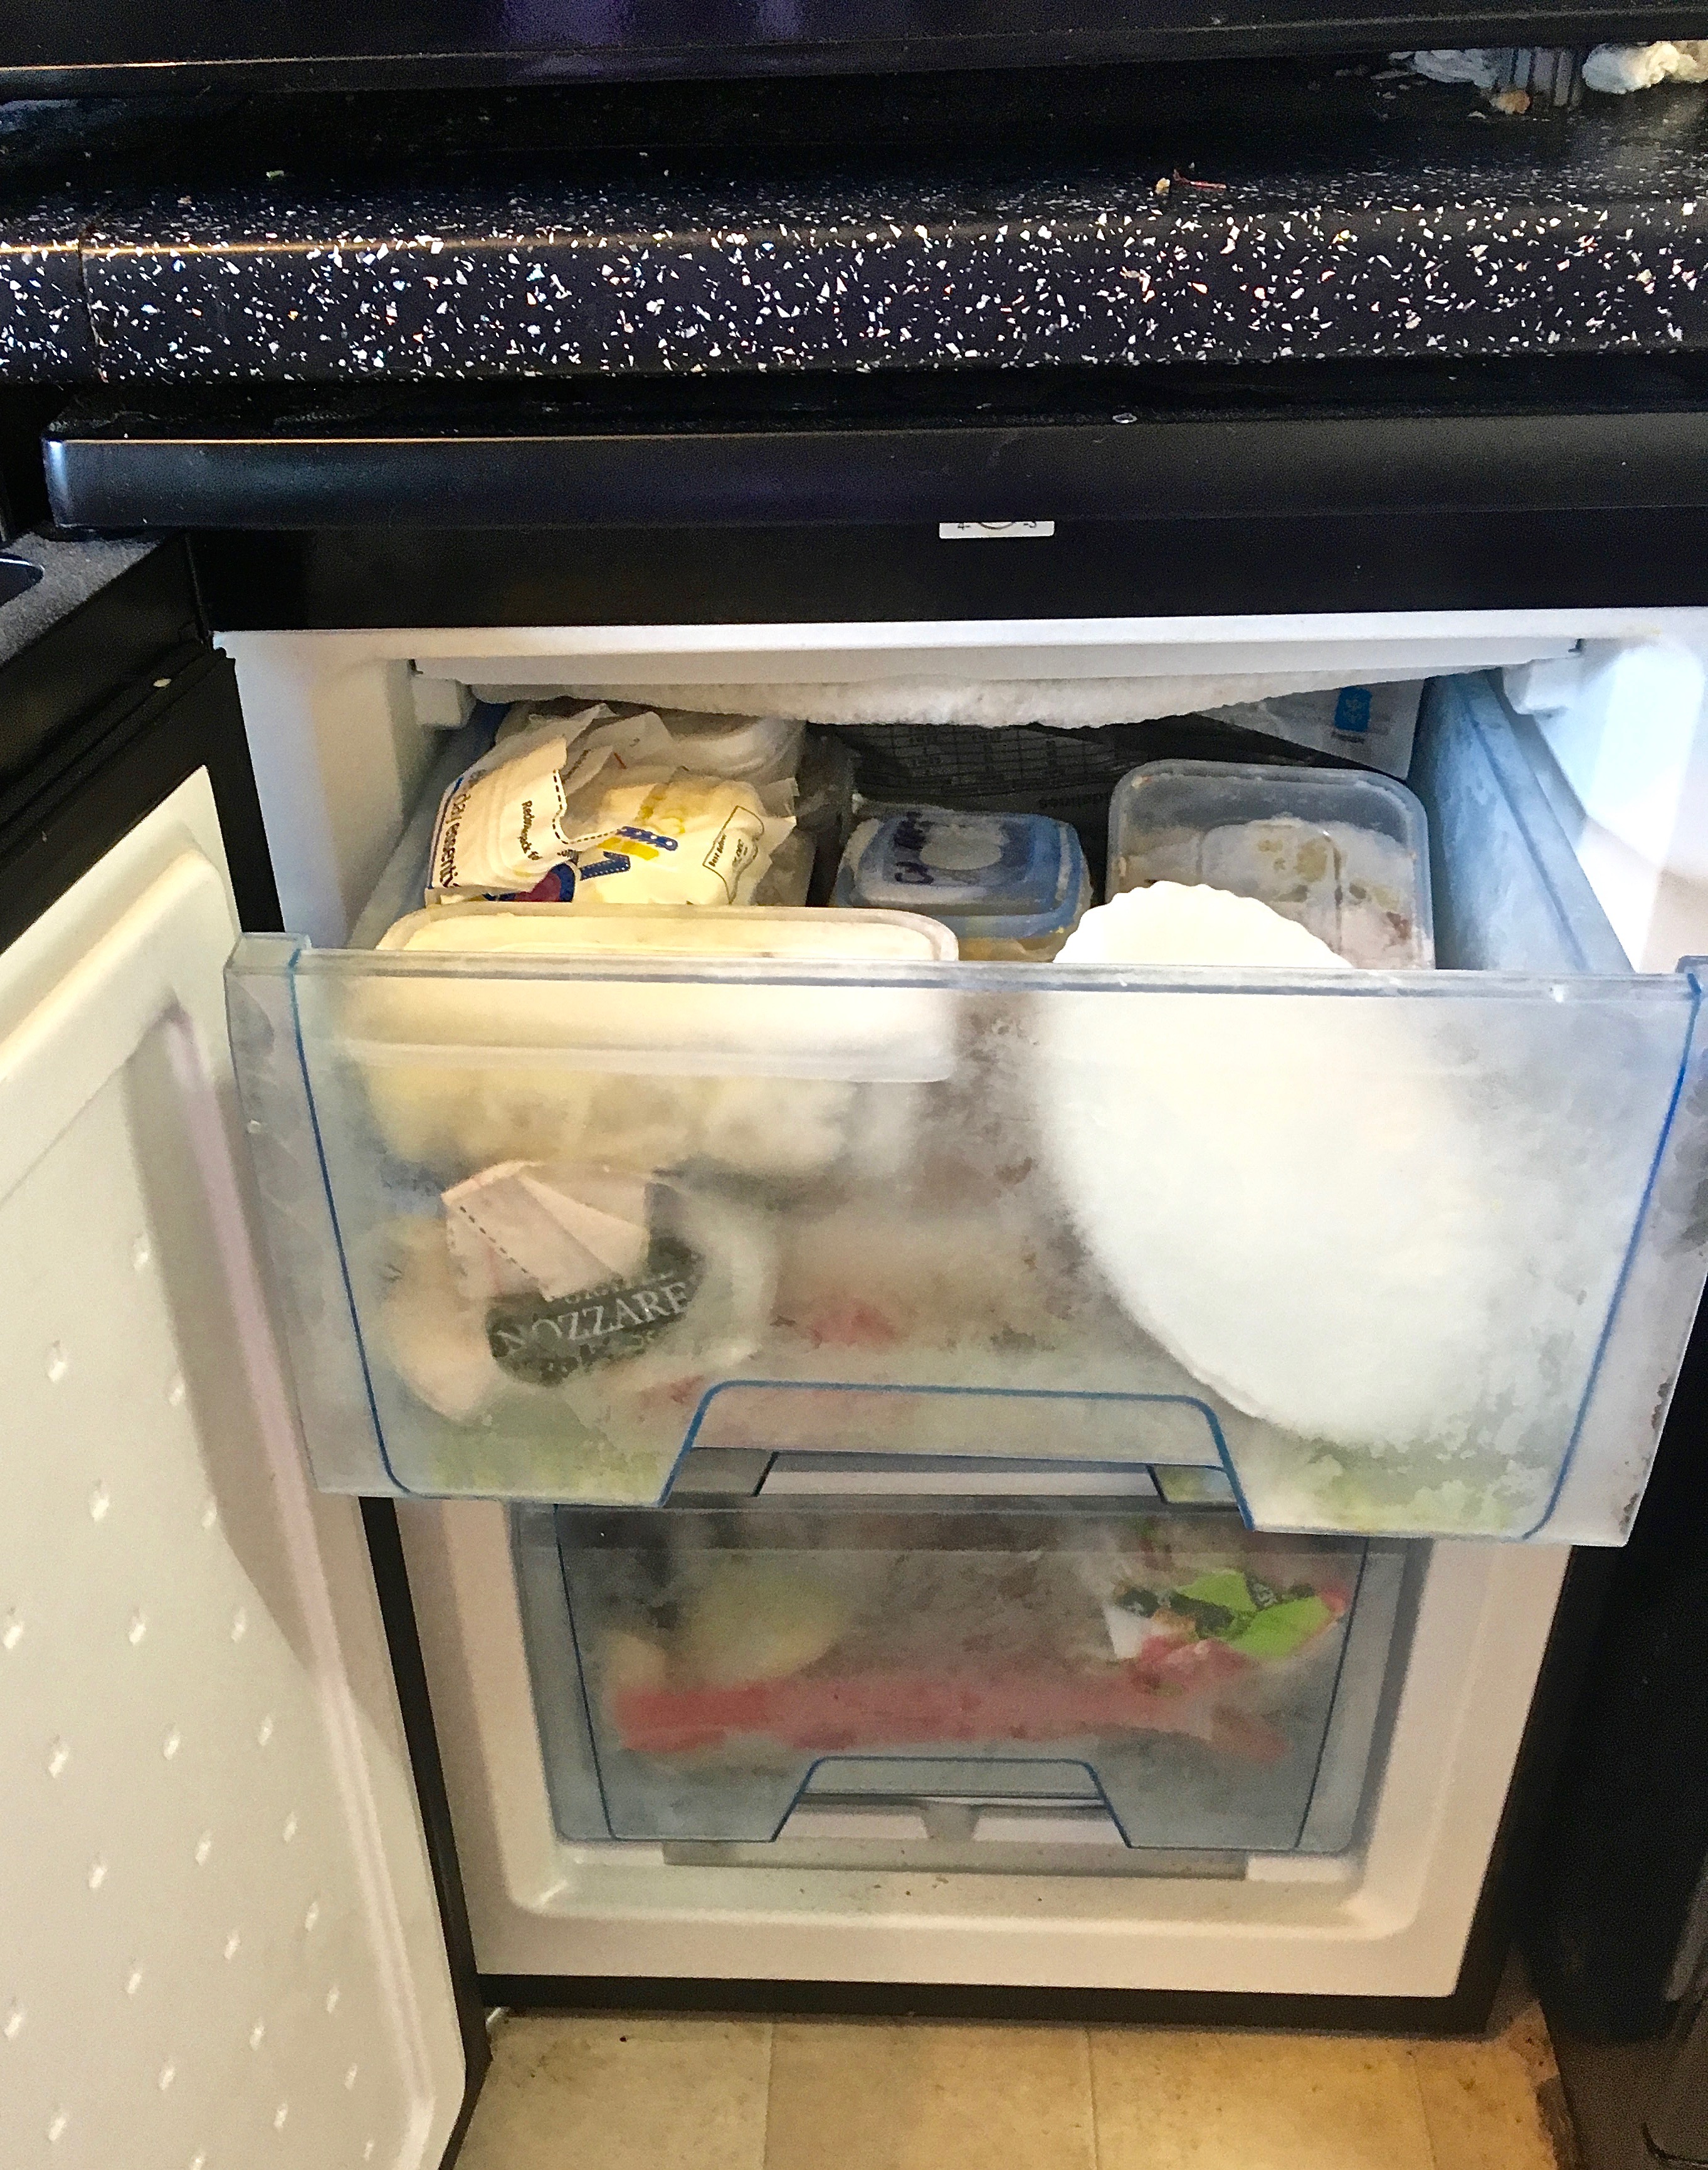
My foraging adventures led me to have about 2 kilos of blackberries and no freezer space, so I decided that jam was the best option for preserving and claiming these little beauties. Since they are some of the tastiest you will ever come across and definitely all organic with zero pesticides, they are perfect for preserving. I started to make a picture tutorial on how-to, so hope you enjoy! I acquired this recipe from Allrecipies where the original can be seen – my measurements were a little different; less sugar, more fruit.
Ingredients:
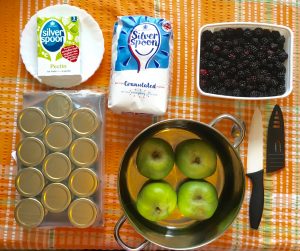 1 kg of blackberries (rinsed)
- 4 large Bramley cooking apples (about 1kg before peeling and coring)
- 1.25 kg sugar (If using Jam sugar, omit the additional pectin if you like)
- 1 package powdered pectin
- 1 tsp cinnamon
- 1 tsp nutmeg
- 1/2 cup water (125ml)

Equipment
- 1-2 small plates
- 1 very large roasting pan or deep pot
- 1 baking tray
- 1 wooden spoon
- 1 funnel
- 1 measuring jug
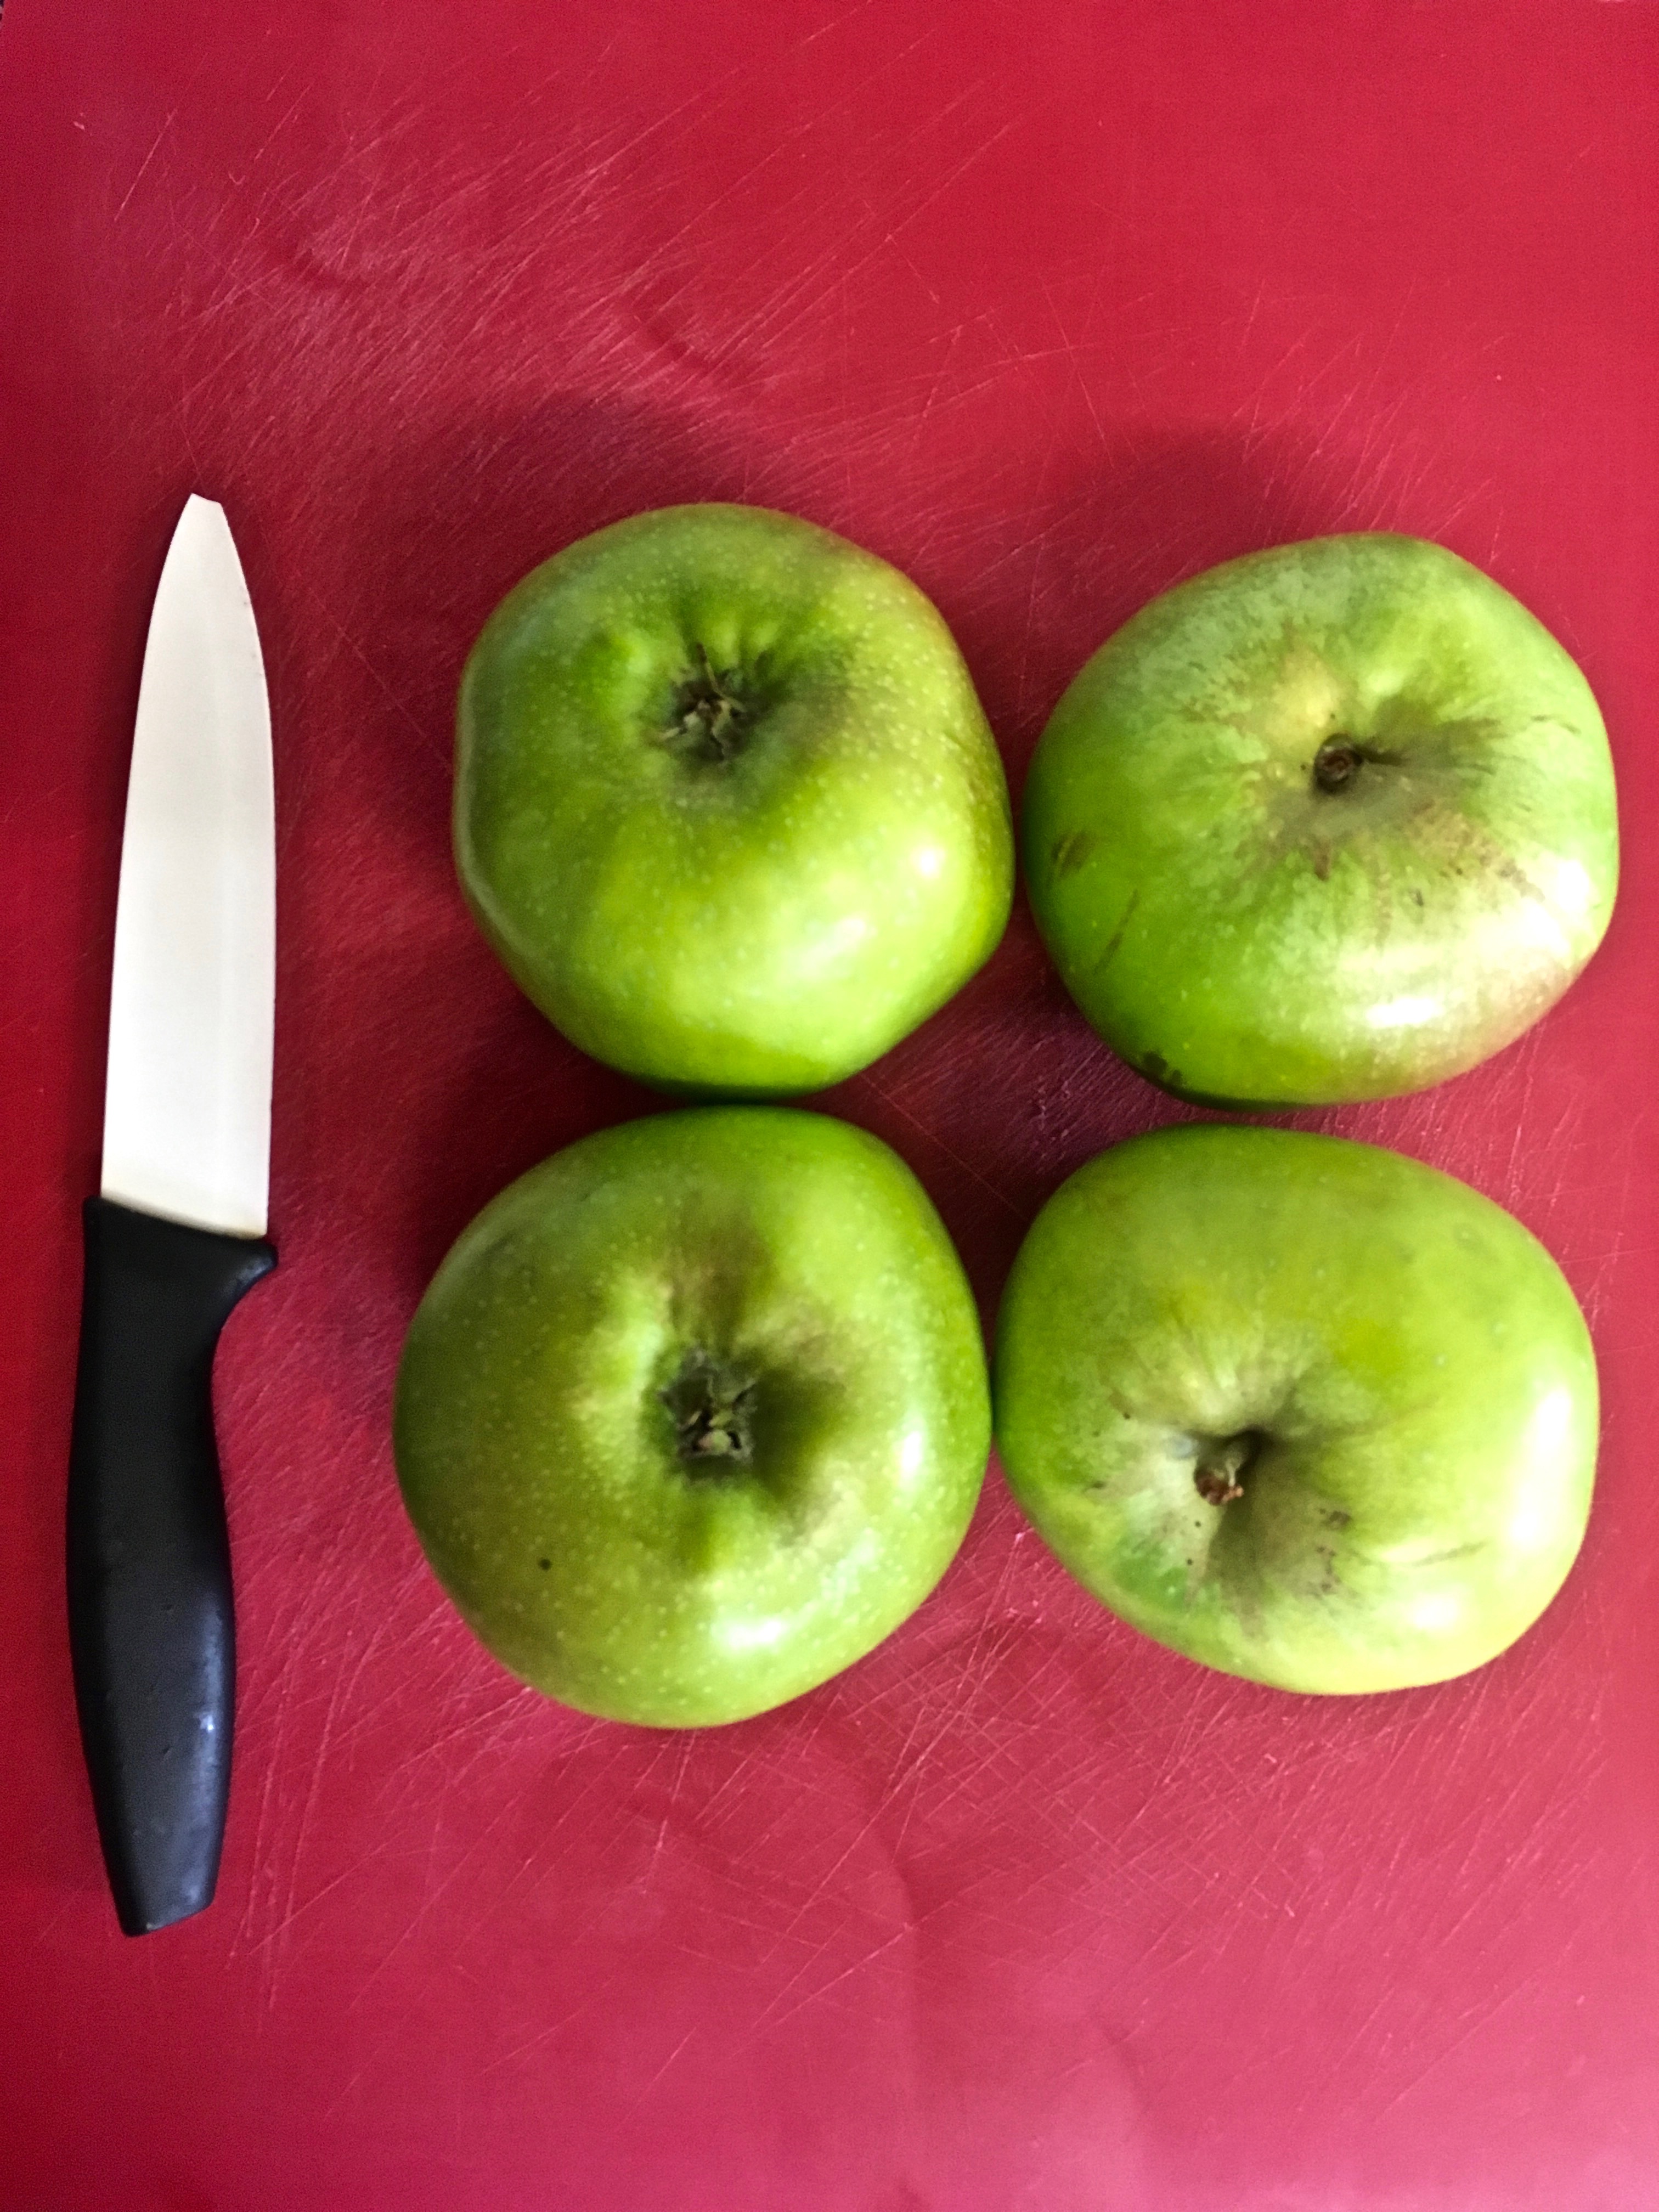
- 1 knife for peeling and chopping
- 1 cutting board
- 1 piece of baking parchement
- 12-13 jars (I used 110ml hexagonal jars from Hobbycraft)
Step 1: Put the plates in the freezer. I used 2, but you could get away with one. This will be obvious later, just trust me.
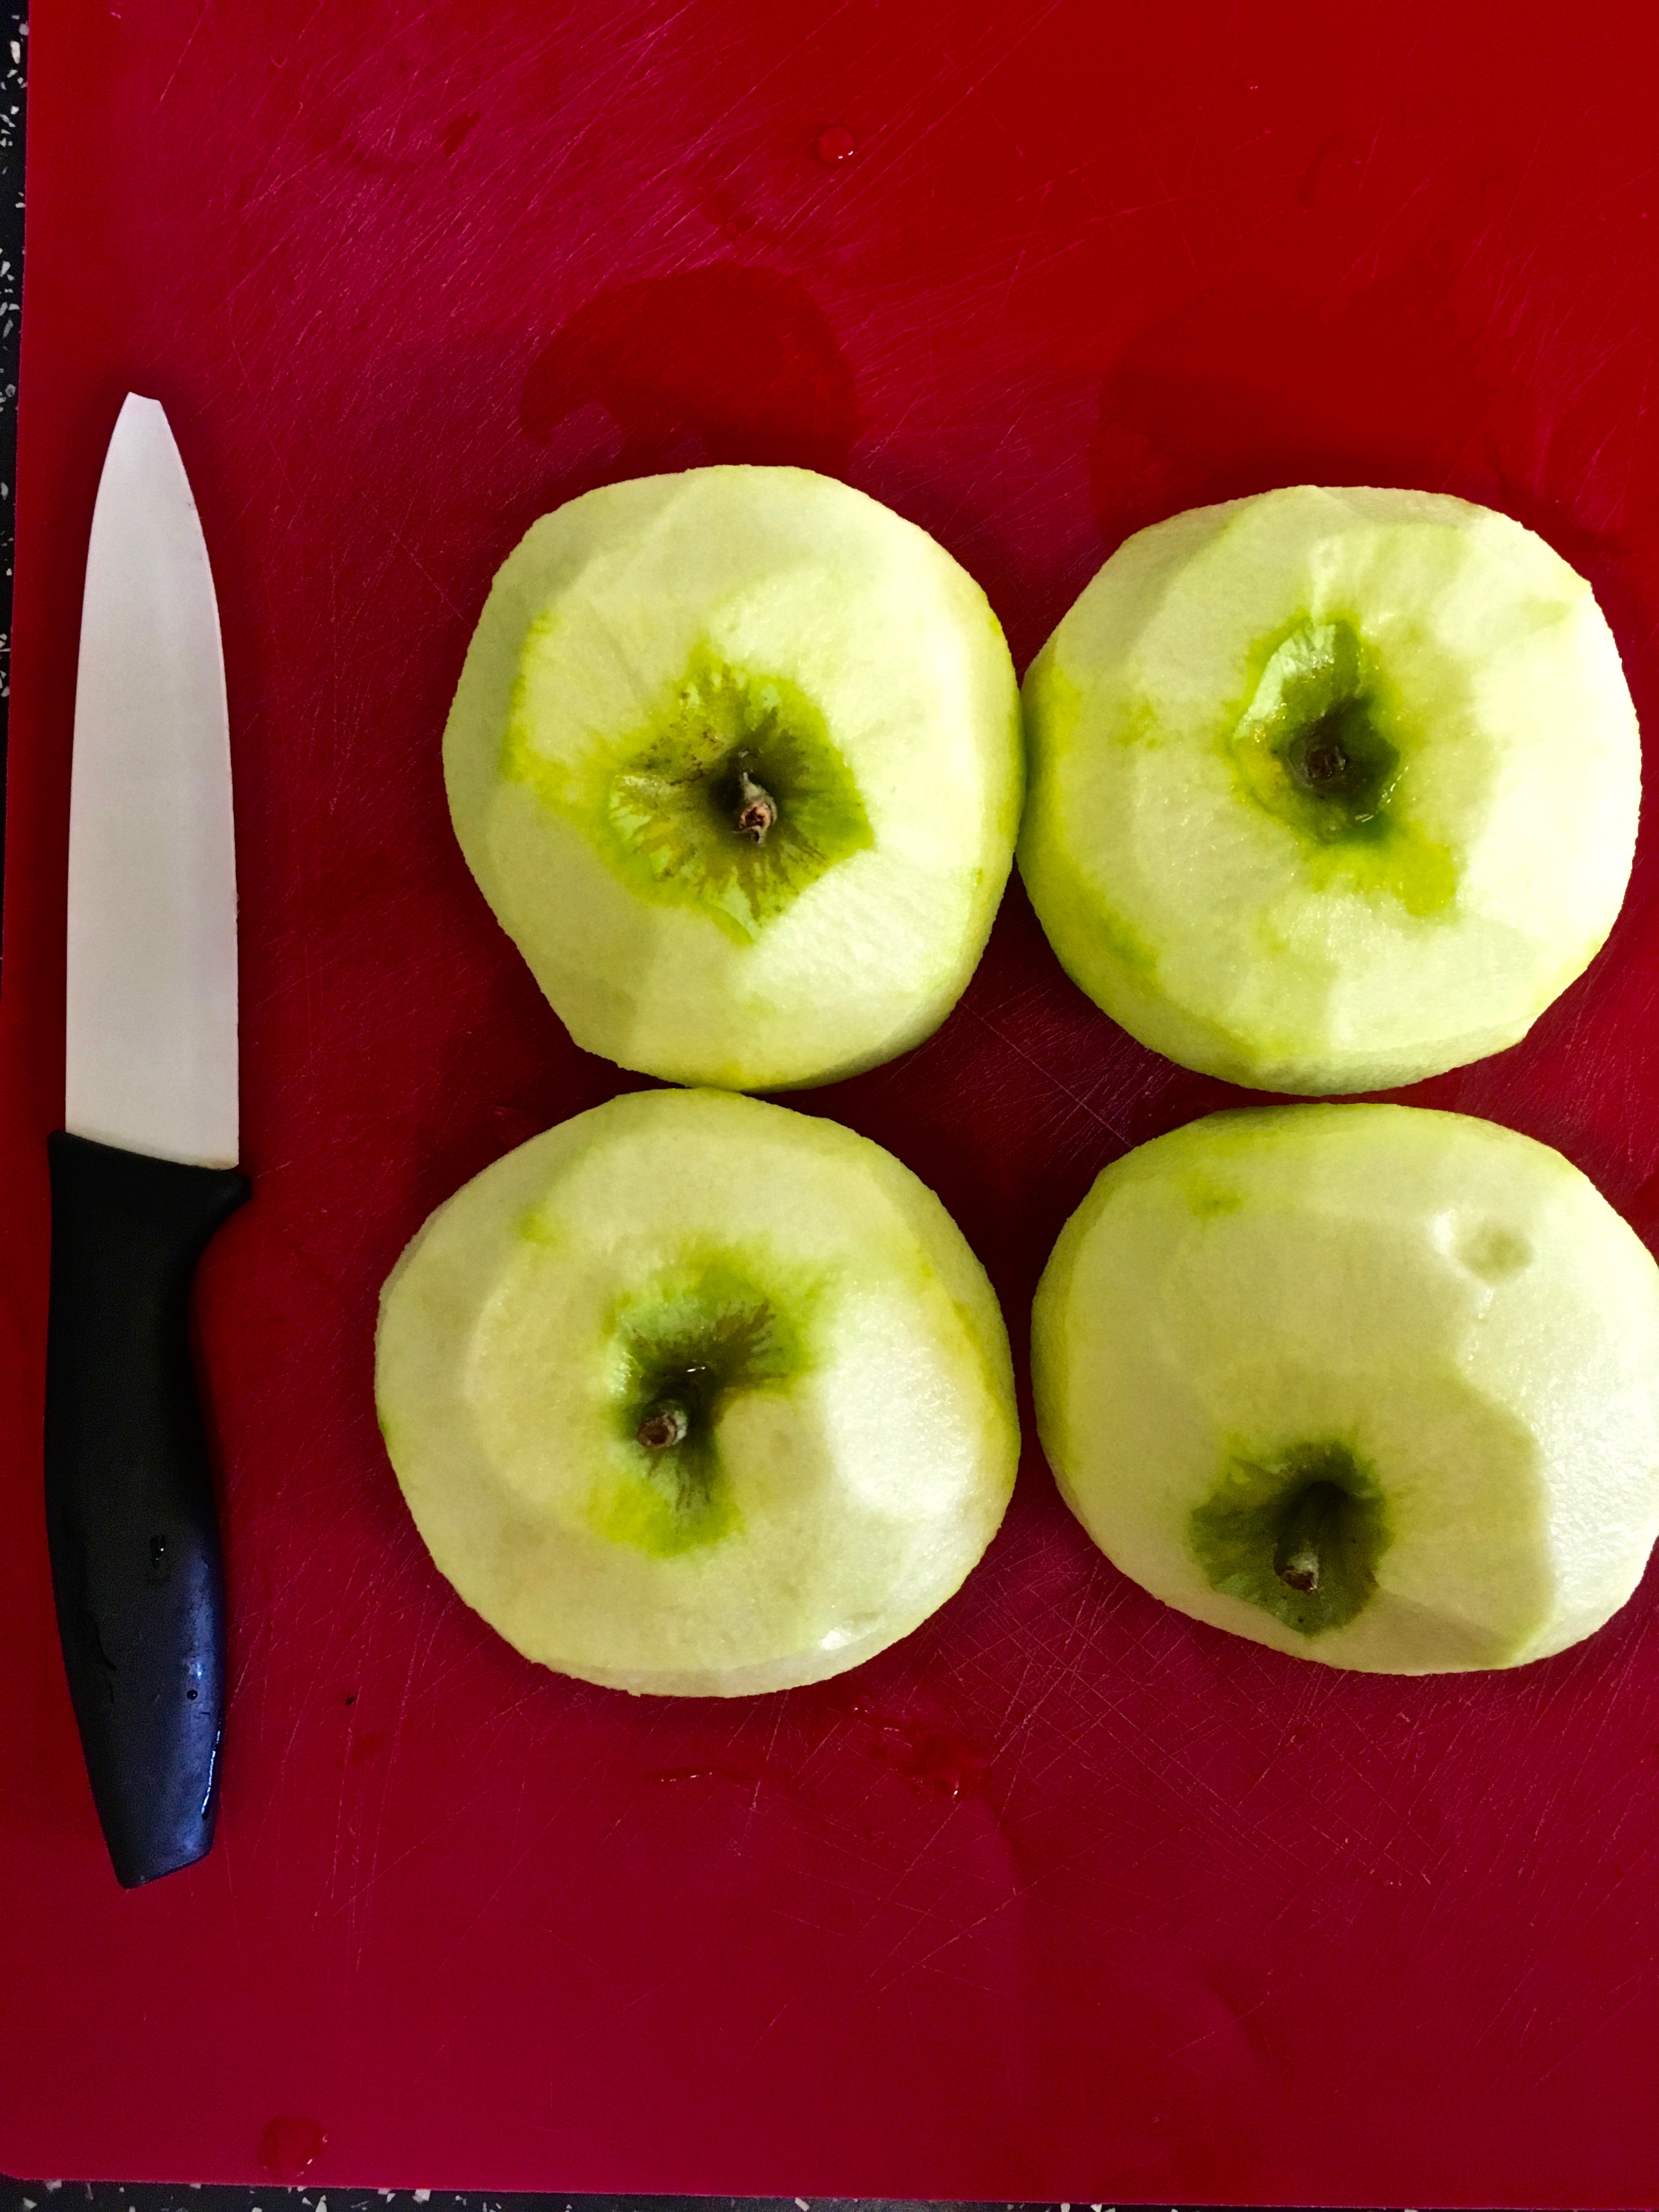
Step 2: Peel, core and chop your apples; the smaller the chunks, the faster they cook and the more mush you have, rather then pieces to bite into. I varied mine slightly. Magic!
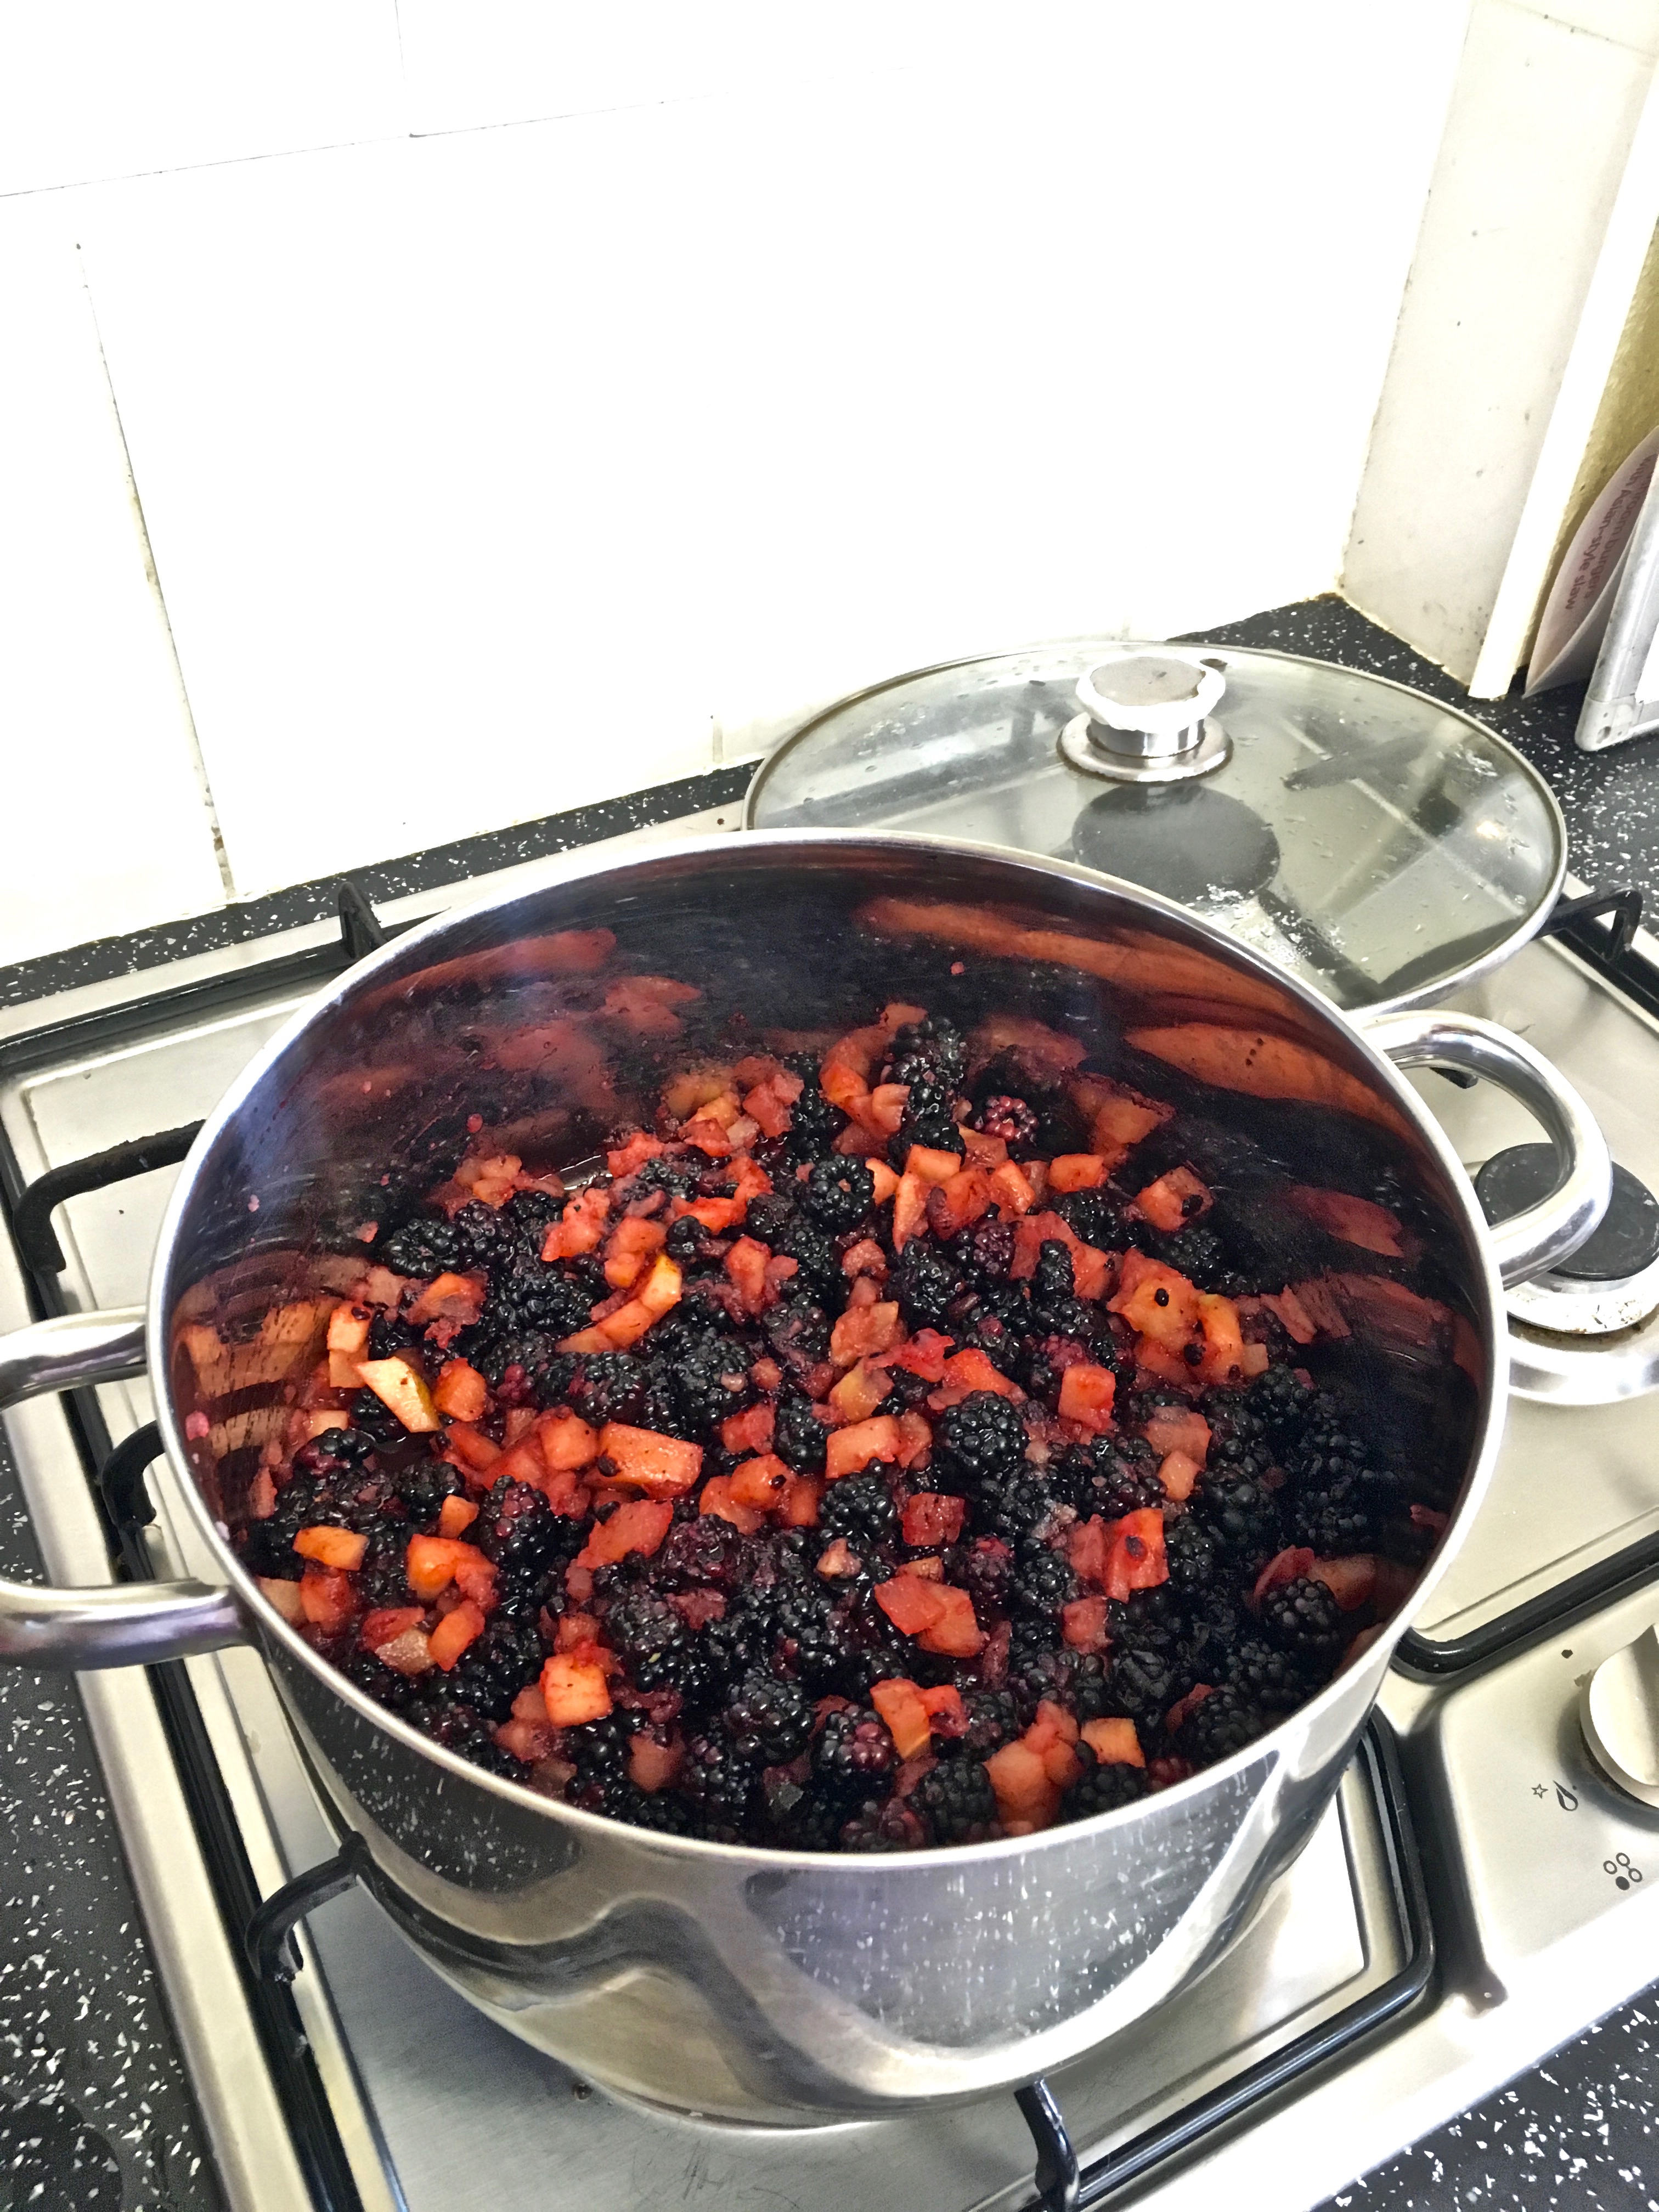
Step 3: Place apple pieces in the pot with water and simmer with lid on for 10-15 minutes until soft, but not mushy in texture. I simmered mine until the smallest pieces were turning to mush.

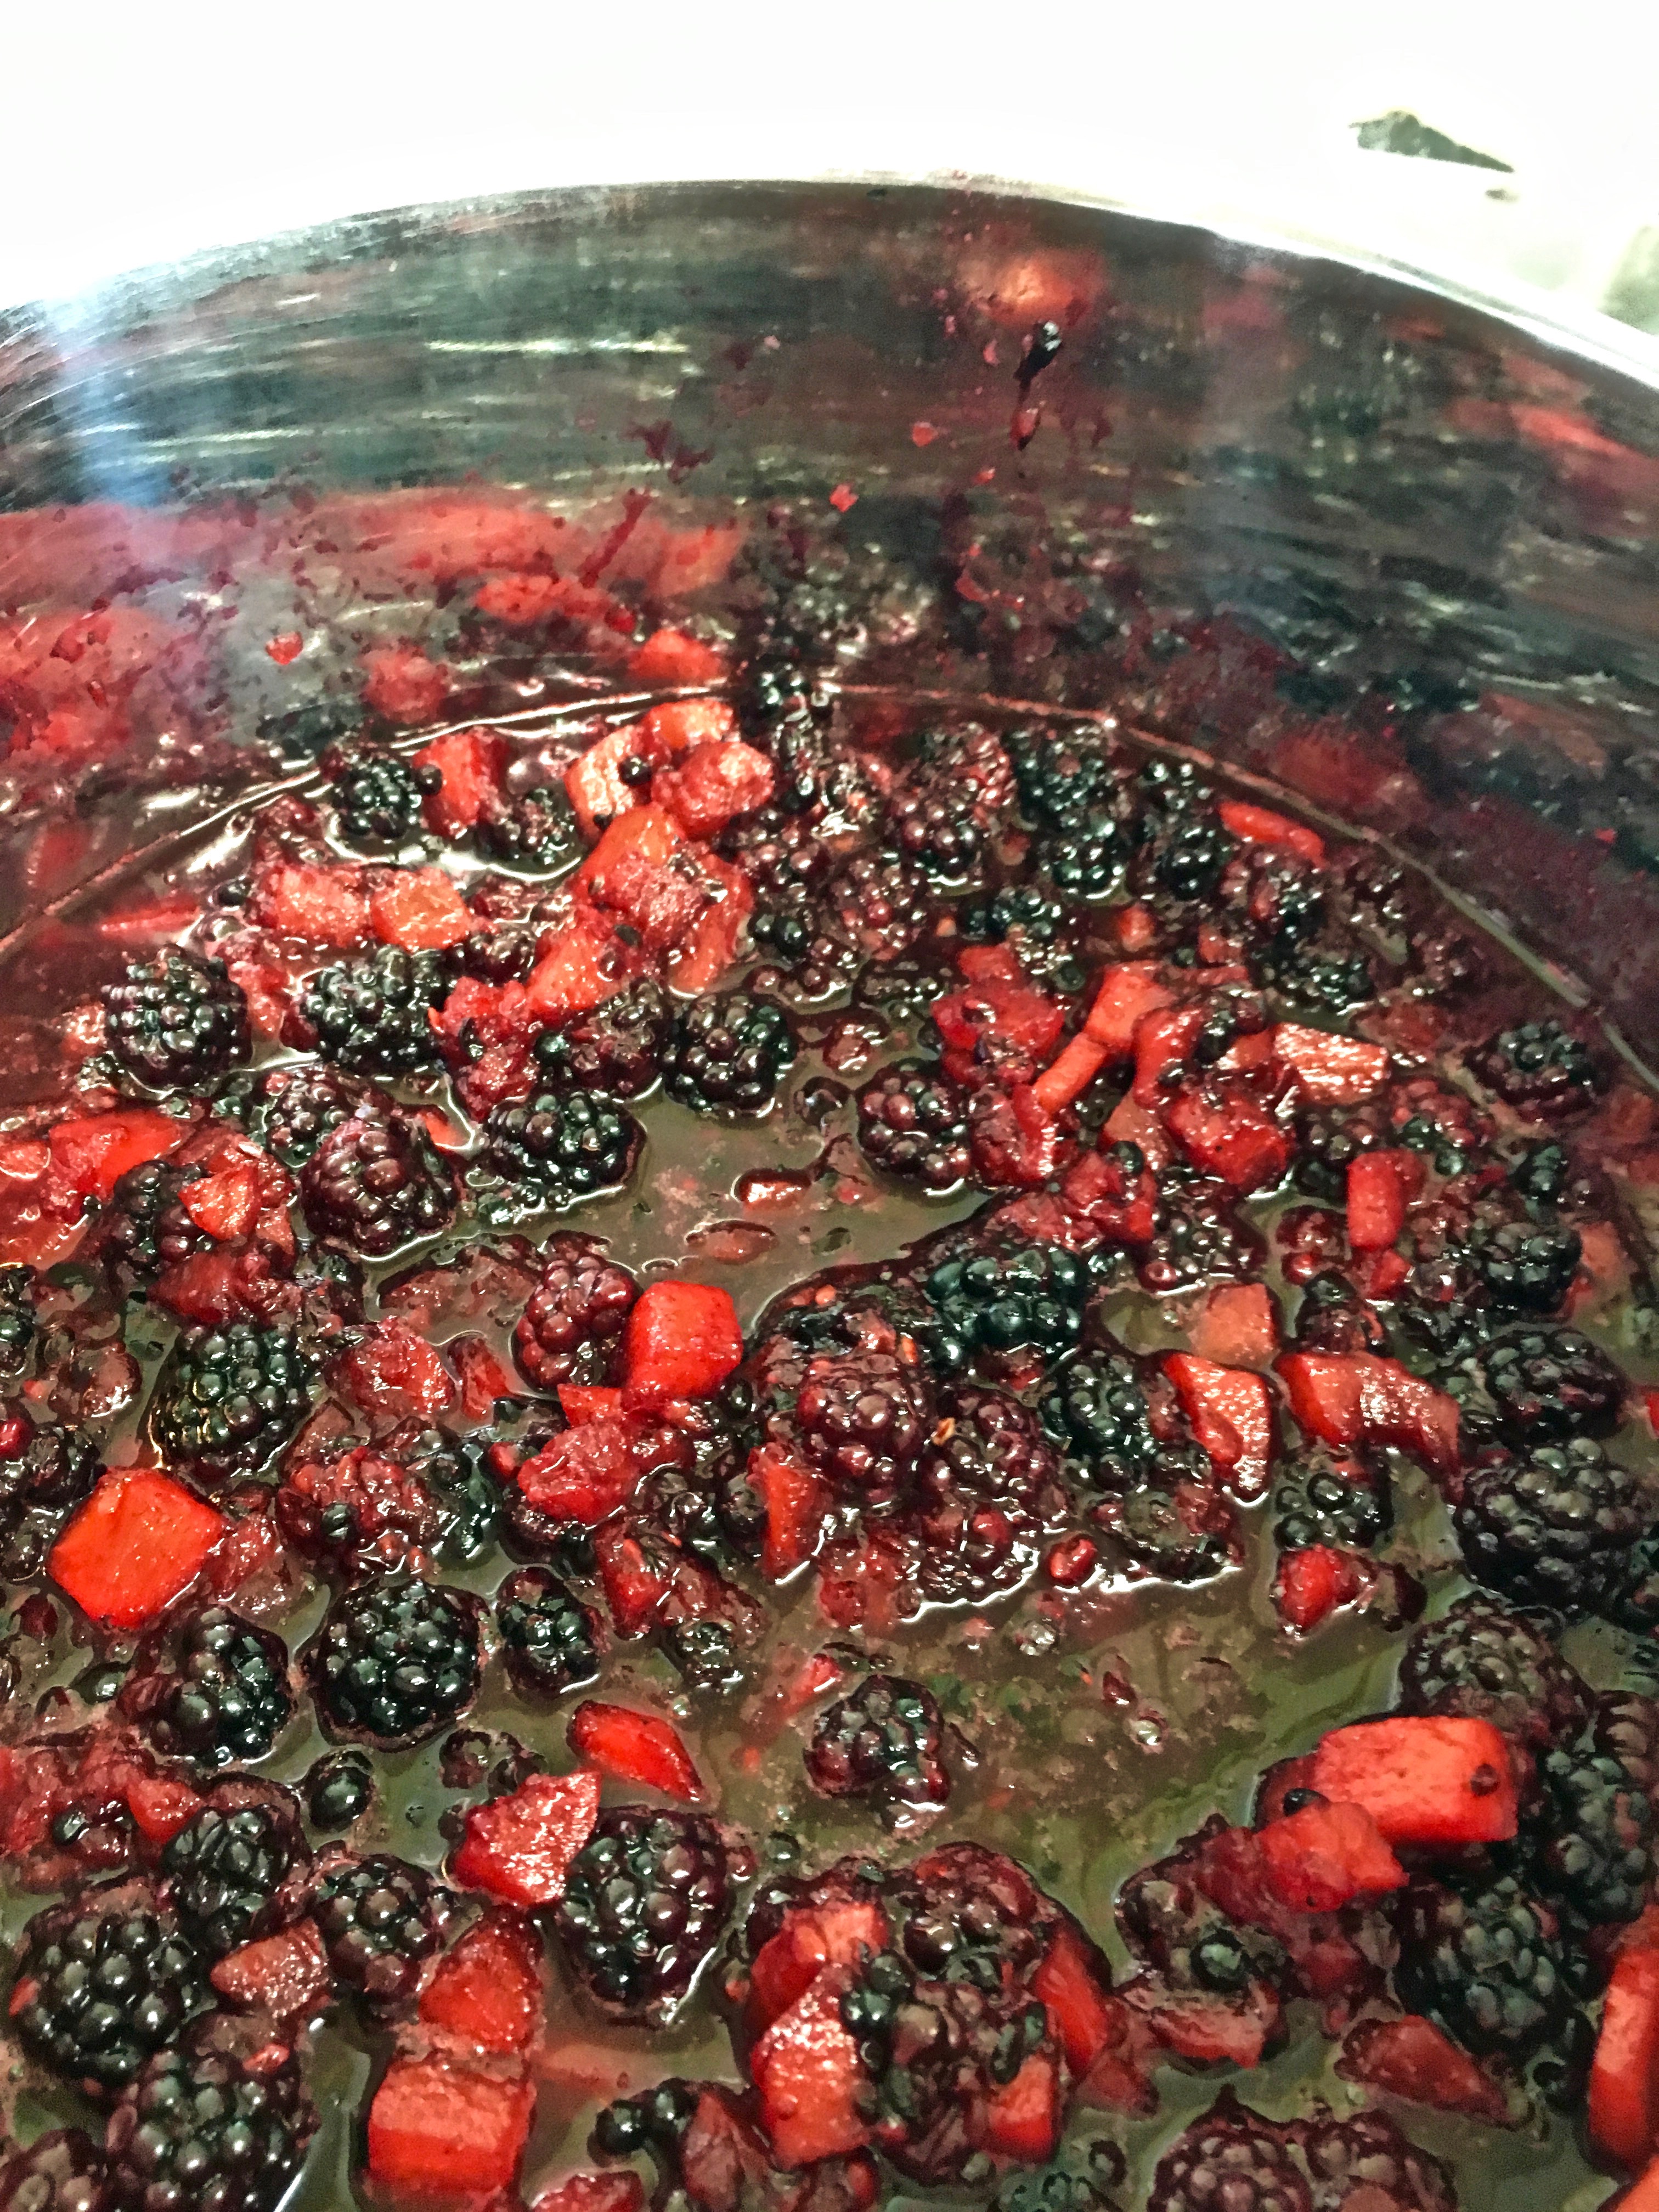
Step 4: Add in the blackberries when the apples are just about done, and simmer again for 5 minutes with lid on.
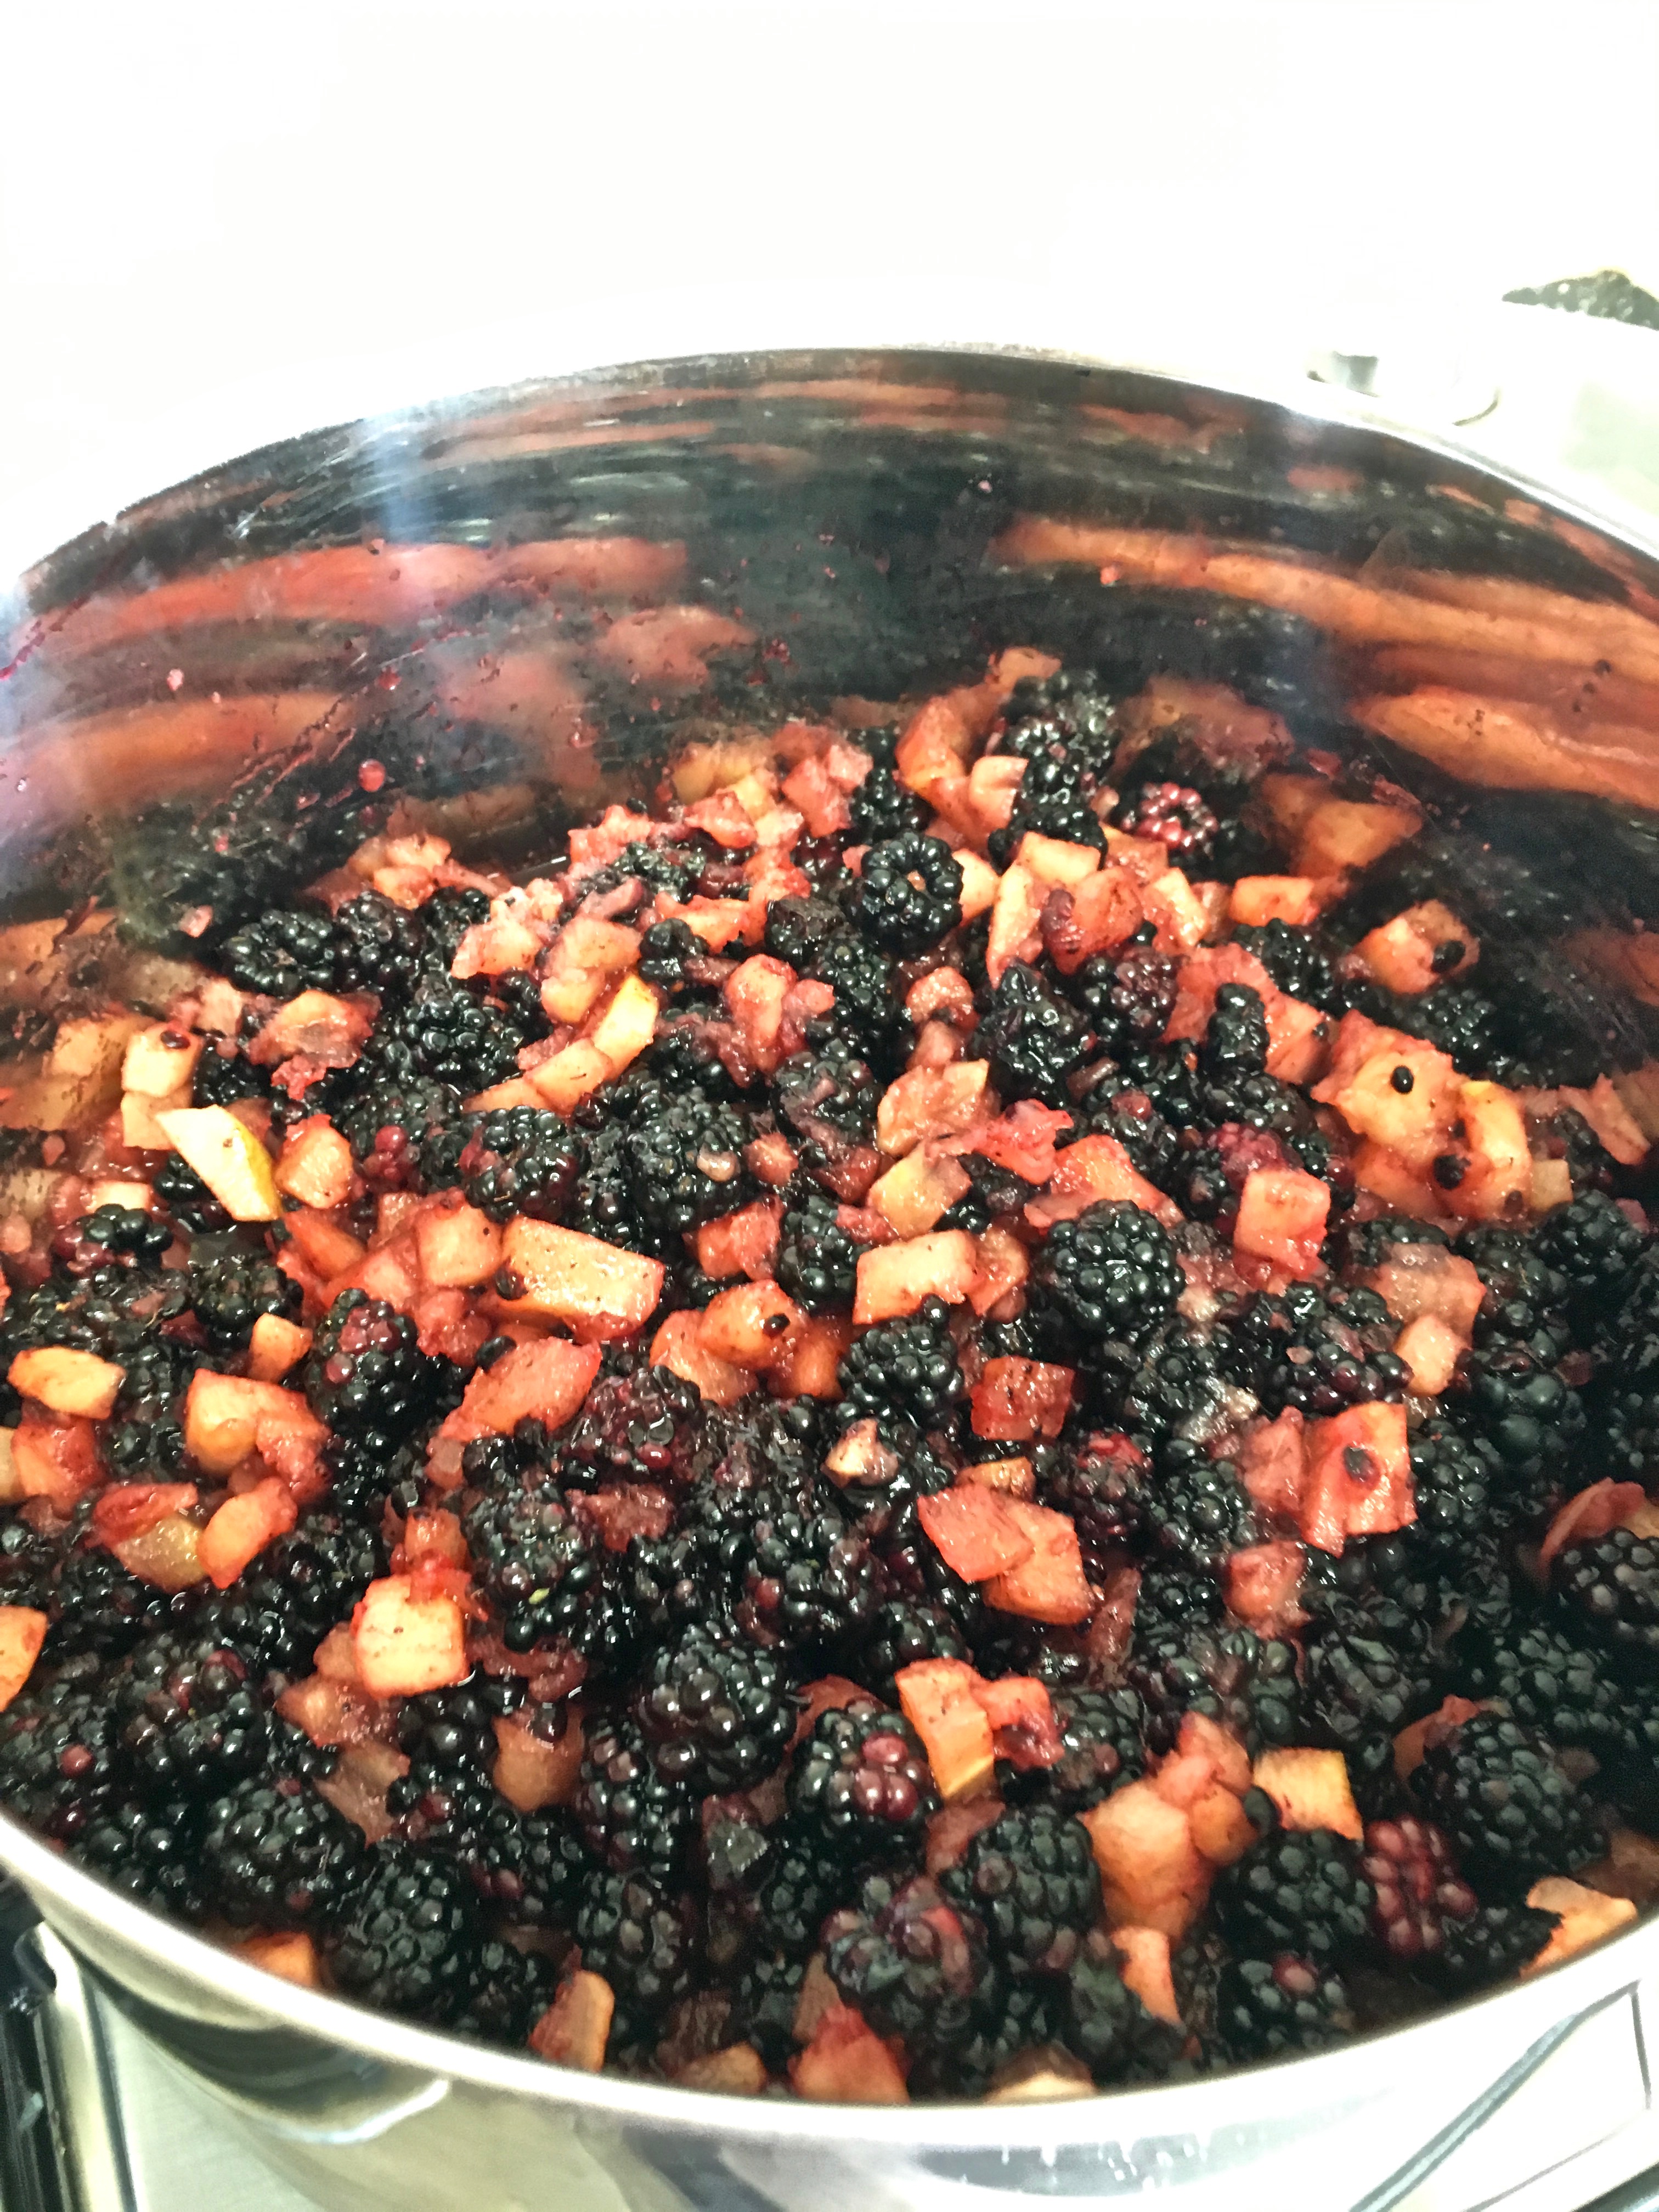
And after 5 minutes…
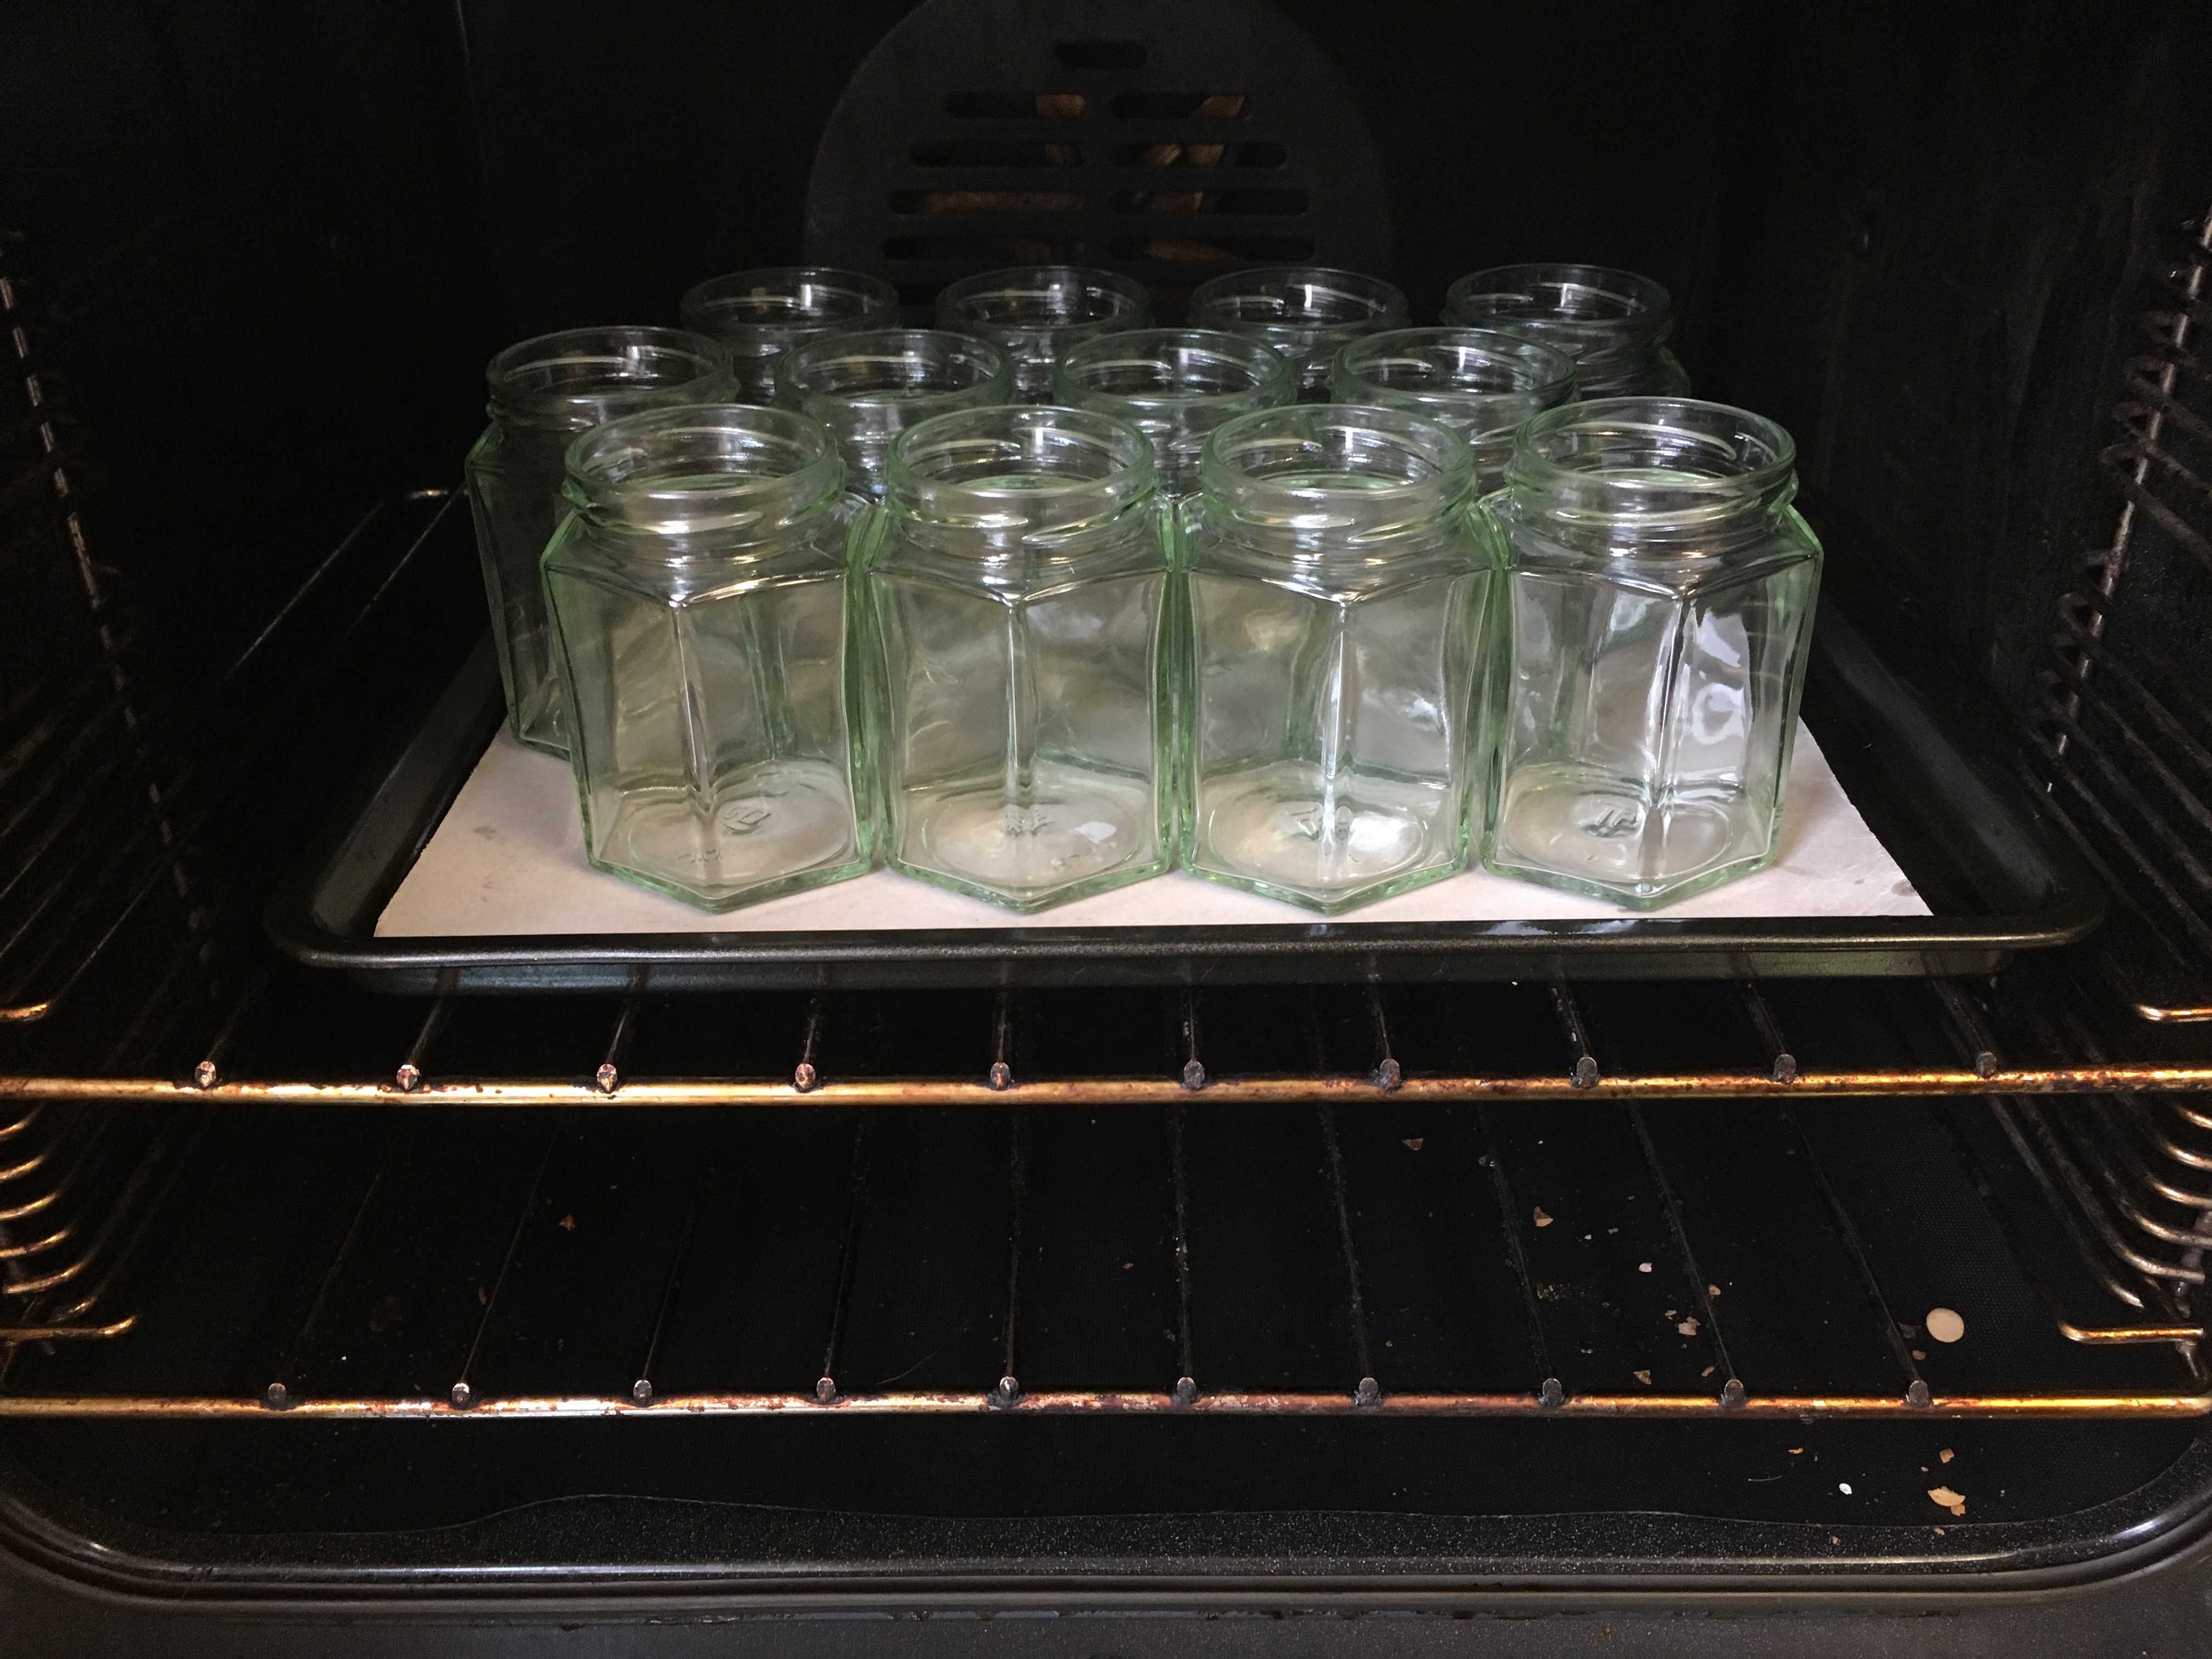
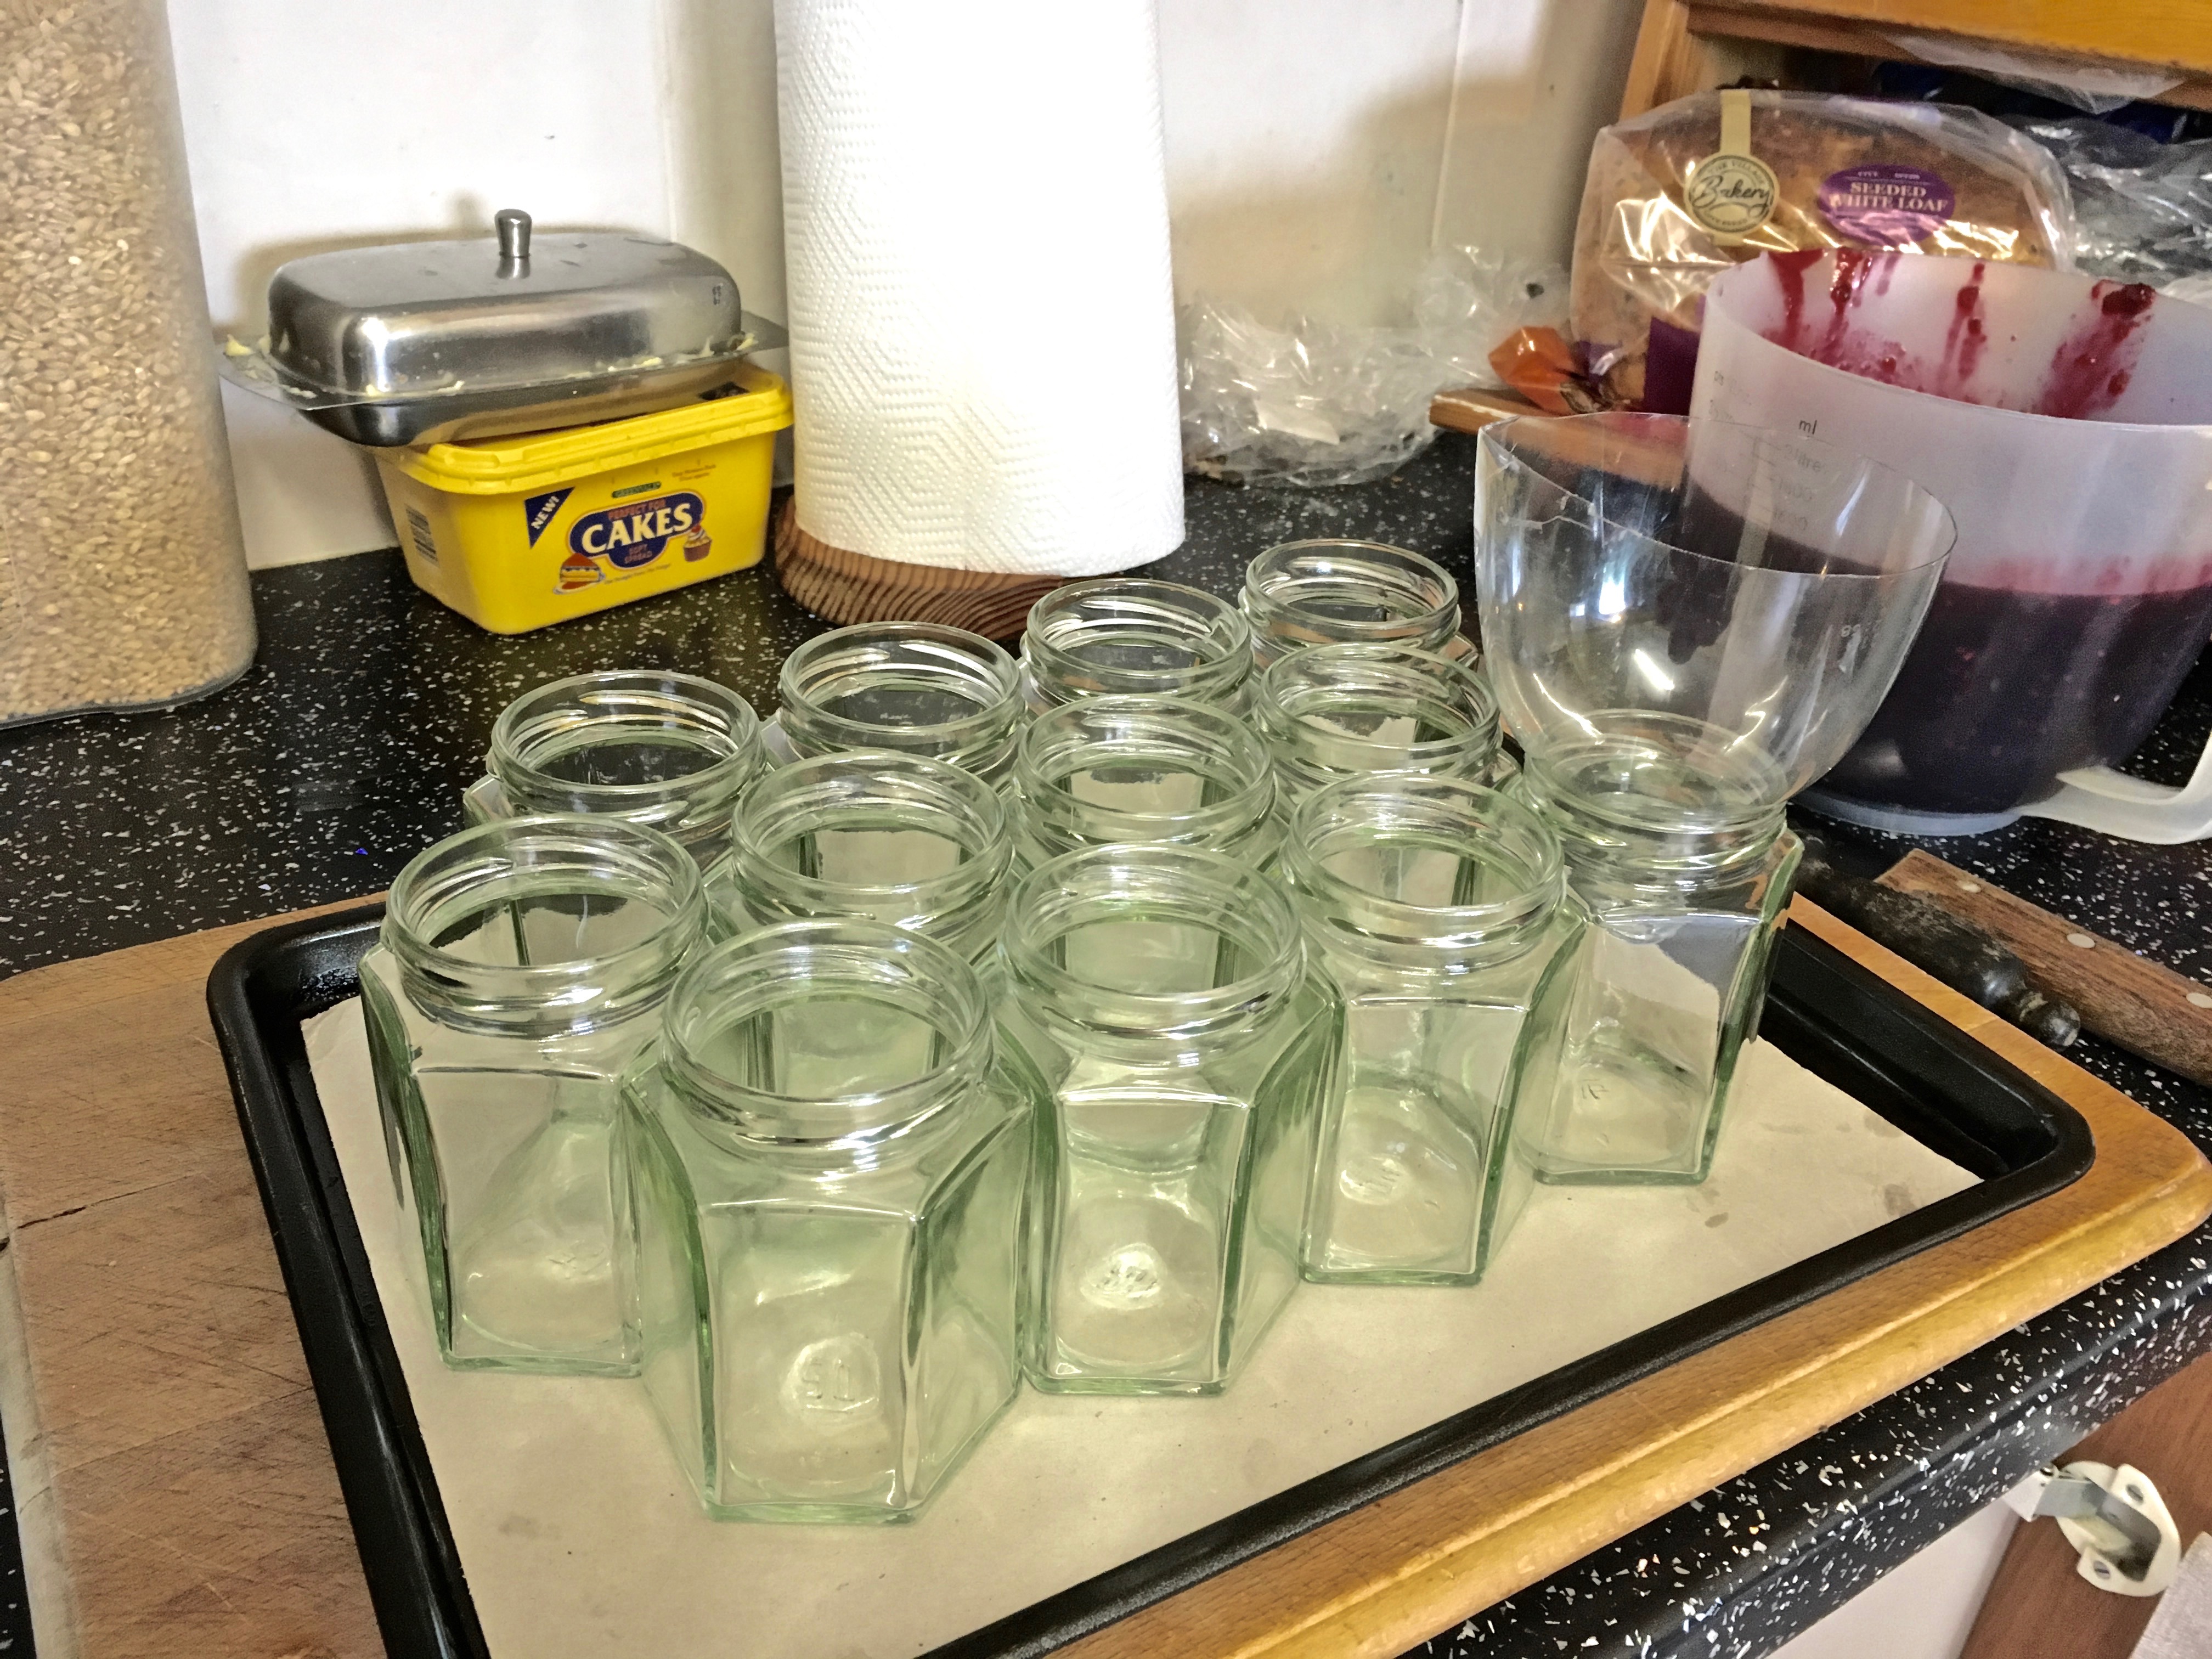
Step 5: Prepare the jars for sterilisation. Put a piece of parchment onto the baking sheet, then take the lids off of the (washed and dried) jars, placing the lids onto the tray withs the jars, so they all go into the oven at 100 degrees C while you are boiling your jam.
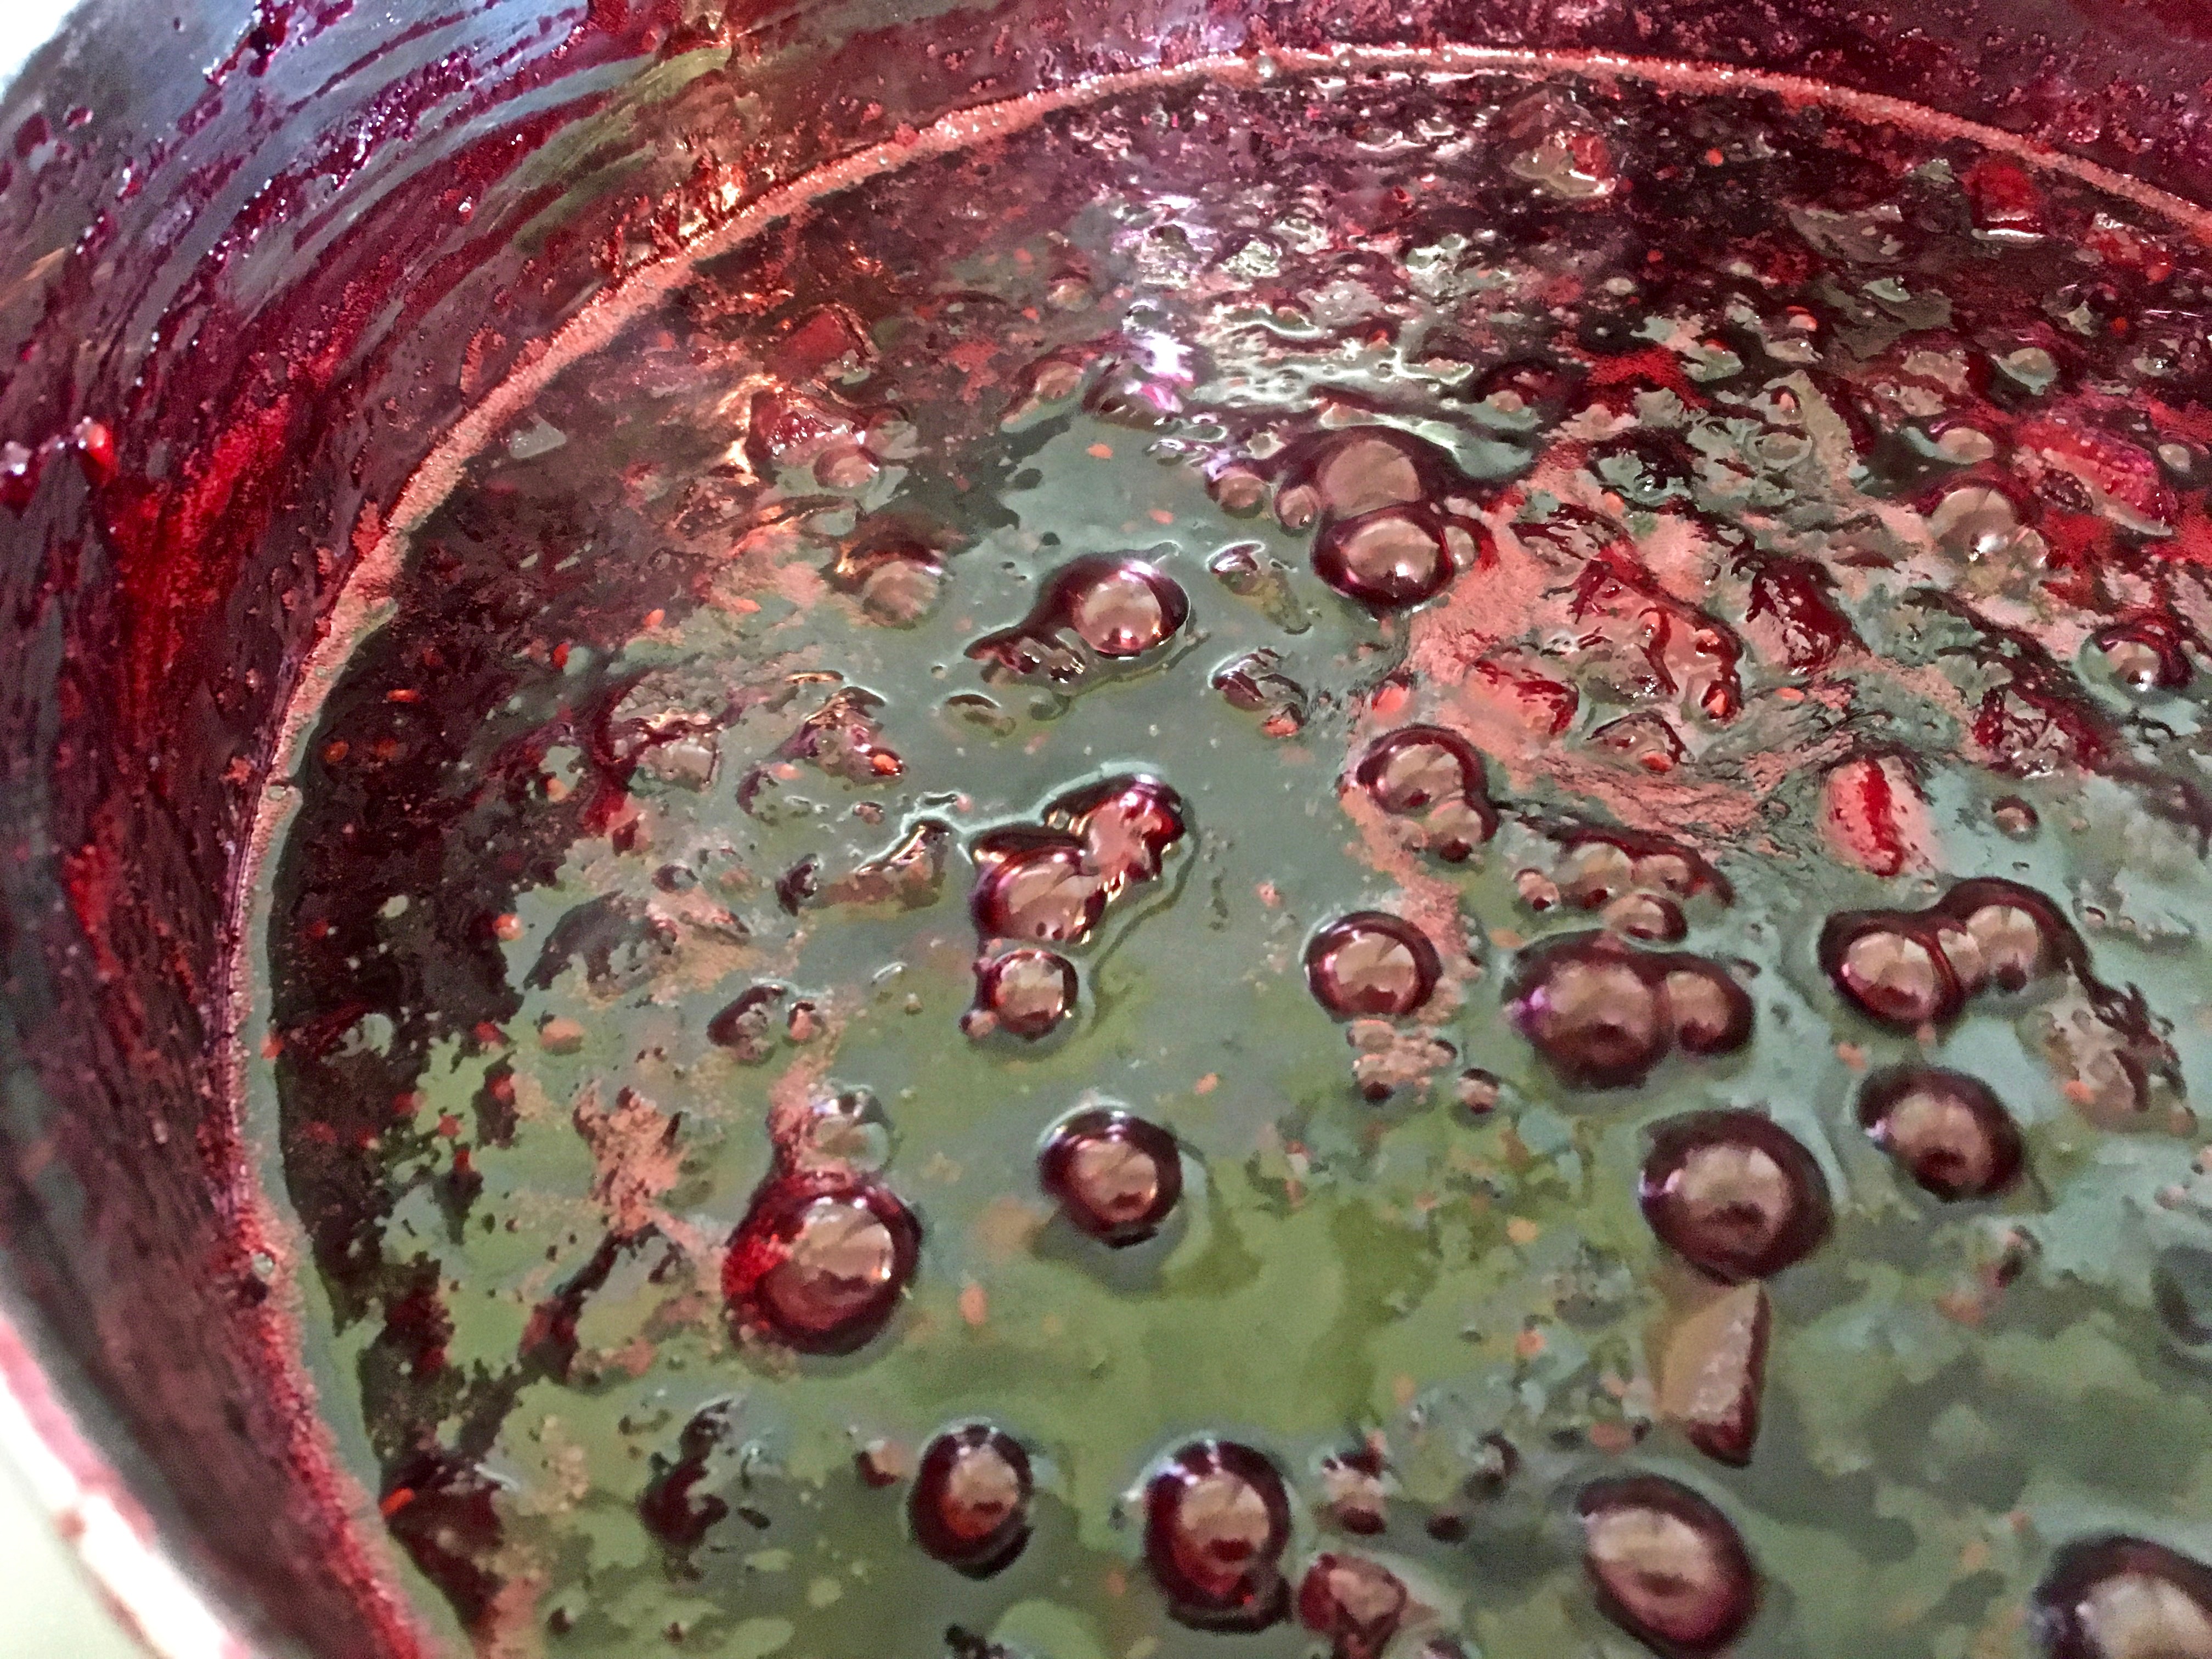
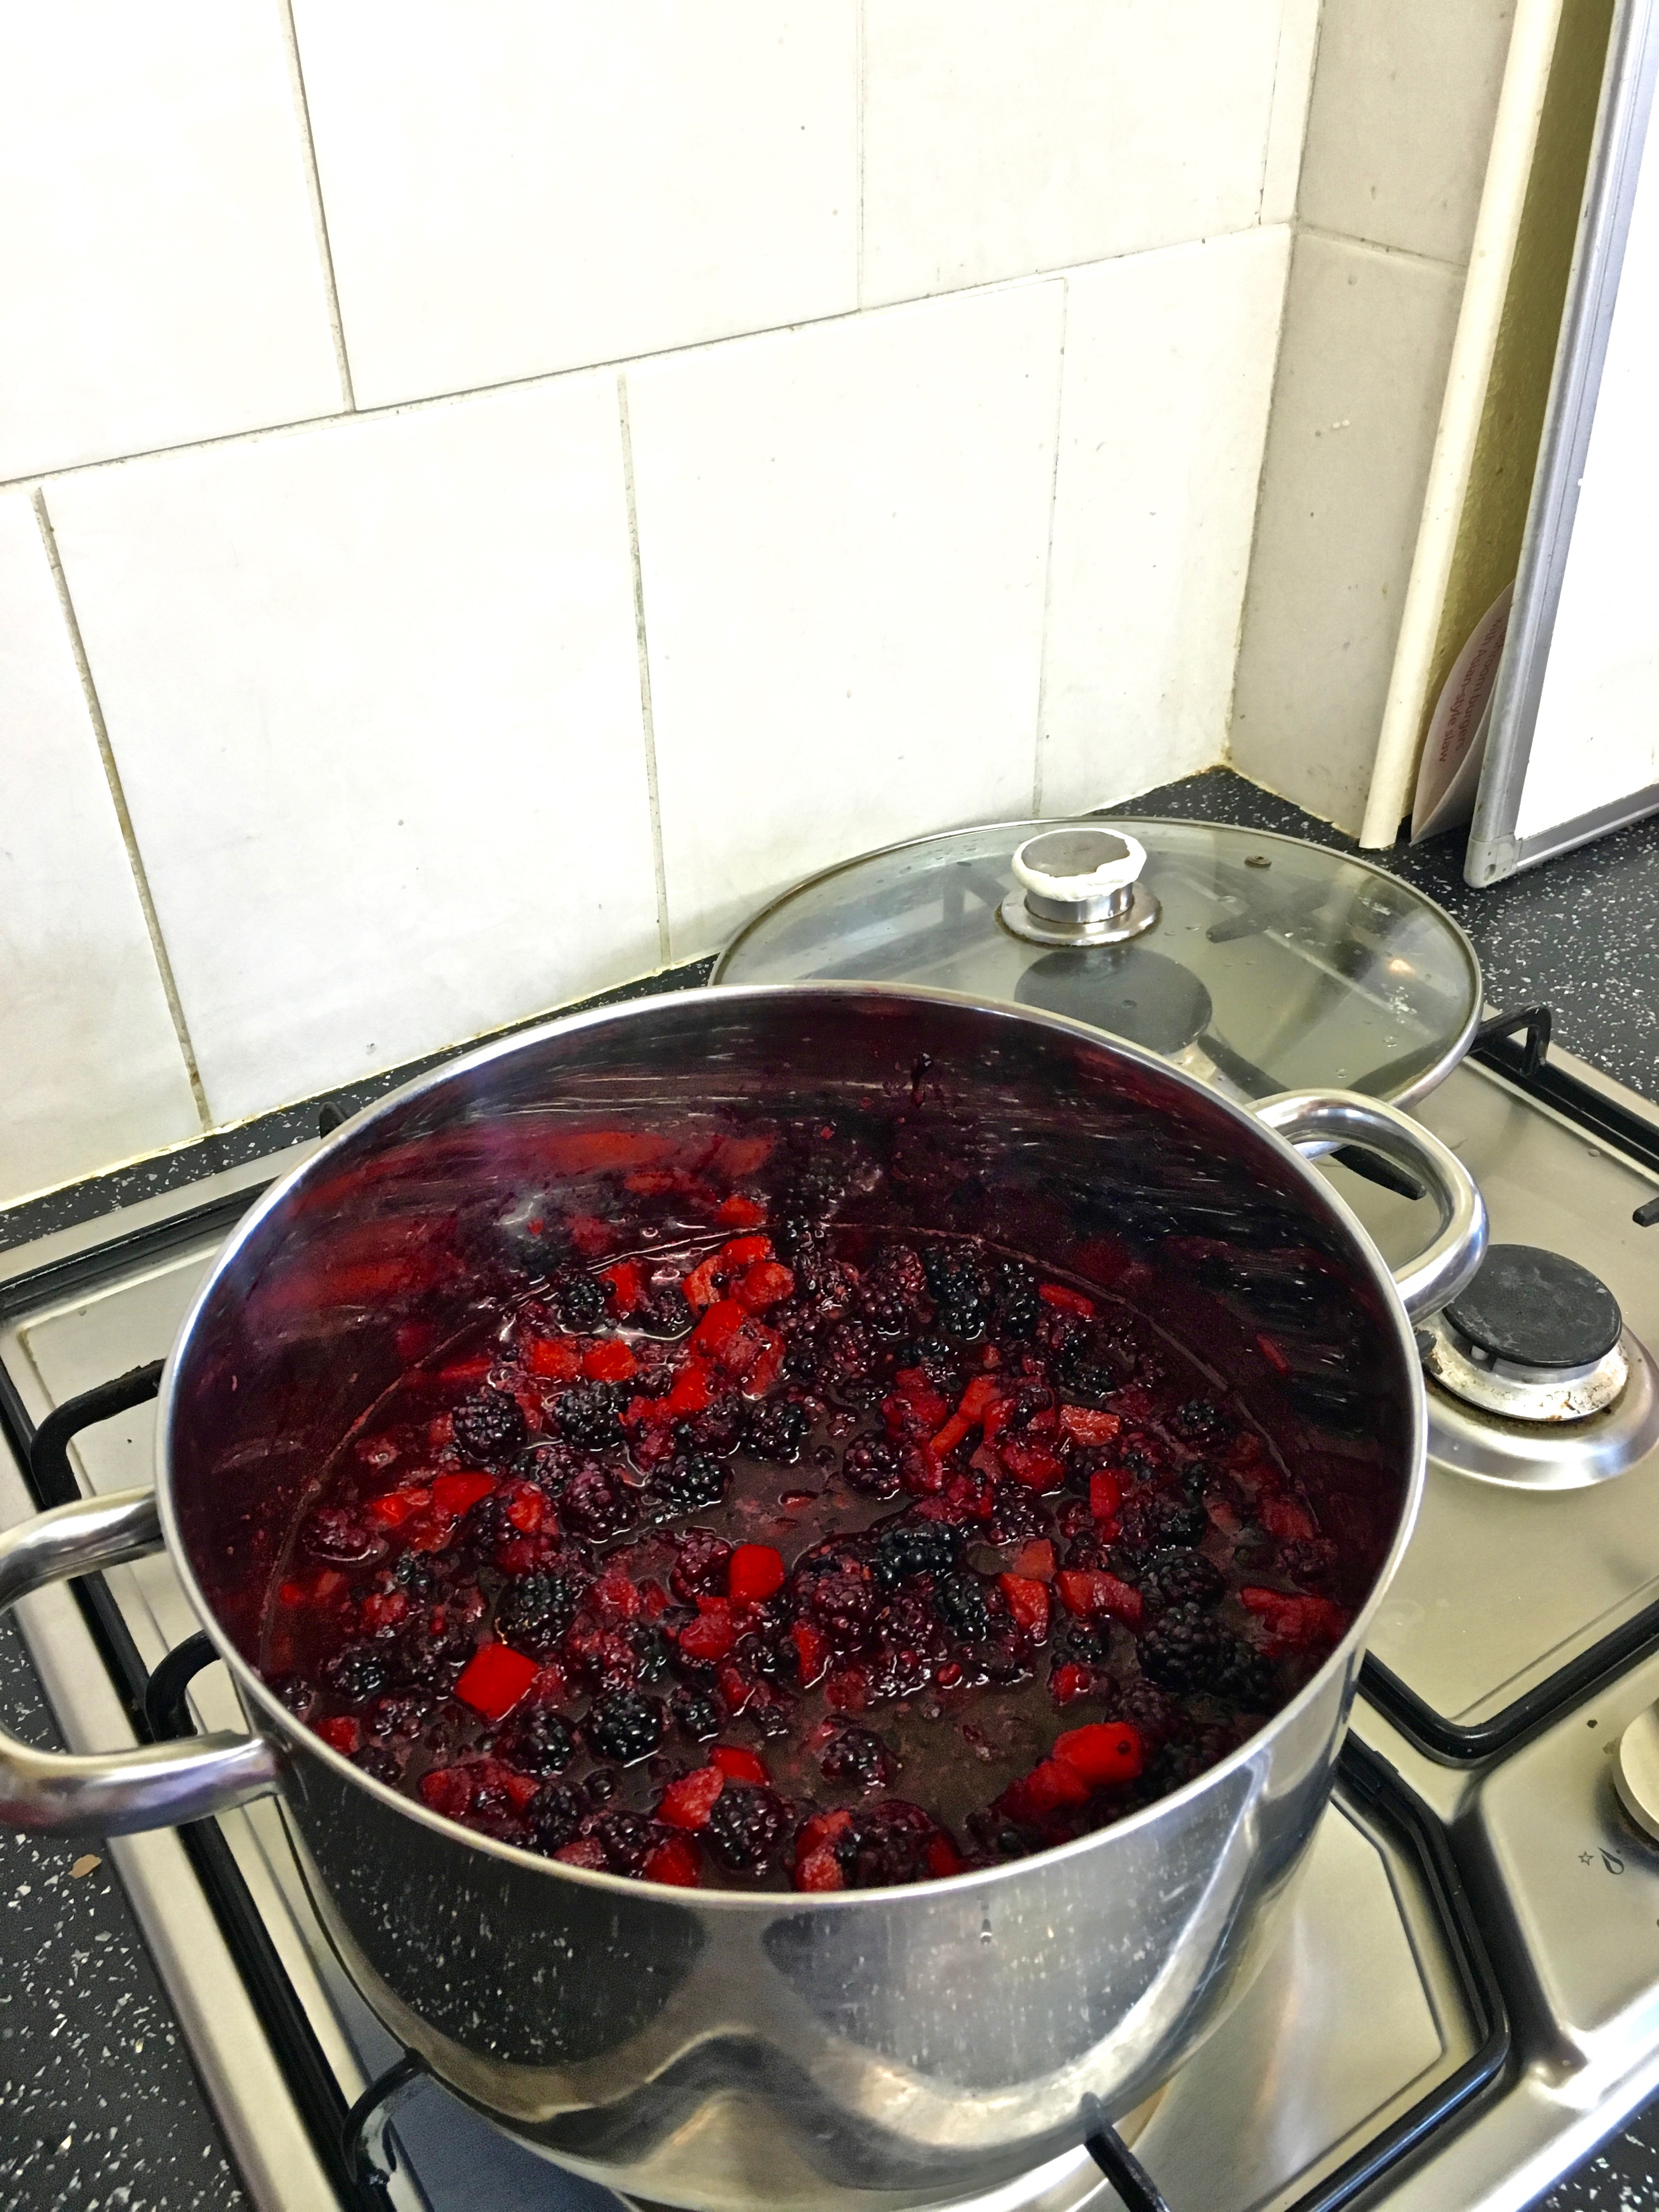
Step 6: Add the sugar, pectin, and spices to the fruit mixture and heat on low until all of the sugar has dissolved, stirring with your wooden spoon.
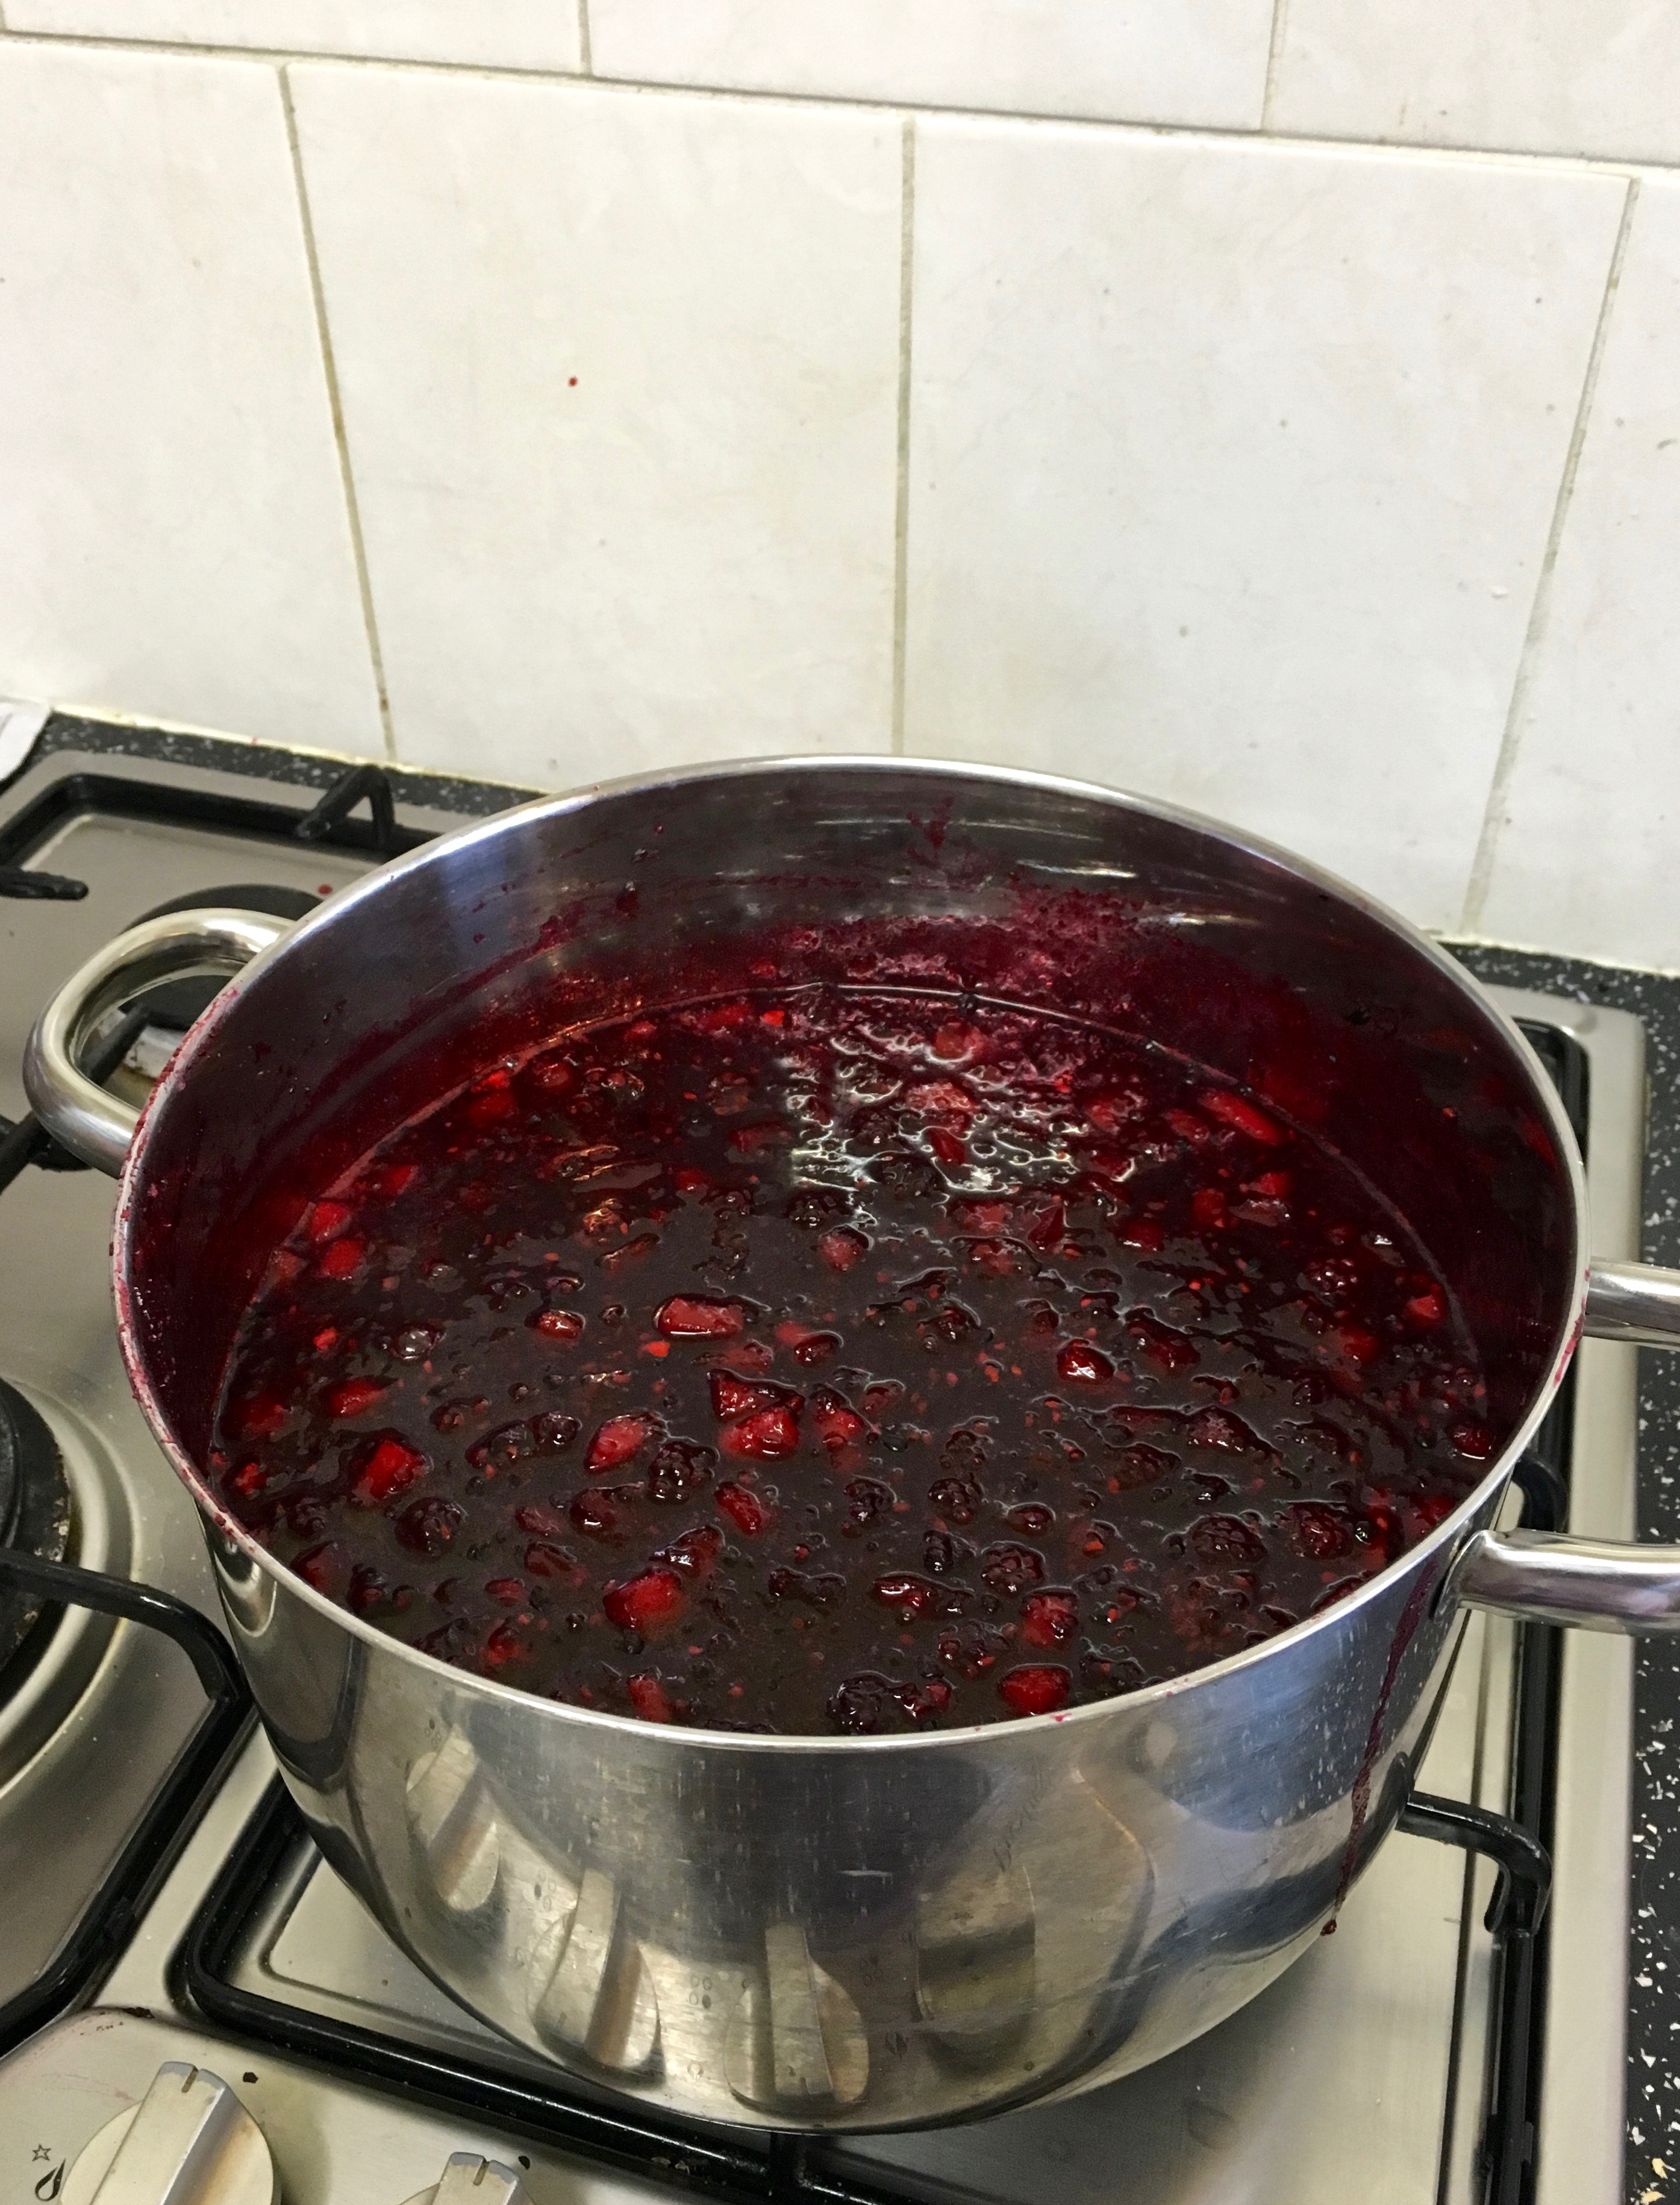
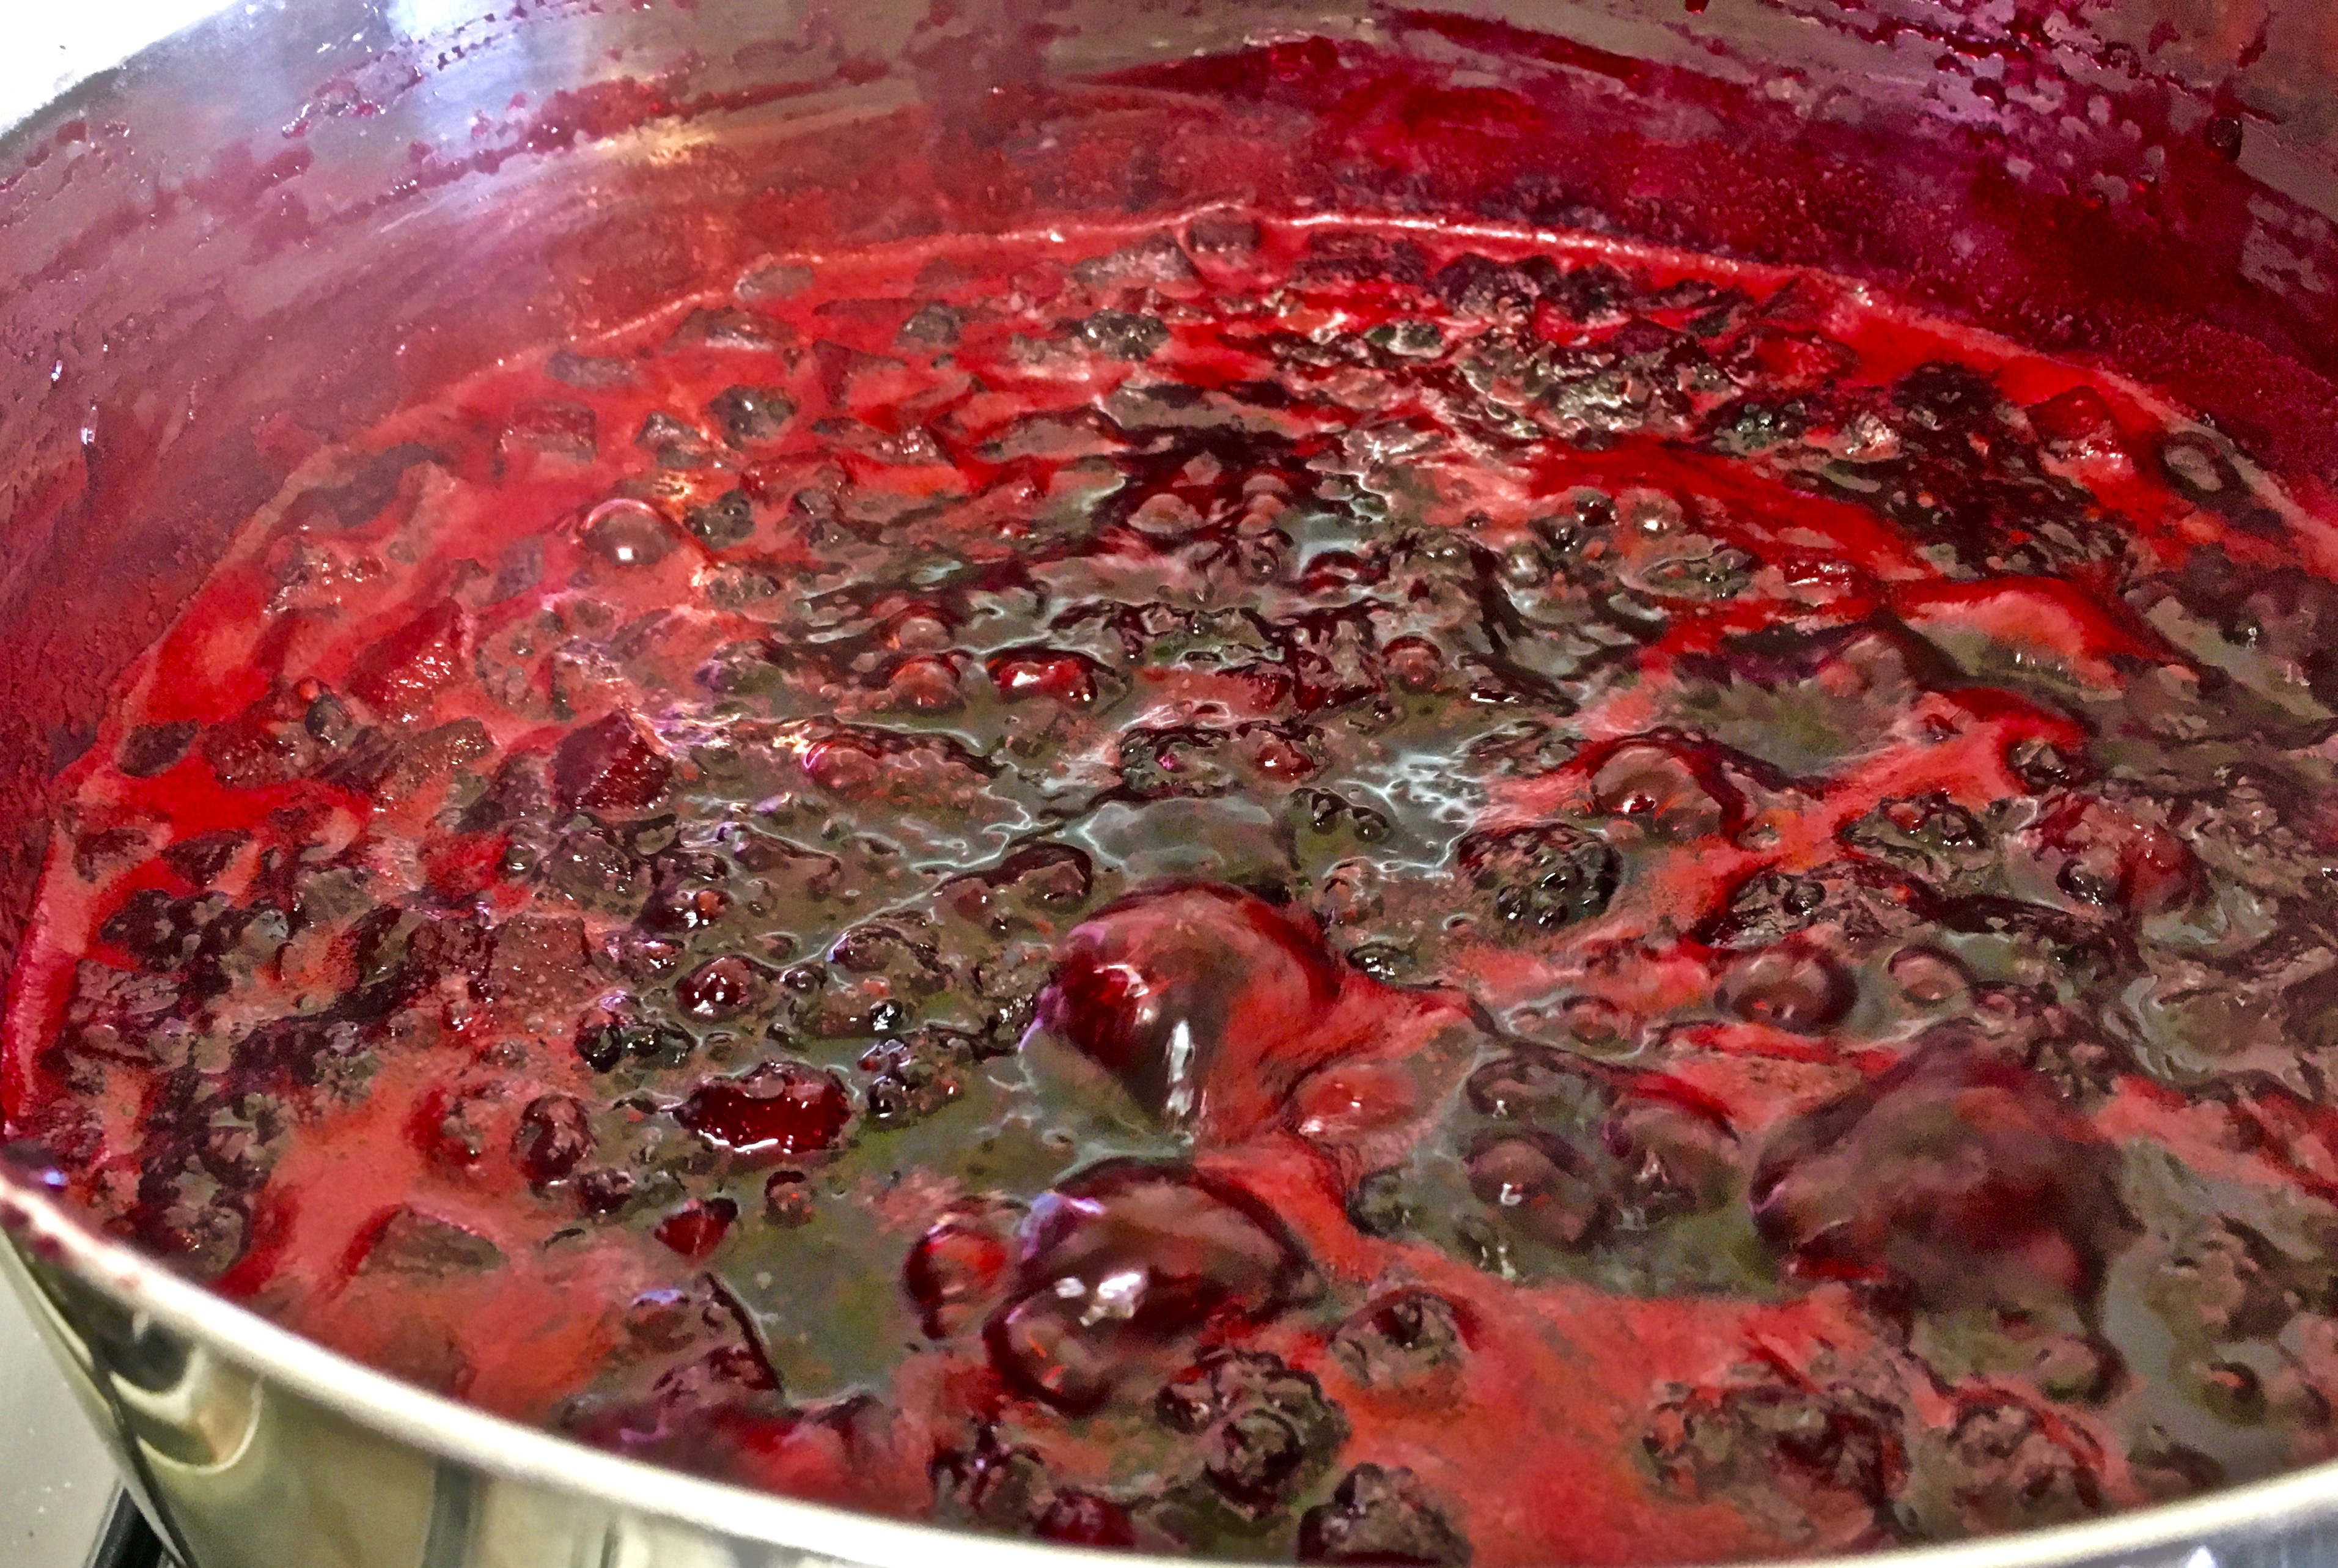
Step 7: Bring the mixture to a rolling boil and stir frequently; burning and sticking are not good here.
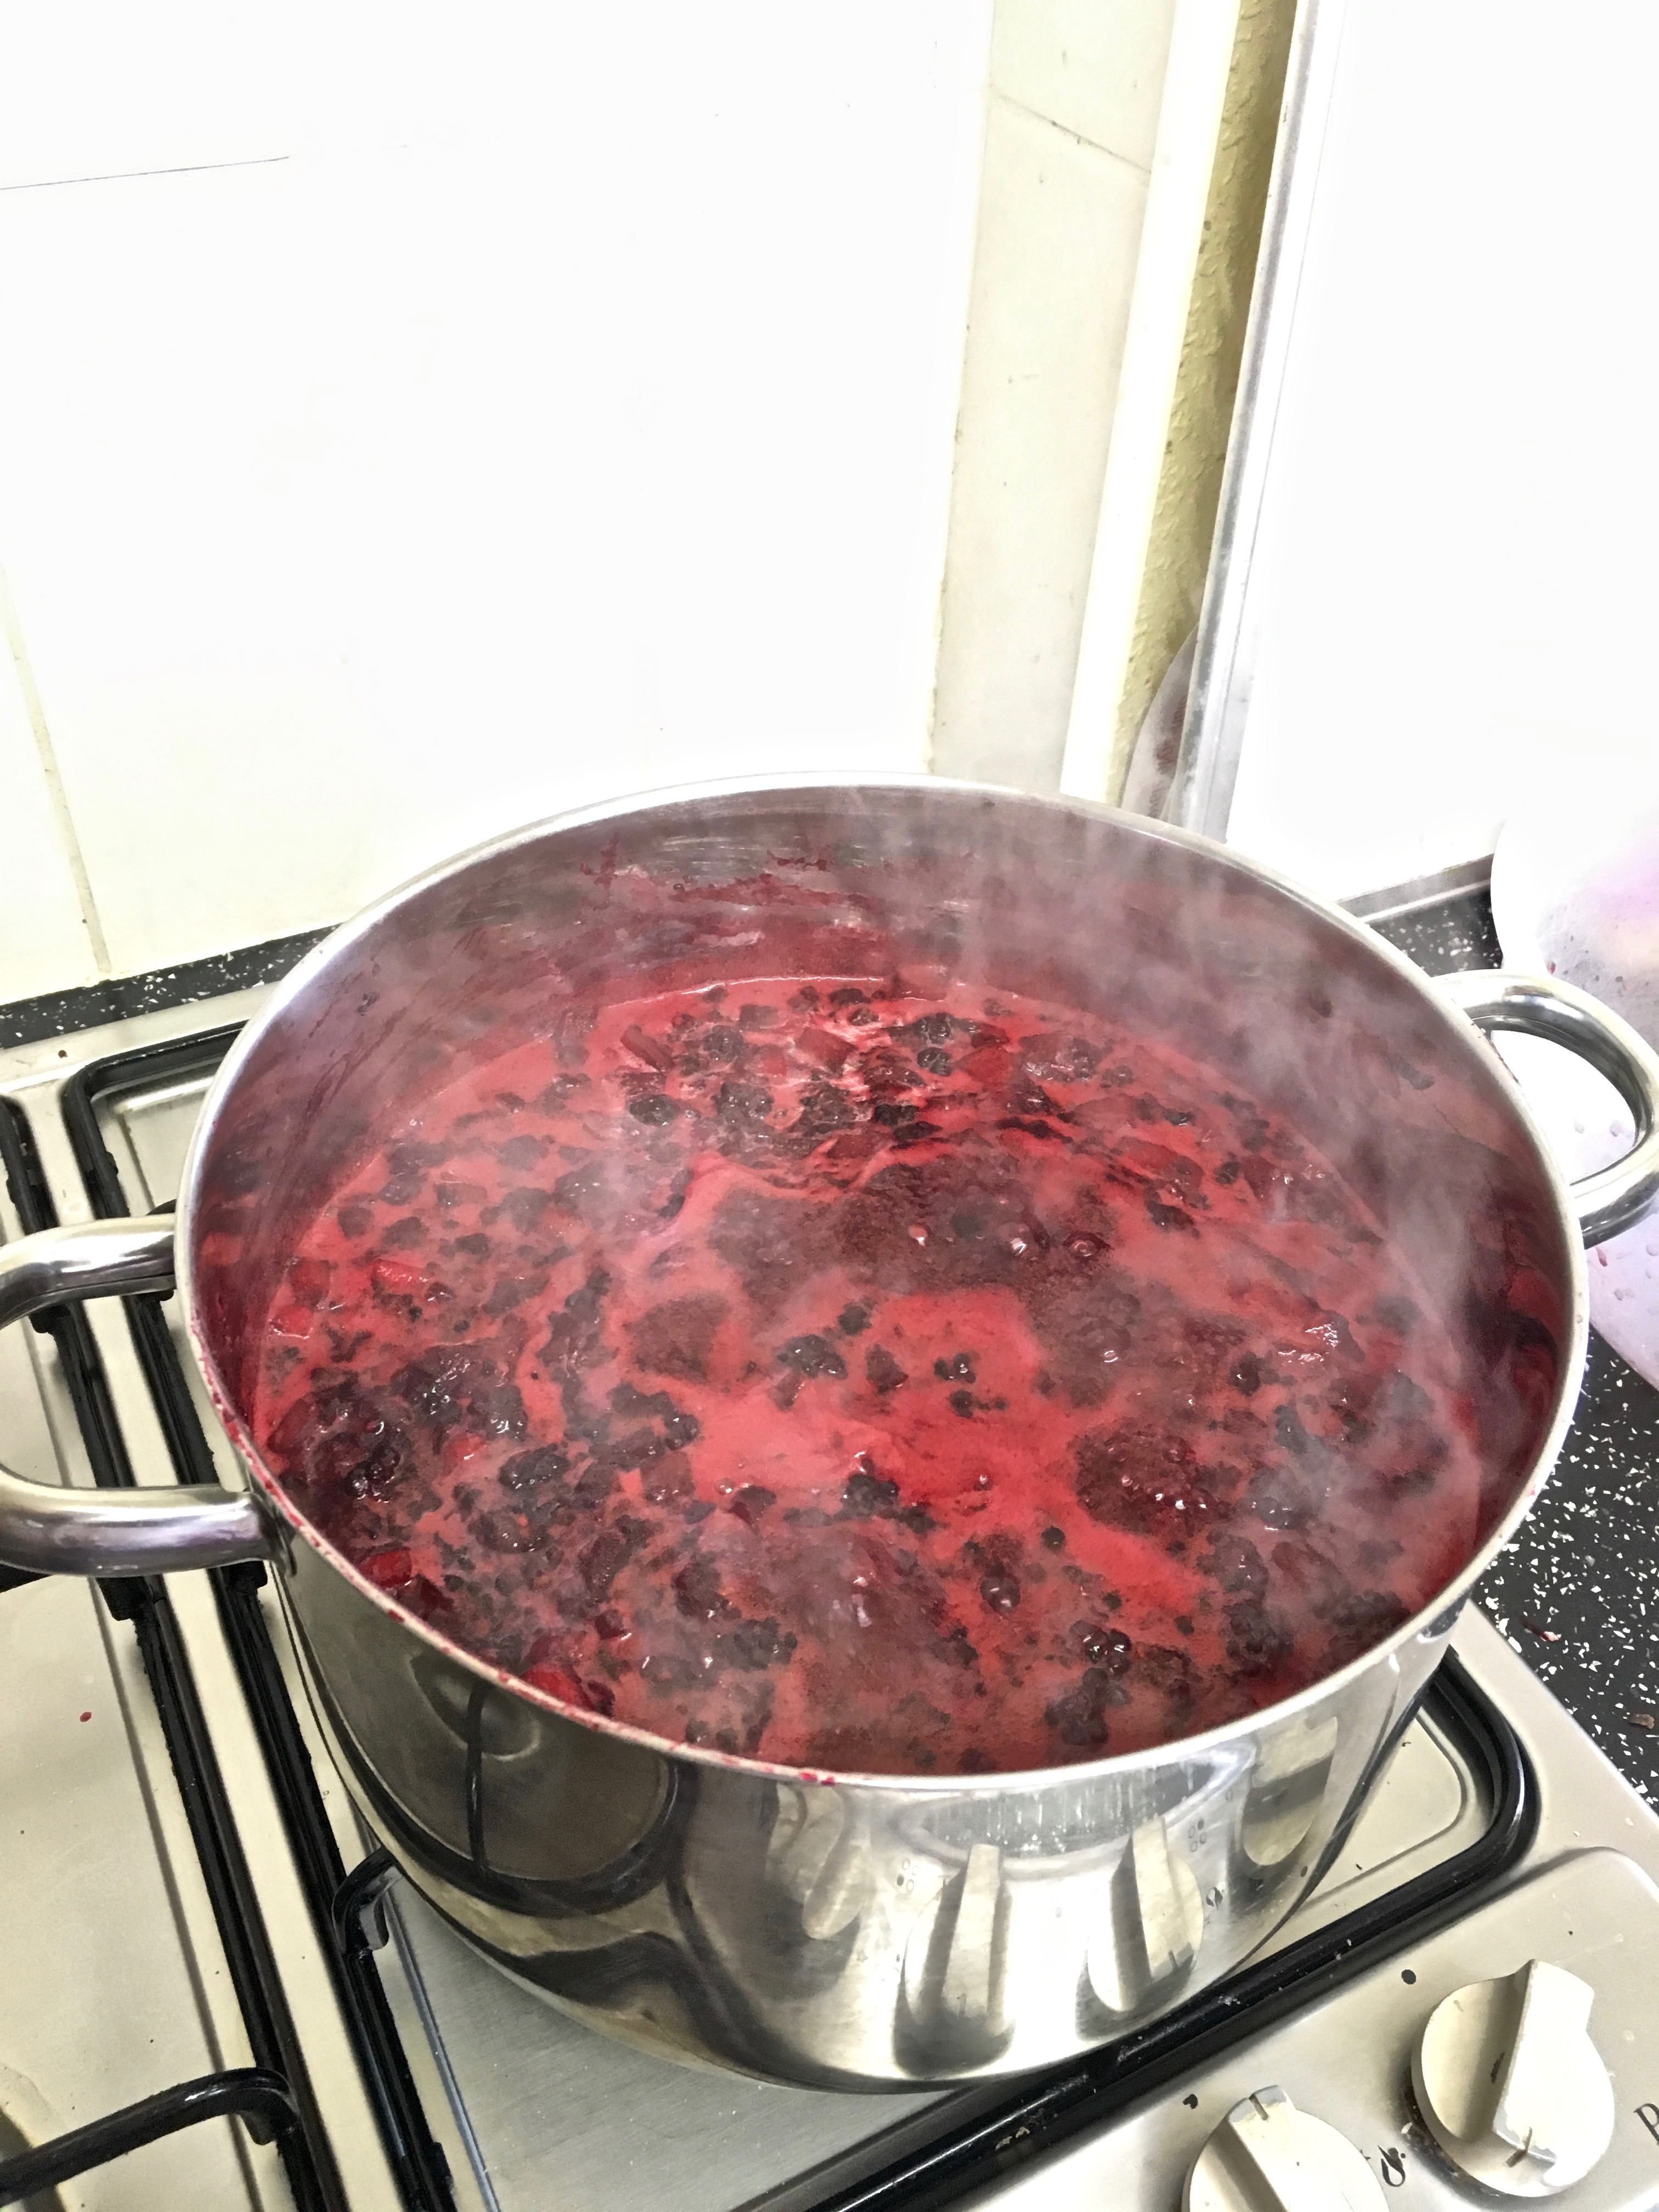
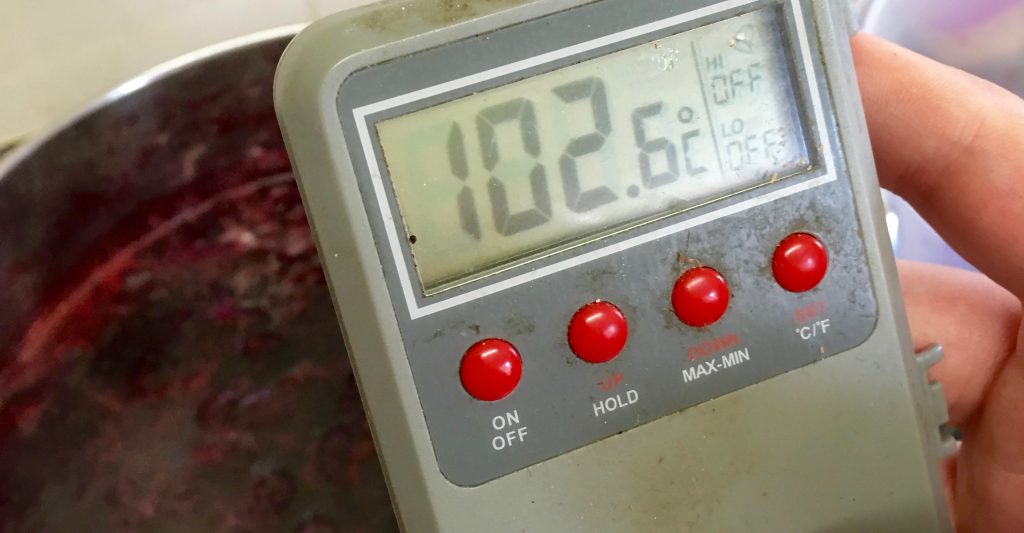
Step 8: Continue to reduce and stir for 20 or so minutes until the jam comes off the back of the wooden spoon in sheets, or a thermometer reads 102-104 degrees C. It should have reduced by about 1/4 to 1/3 in volume.
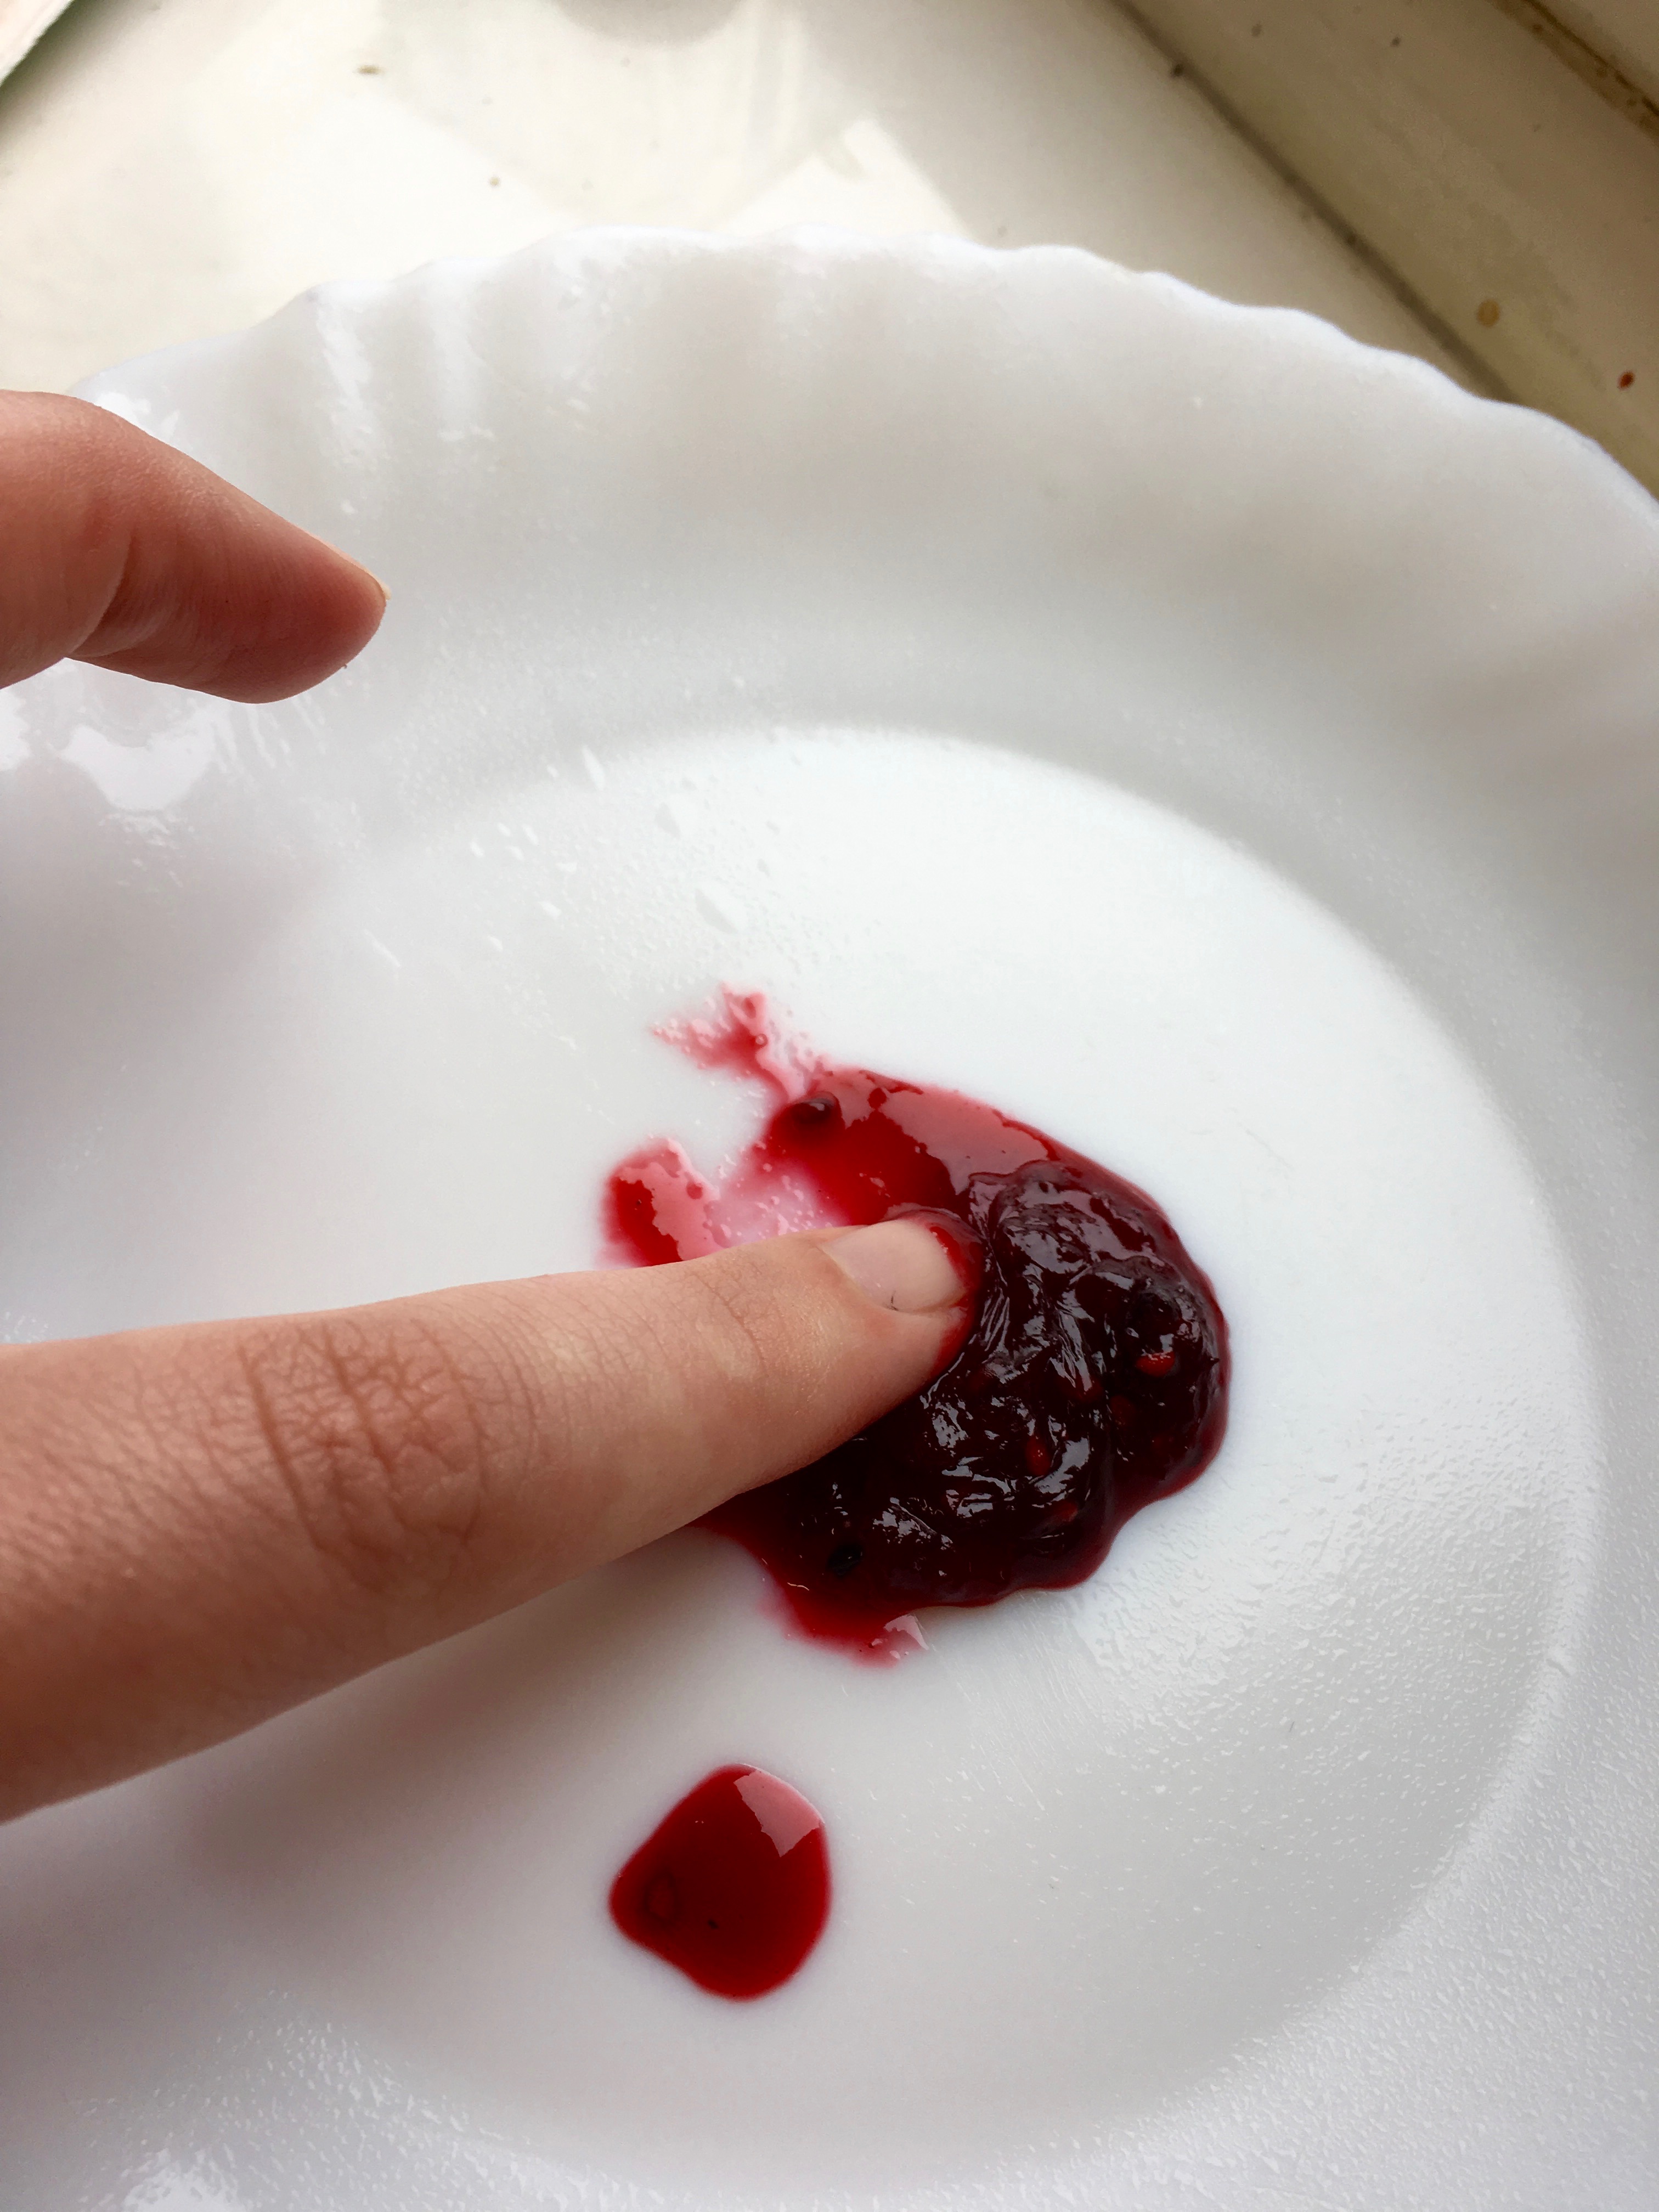
Step 9: Get a plate from the freezer when you are ready to test it for done-ness, and put a small dollop onto the centre.

Then put the plate back in the freezer for 1 minute, so that when you try to push the jam with your finger, it wrinkles on top.
Step 10: Get your jars, funnel and large measuring jug ready. ladle the finished (and fiendishly hot) jam into the measuring jug to put into your now sterilised jars. Be careful, because this is molten, sticky sugar and it WILL burn!
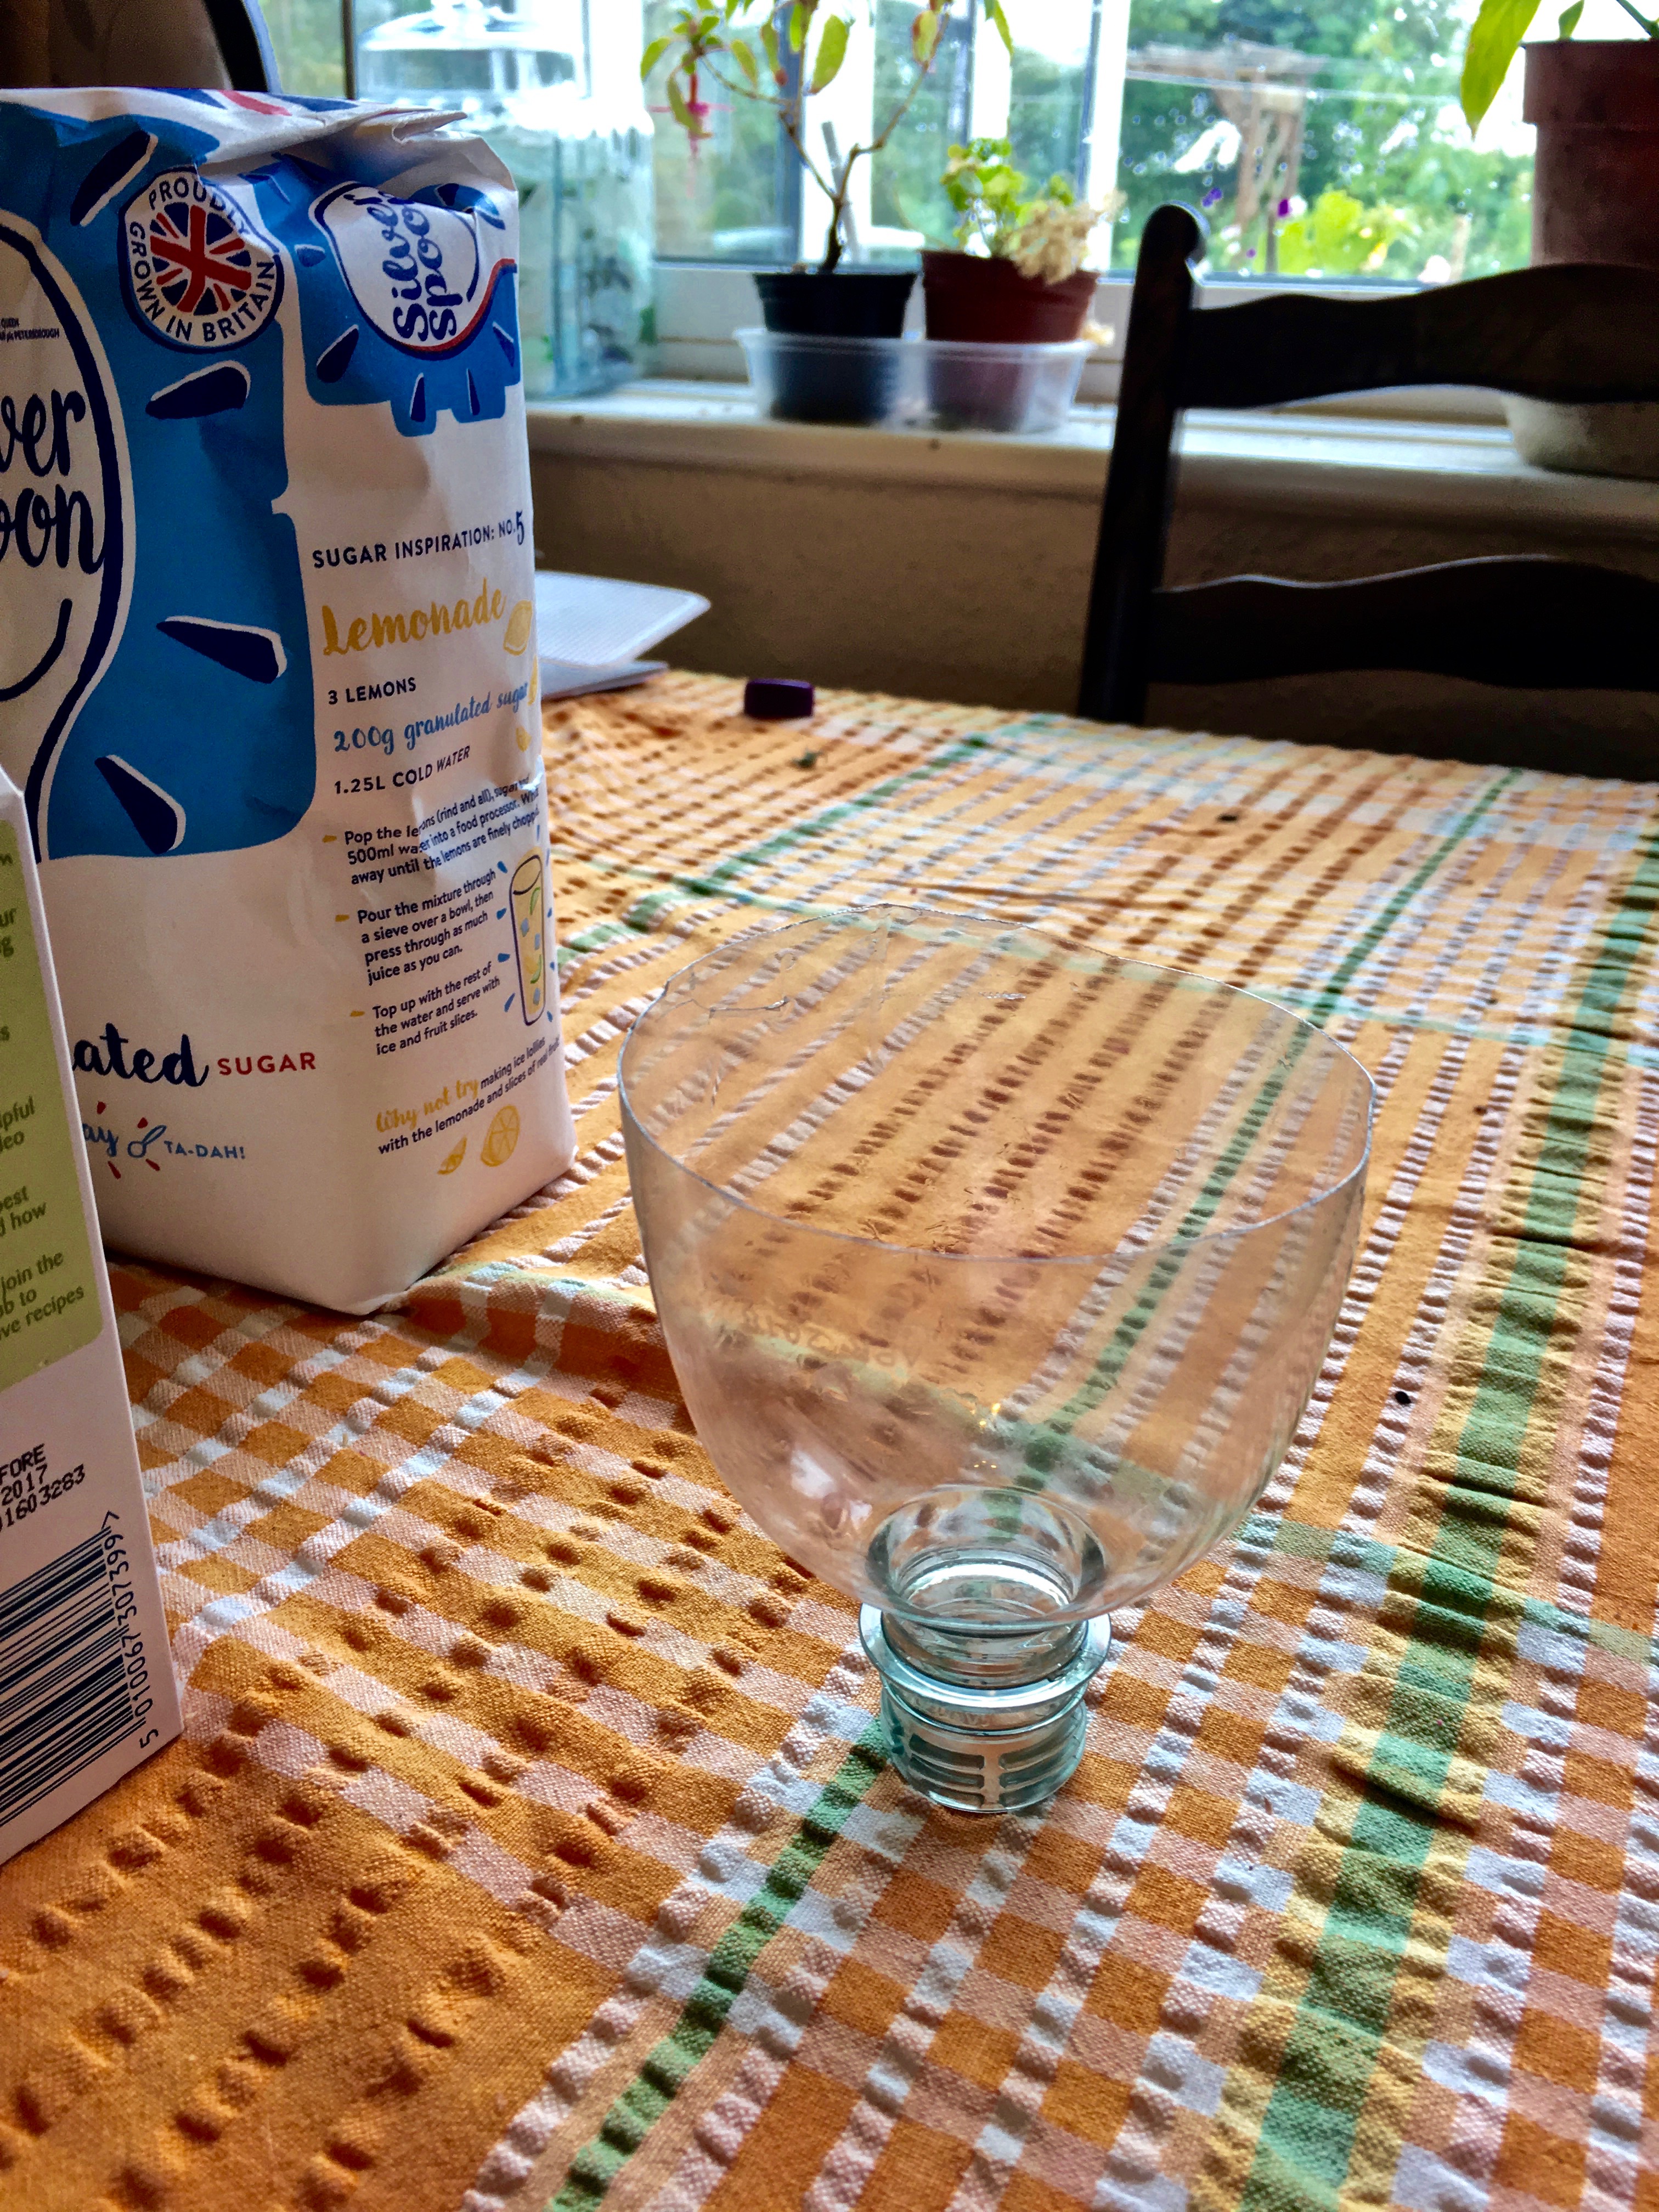
I had to create a wide enough mouthed funnel to get my jam into the jars as there were some larger pieces of fruit still there. I used a clean, cut-off pop bottle to get the desired width.
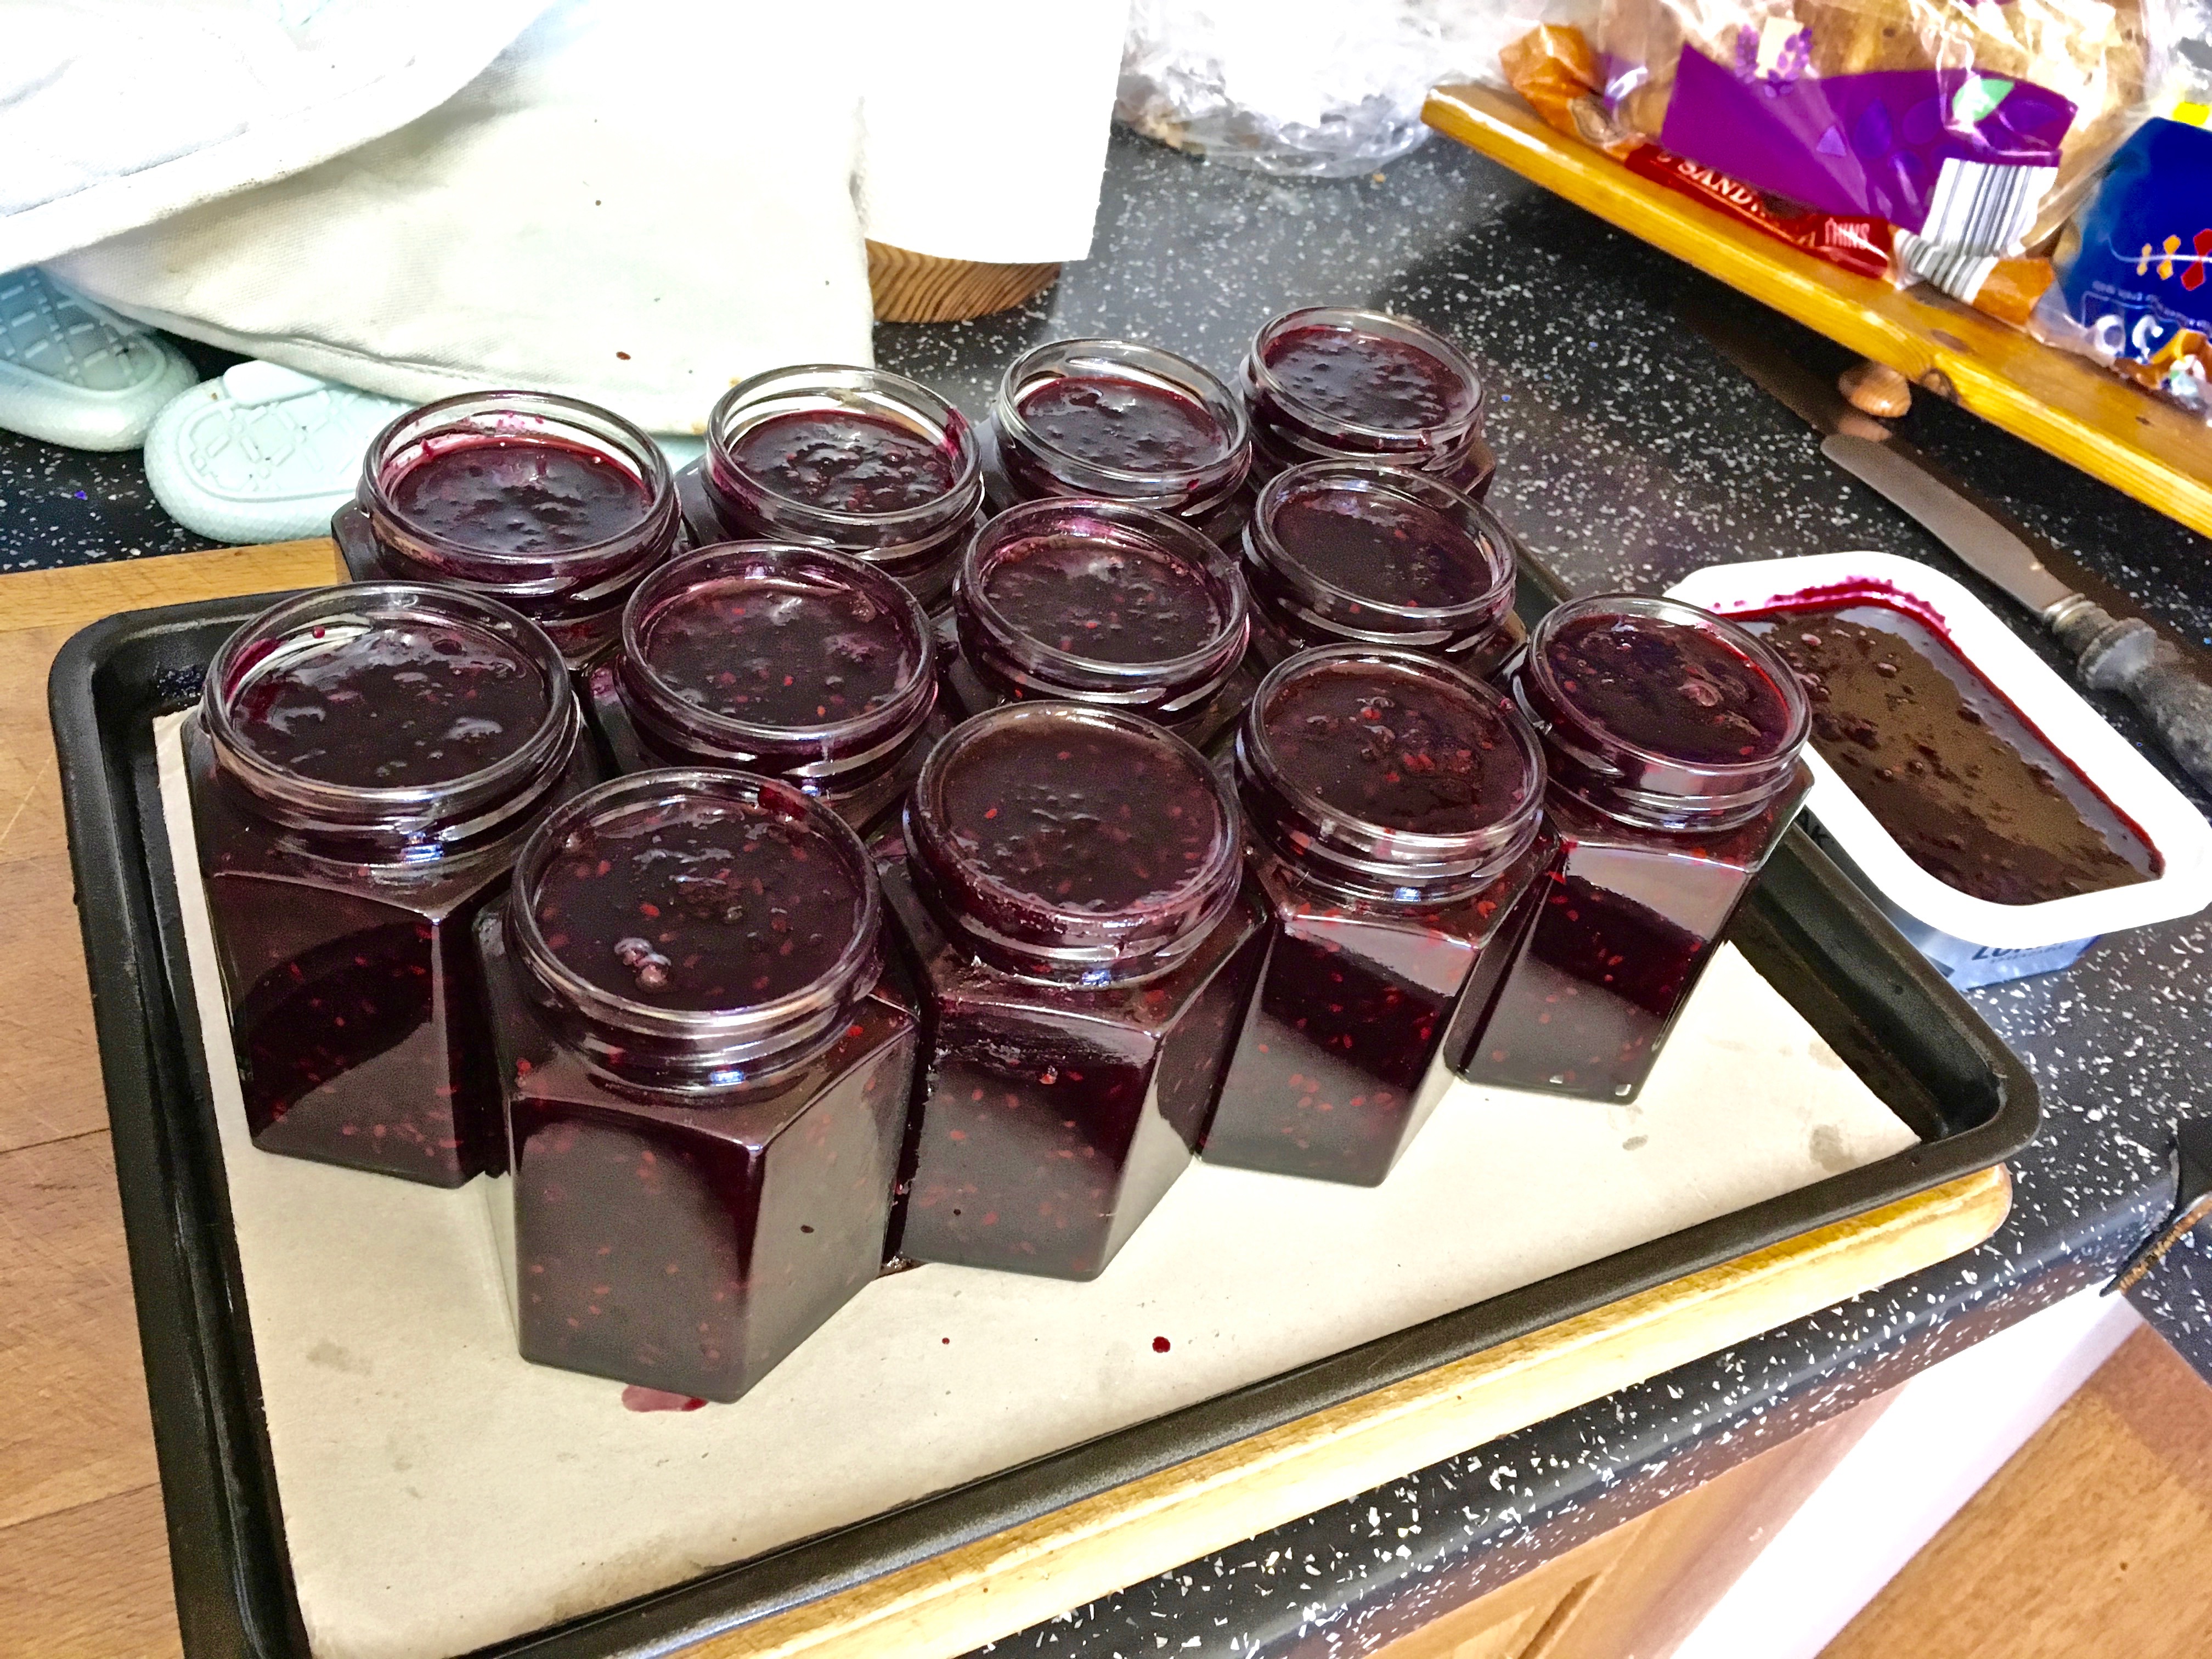
Step 11: Fill the jars! Pay attention, overfilling your funnel will result in some mess to clean up later.
Step 12: Put the lids on the hot jars tightly, and put them back in the oven while it is turned off.
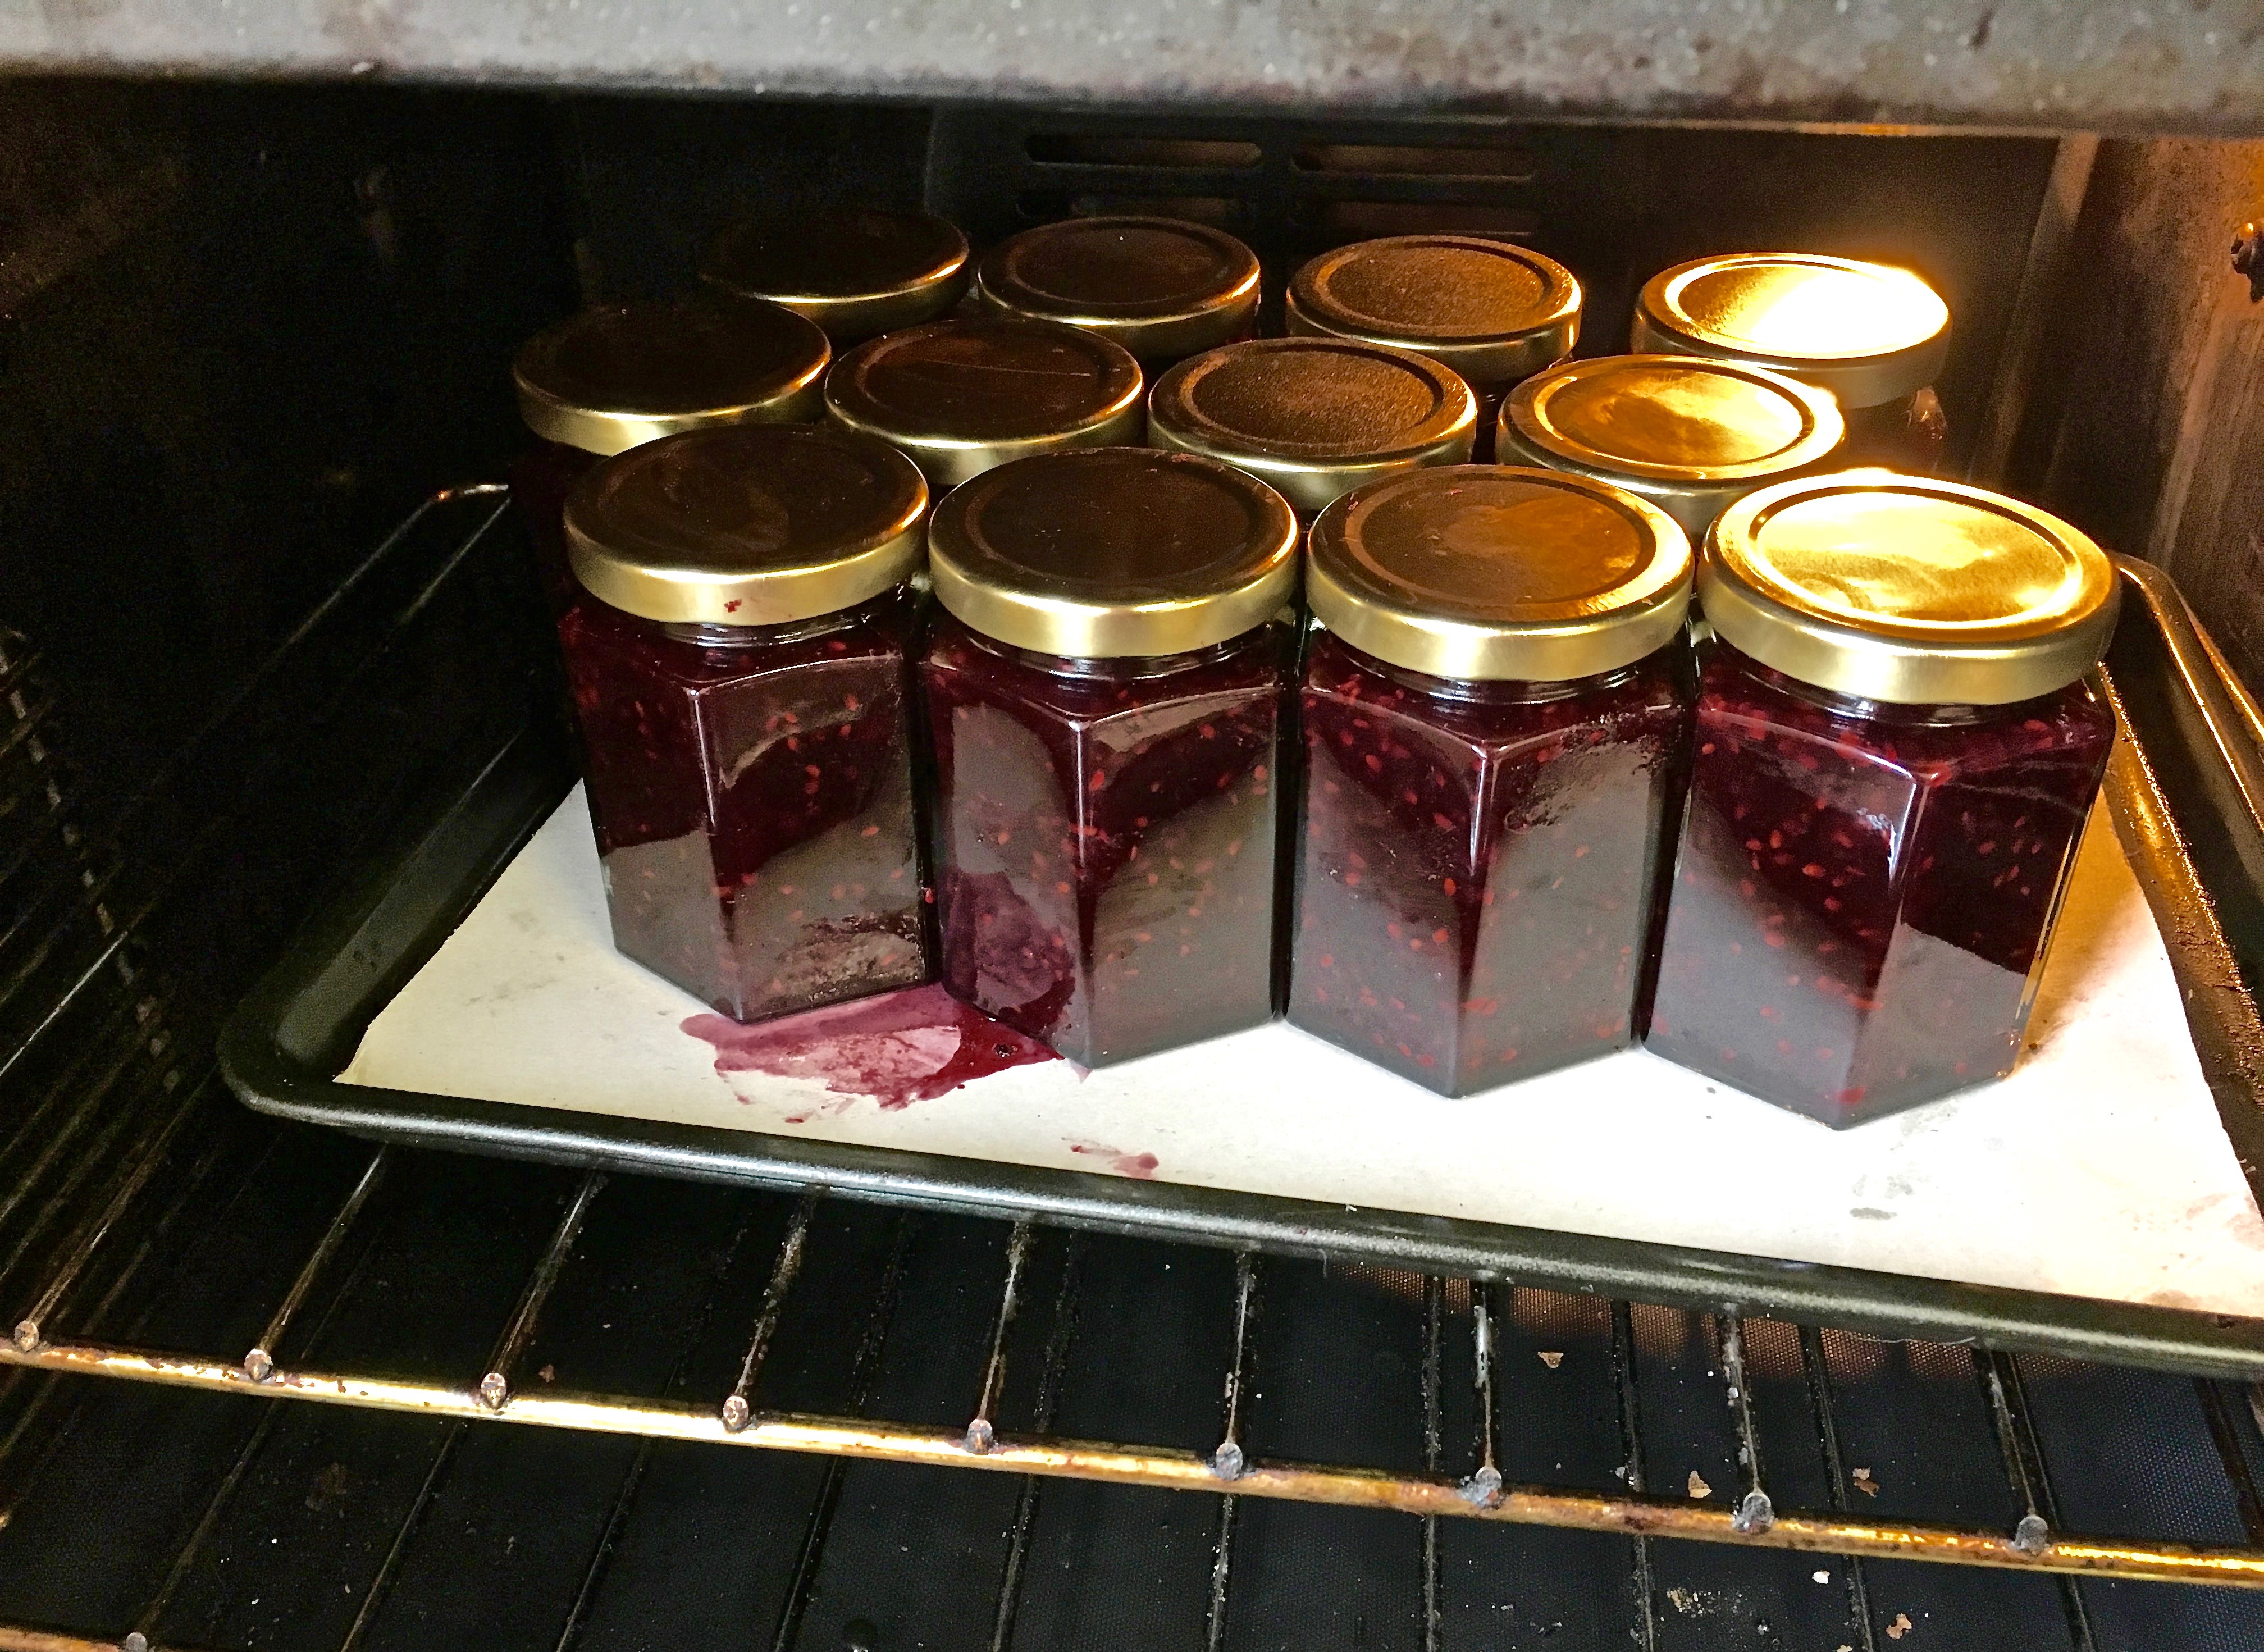
Once the jars have cooled enough to handle, remove from oven and place on a surface that is cool and dry to finish the processes of sealing. If you spilled any (like me) then use a clean, damp cloth to tidy up the jars. If you are using recycled jars, it is easy to check that they have sealed because the “button” on the top of the lid that makes that “popping” noise when you open a new jar, has gone down and you can not press it noticeably. This will happen for new jars too, but mine didn’t have noticeable “buttons” like some other jars I have come across so didn’t photograph well.
Last thing: Enjoy the jam, and share it with friends and family!
Really appreciate you sharing this blog post.Much thanks again. Keep writing.